Cityscape Photography: How to Shoot Better Cityscapes in Golden Hour, Blue Hour, and Night
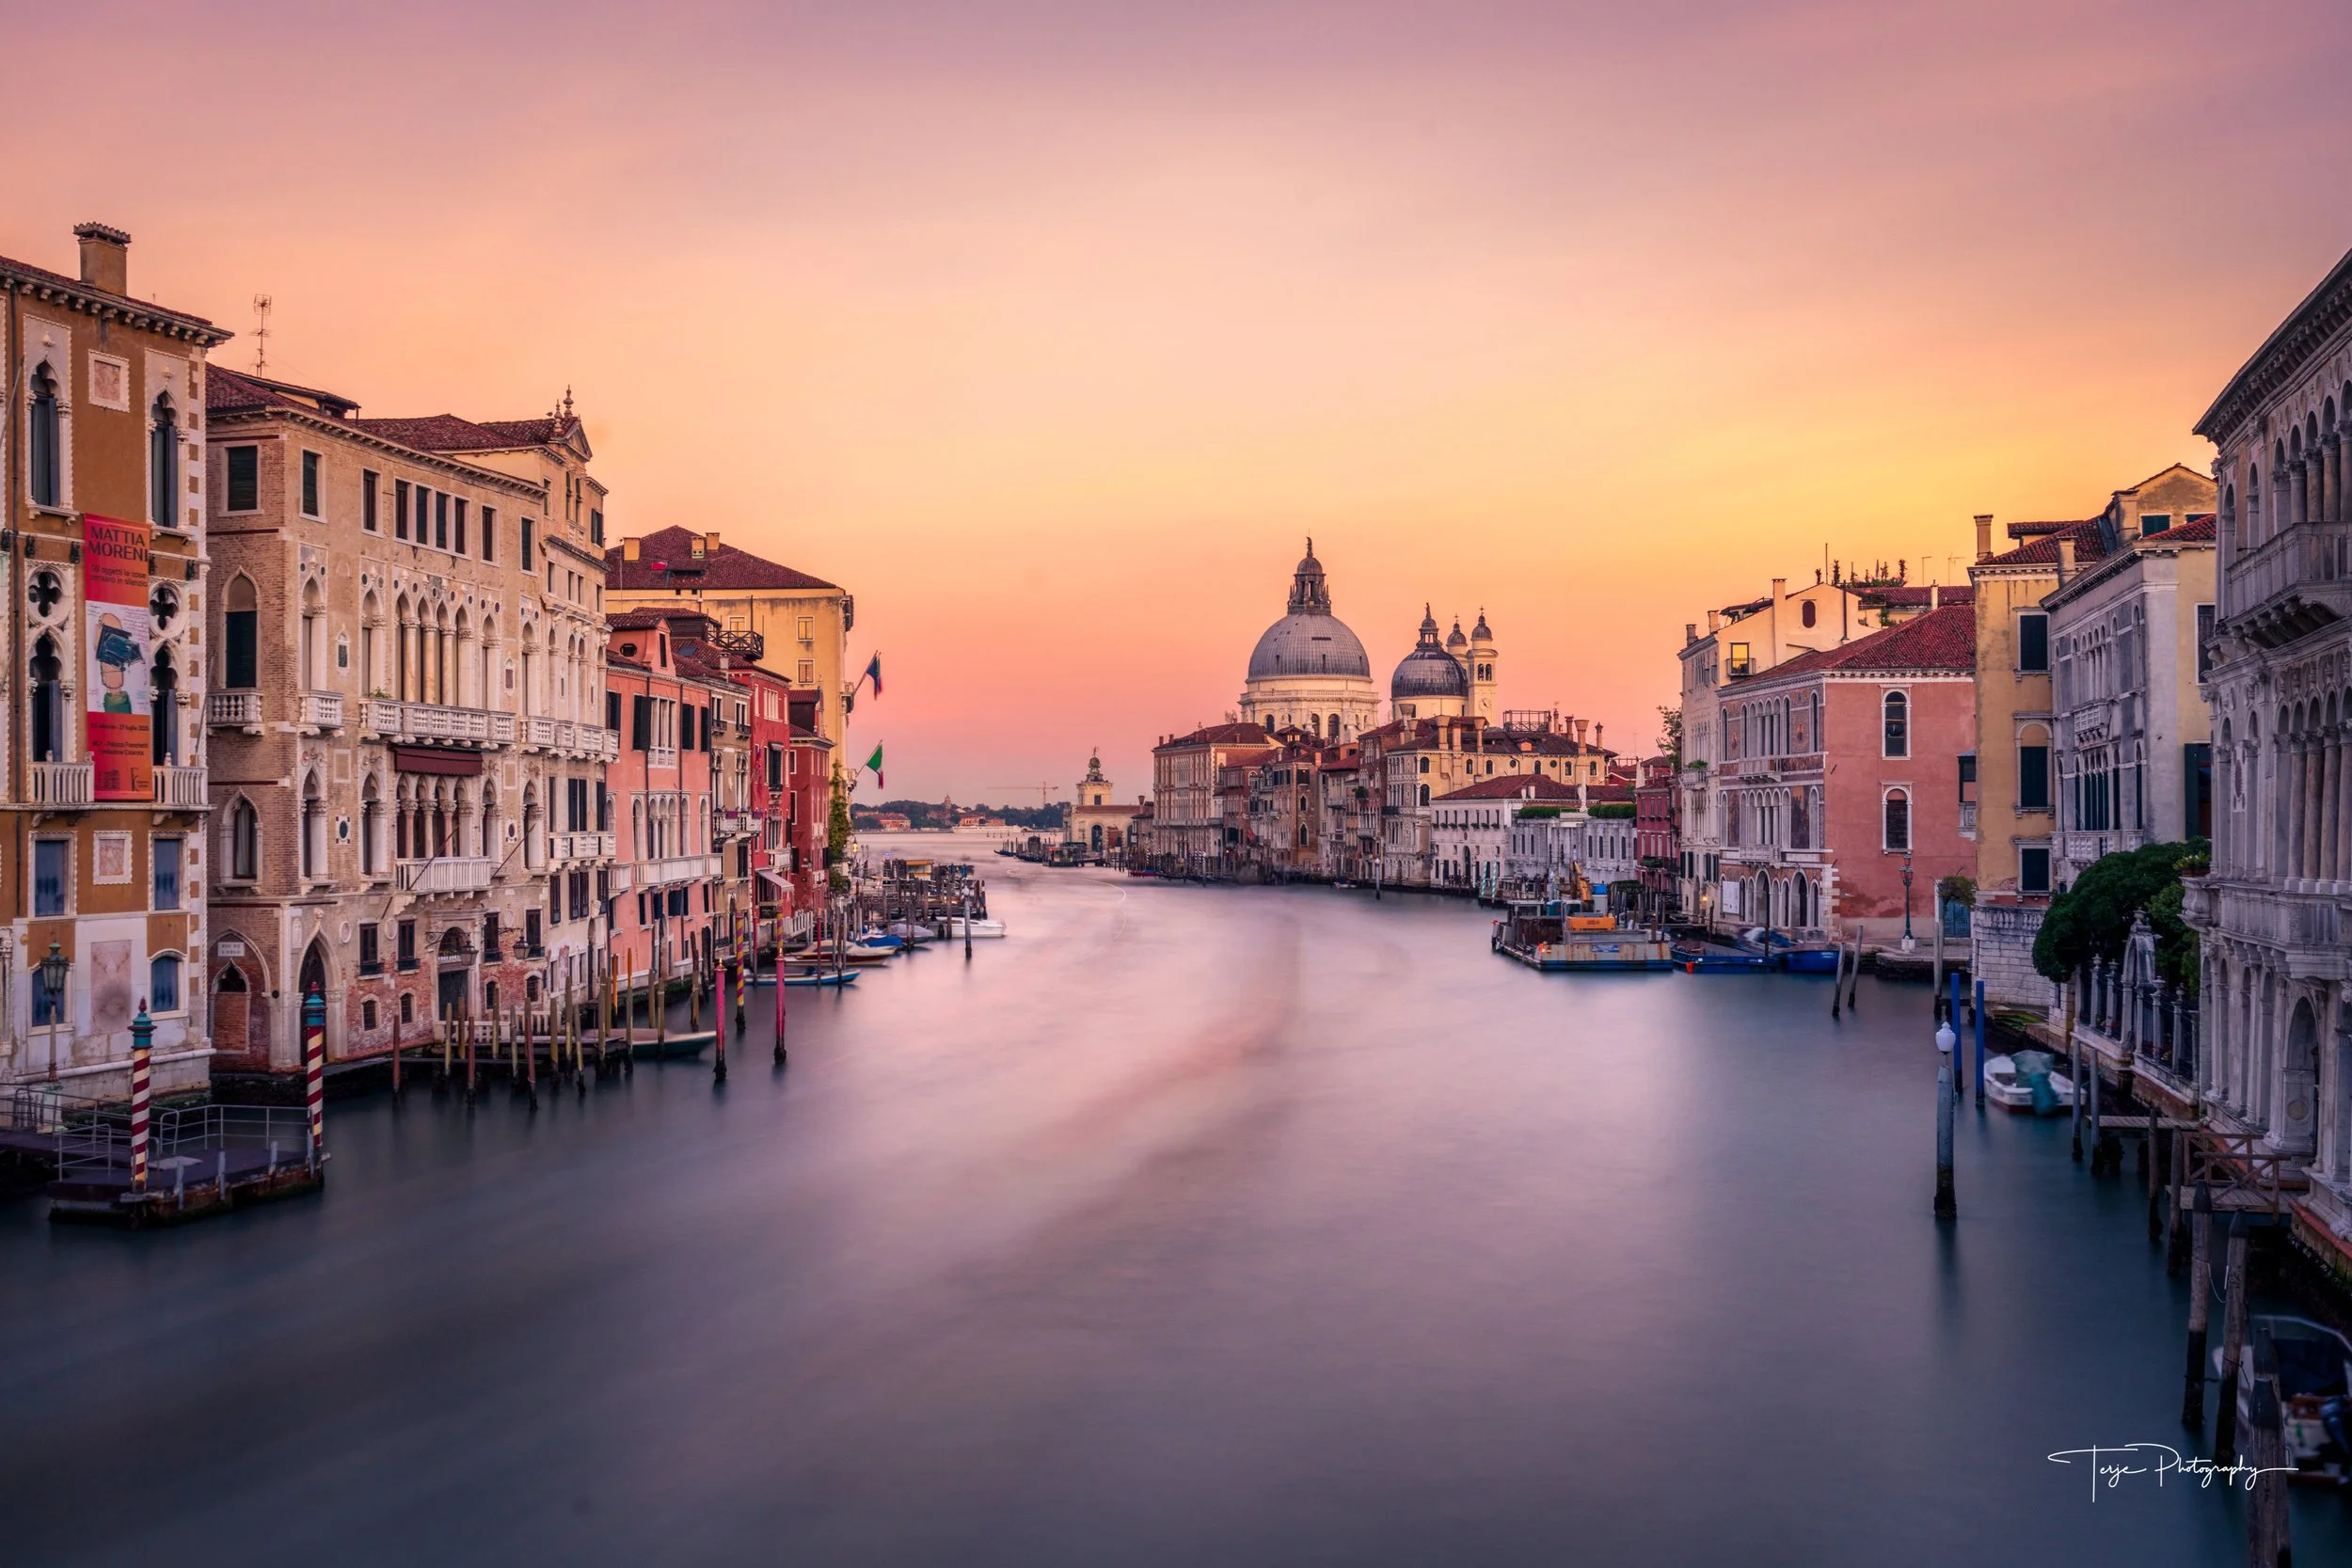
Cities like Venice reward timing. The mood is there — if you show up for it.
Some cities are built for photographers. Paris has long boulevards and stone façades that catch side light beautifully. Venice is water, reflections, and narrow passages where the mood changes every few meters. Florence is layered — from the right viewpoint it reads almost like a landscape with a cathedral at its heart.
Those are also the cities we return to in our workshops, because they reward a very specific way of working: you don’t rush, you don’t chase everything, and you don’t settle for the easiest light. You show up when the city is quieter, and when the light starts shaping what you see.
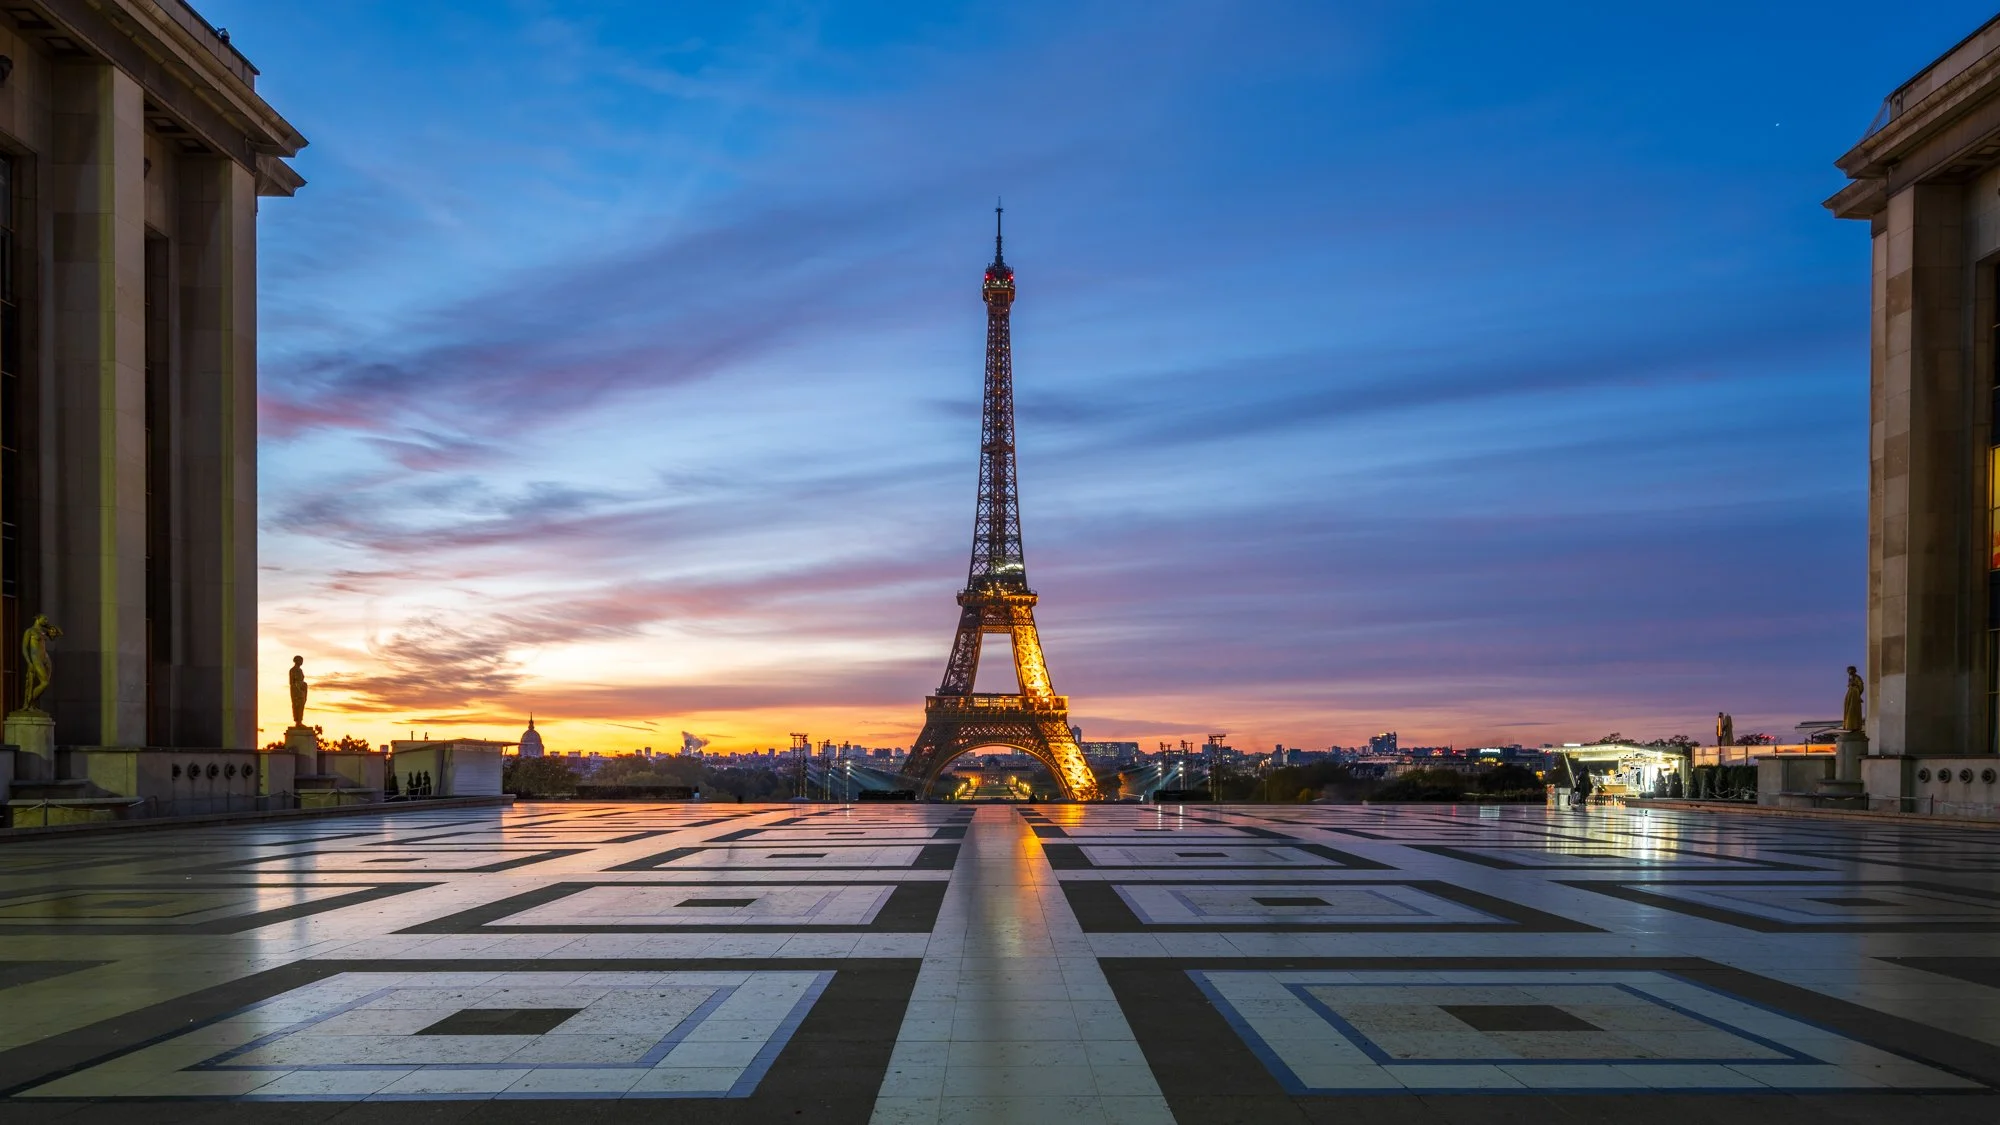
Paris rewards early starts — calm streets and light with direction.
Quick wins in 60 seconds
If you want your cityscapes to look more refined right away, change when you shoot. Arrive early or stay late. Build the frame around one strong line, add one foreground anchor, and keep the edges clean. Expose to protect highlights, and in editing aim for harmony instead of intensity.
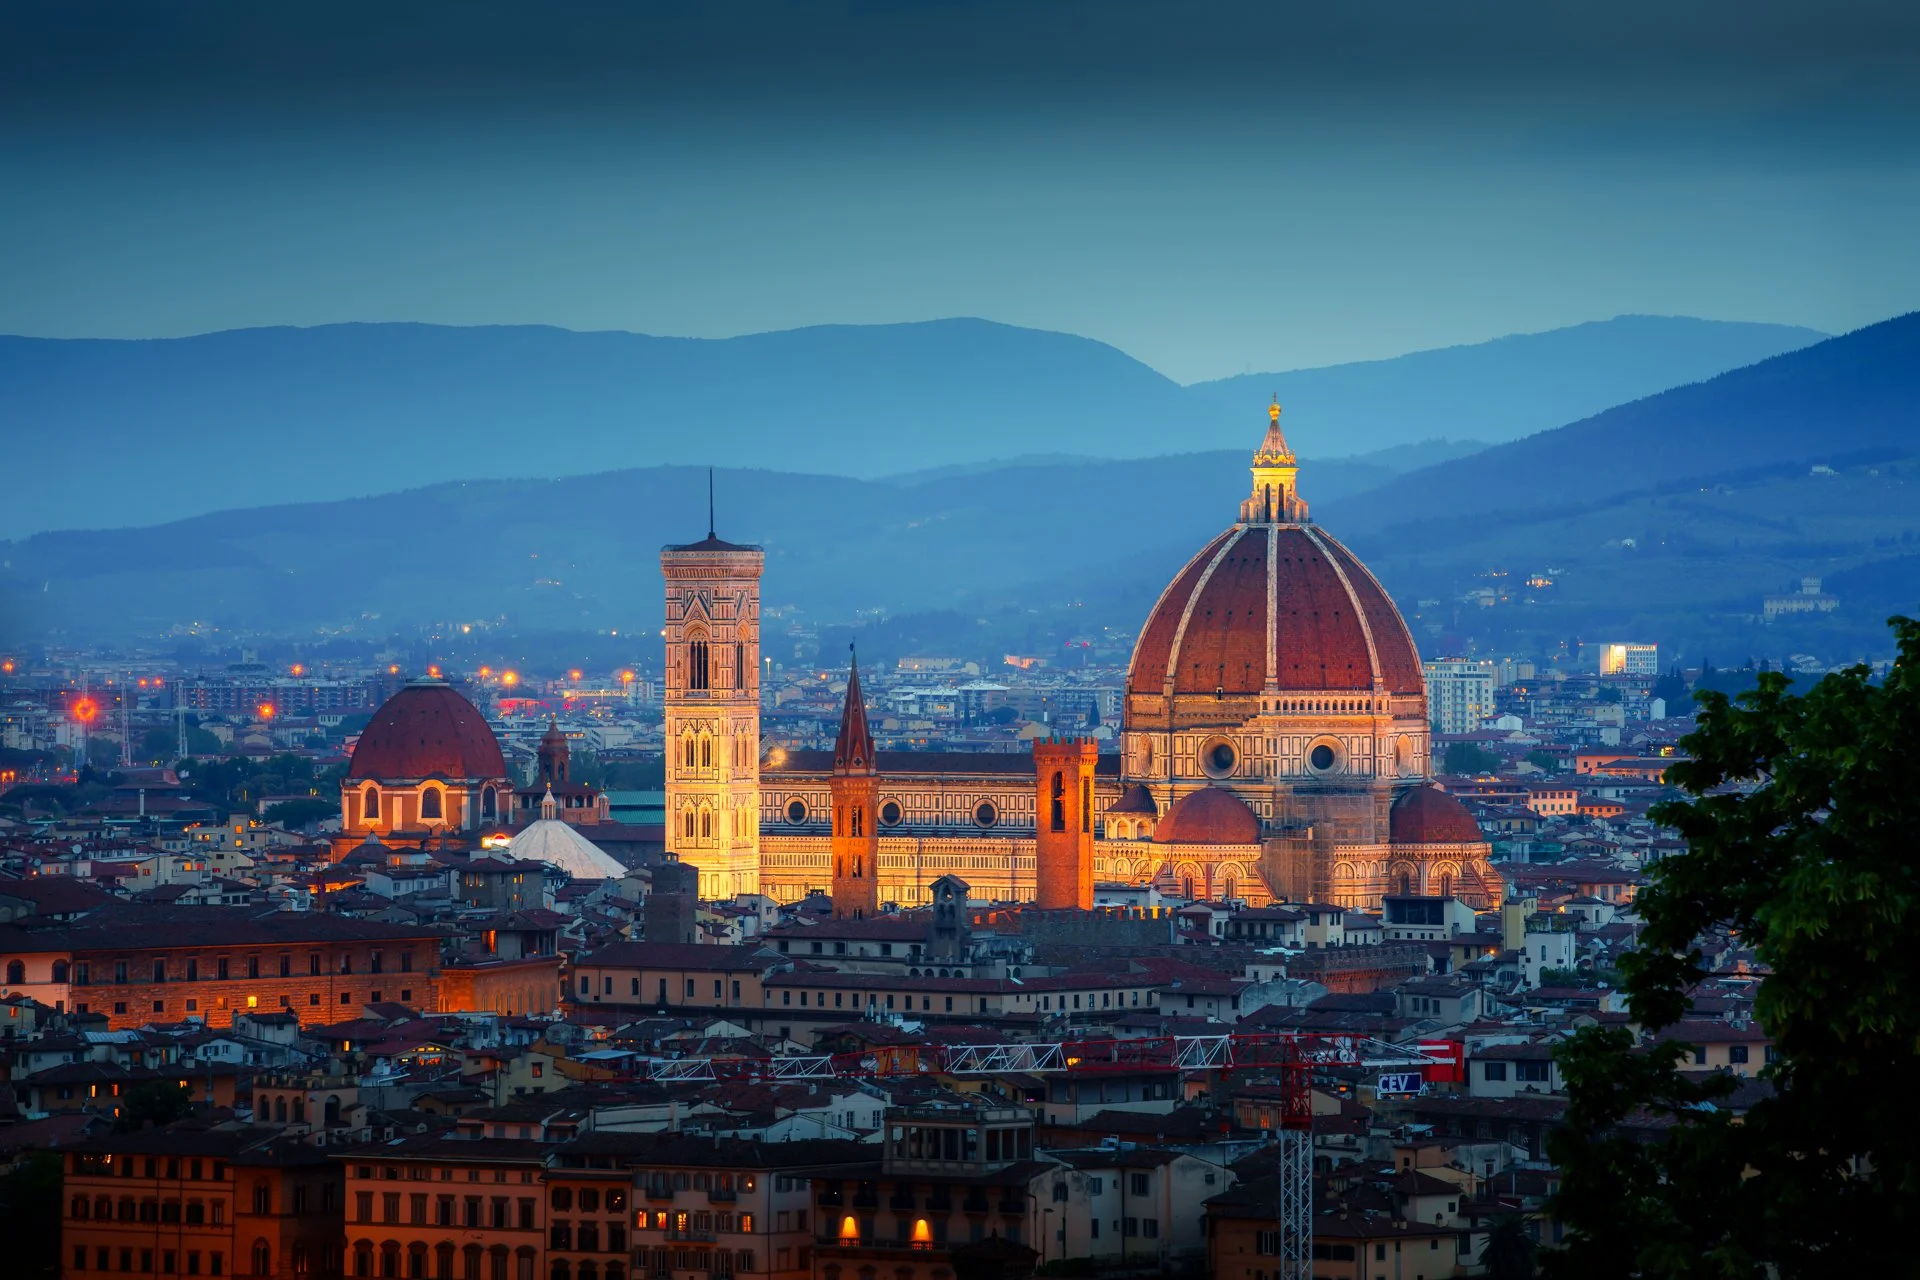
Florence at blue hour: depth in the sky, warmth in the city.
Why midday is the wrong default (for cityscapes)
Midday is when most people shoot — and it’s also when cityscapes often look their least interesting. The light is high and flat. Texture disappears. The city can feel like a checklist of landmarks rather than a photograph with mood and intention.
Crowds are the second problem. Even if the architecture is stunning, the frame quickly fills with distractions: people, signage, traffic, barriers, and small visual interruptions that make the image feel busy and accidental. In places like the Louvre, Rialto, or near the Duomo, midday becomes less about photography and more about negotiation: finding a clean angle inside a scene that doesn’t want to be clean.
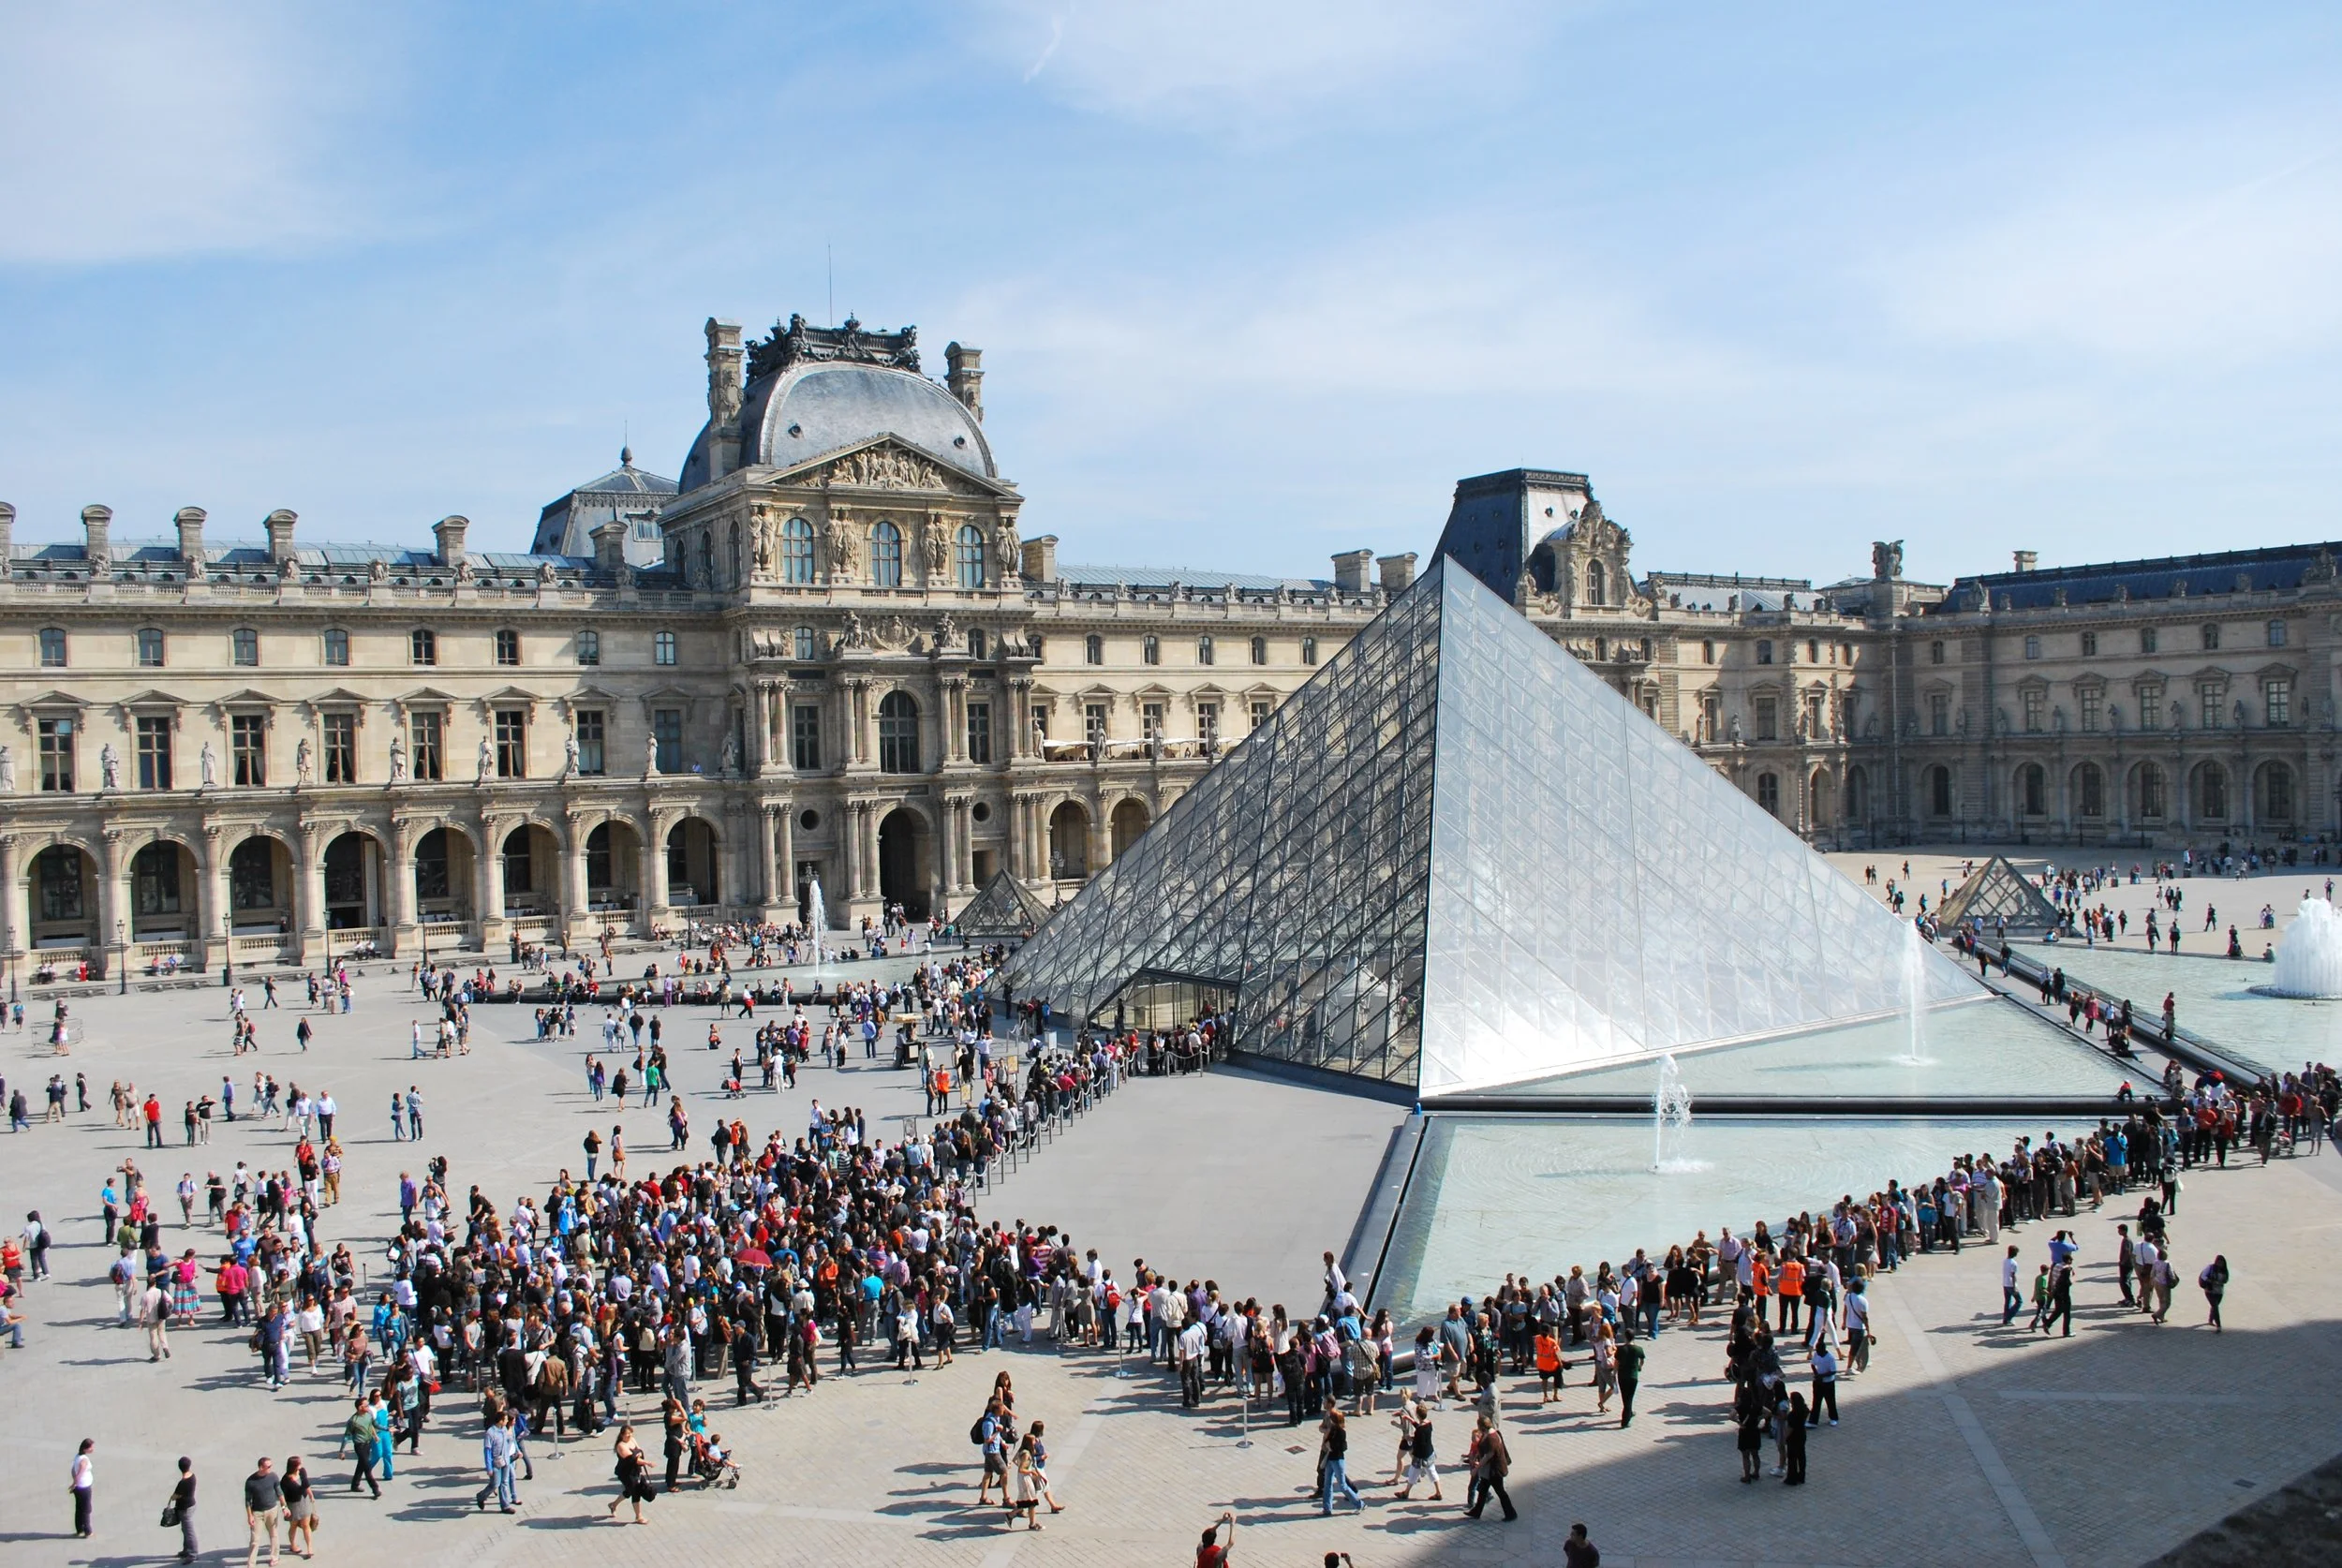
Midday often adds crowds and flattens the scene. Great for scouting — rarely the best starting point for cityscapes. Photo: Inge Knoff
That said, midday can absolutely work if you change approach. Instead of trying to make a sweeping postcard frame, think smaller and more graphic. Look for repetition, shadows, color blocks, reflections, or tighter compositions that simplify the city into shapes.
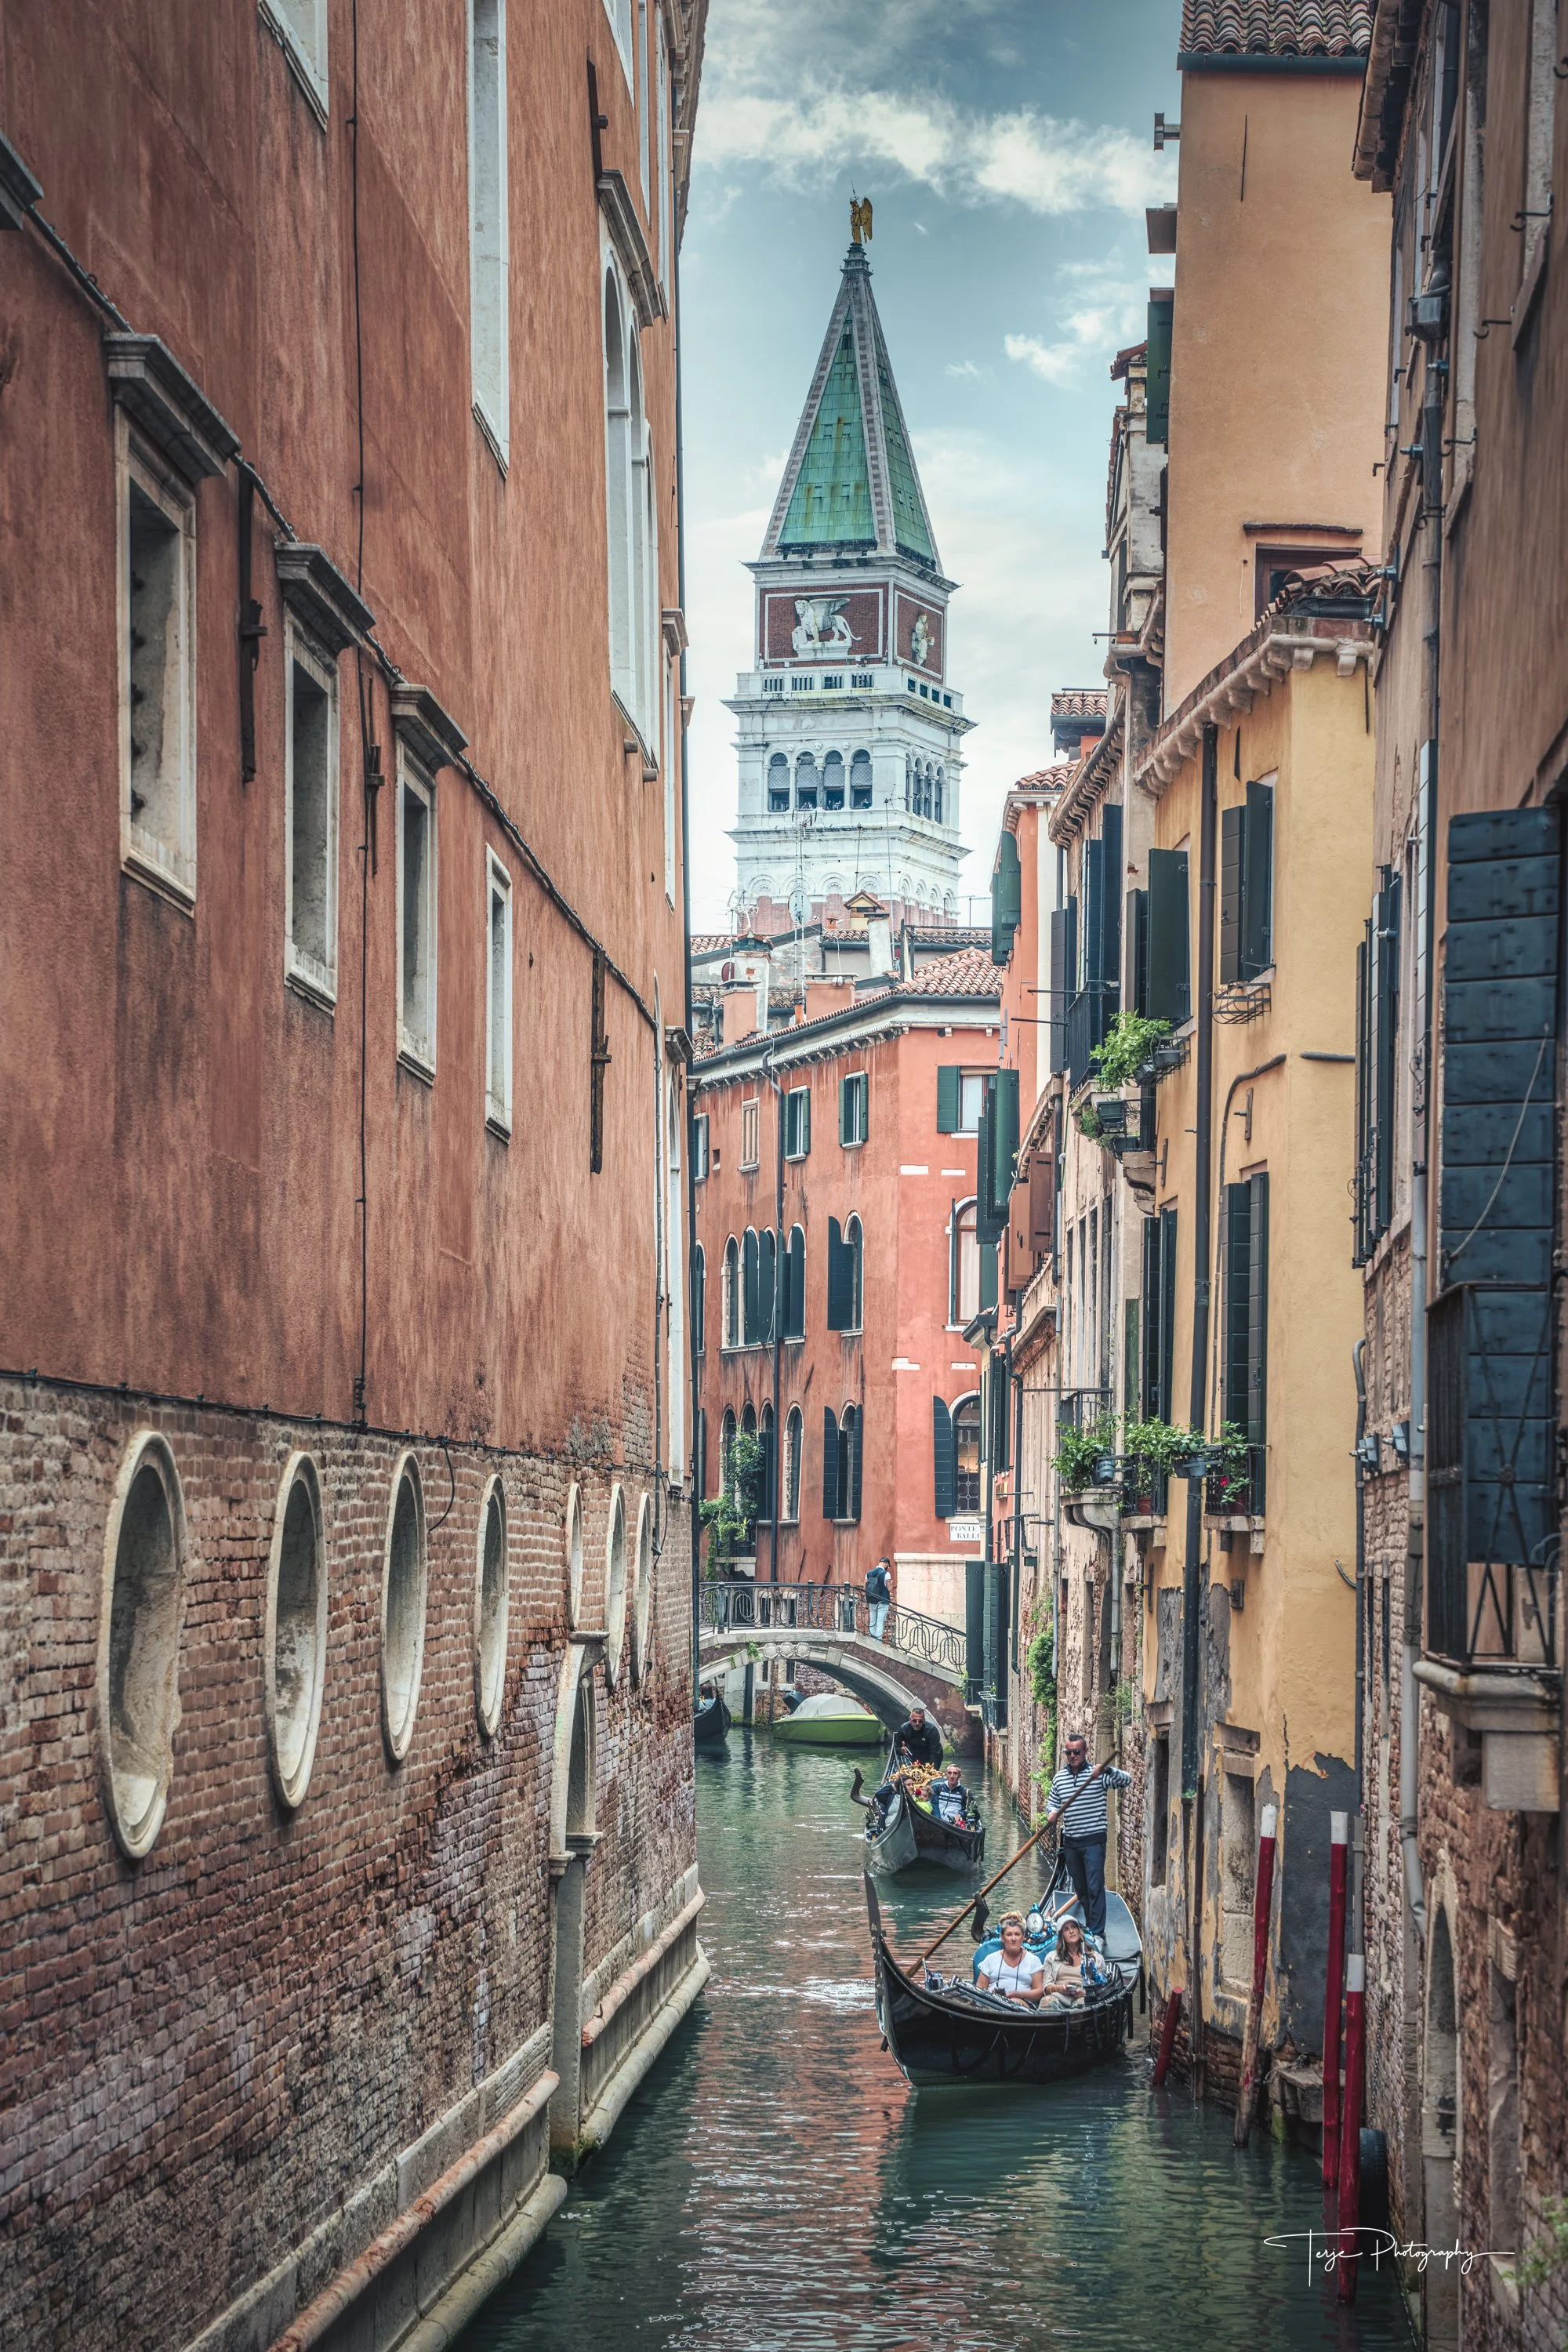
Daytime can work when you simplify and shoot with intent.
Midday is still valuable: switch to street photography
Here’s the upside: midday may be a poor default for cityscapes, but it can be the best time for street photography.
This is often how we work when we travel. Sunrise and blue hour are for cityscapes — for the architectural “bones” of the place. Midday is for the city’s pulse: people, rhythm, gesture, café life, market scenes, transit, and the small situations that tell you what a place actually feels like.
If you combine both, you come home with something richer than views. You come home with a story: the city’s structure and the city’s life.
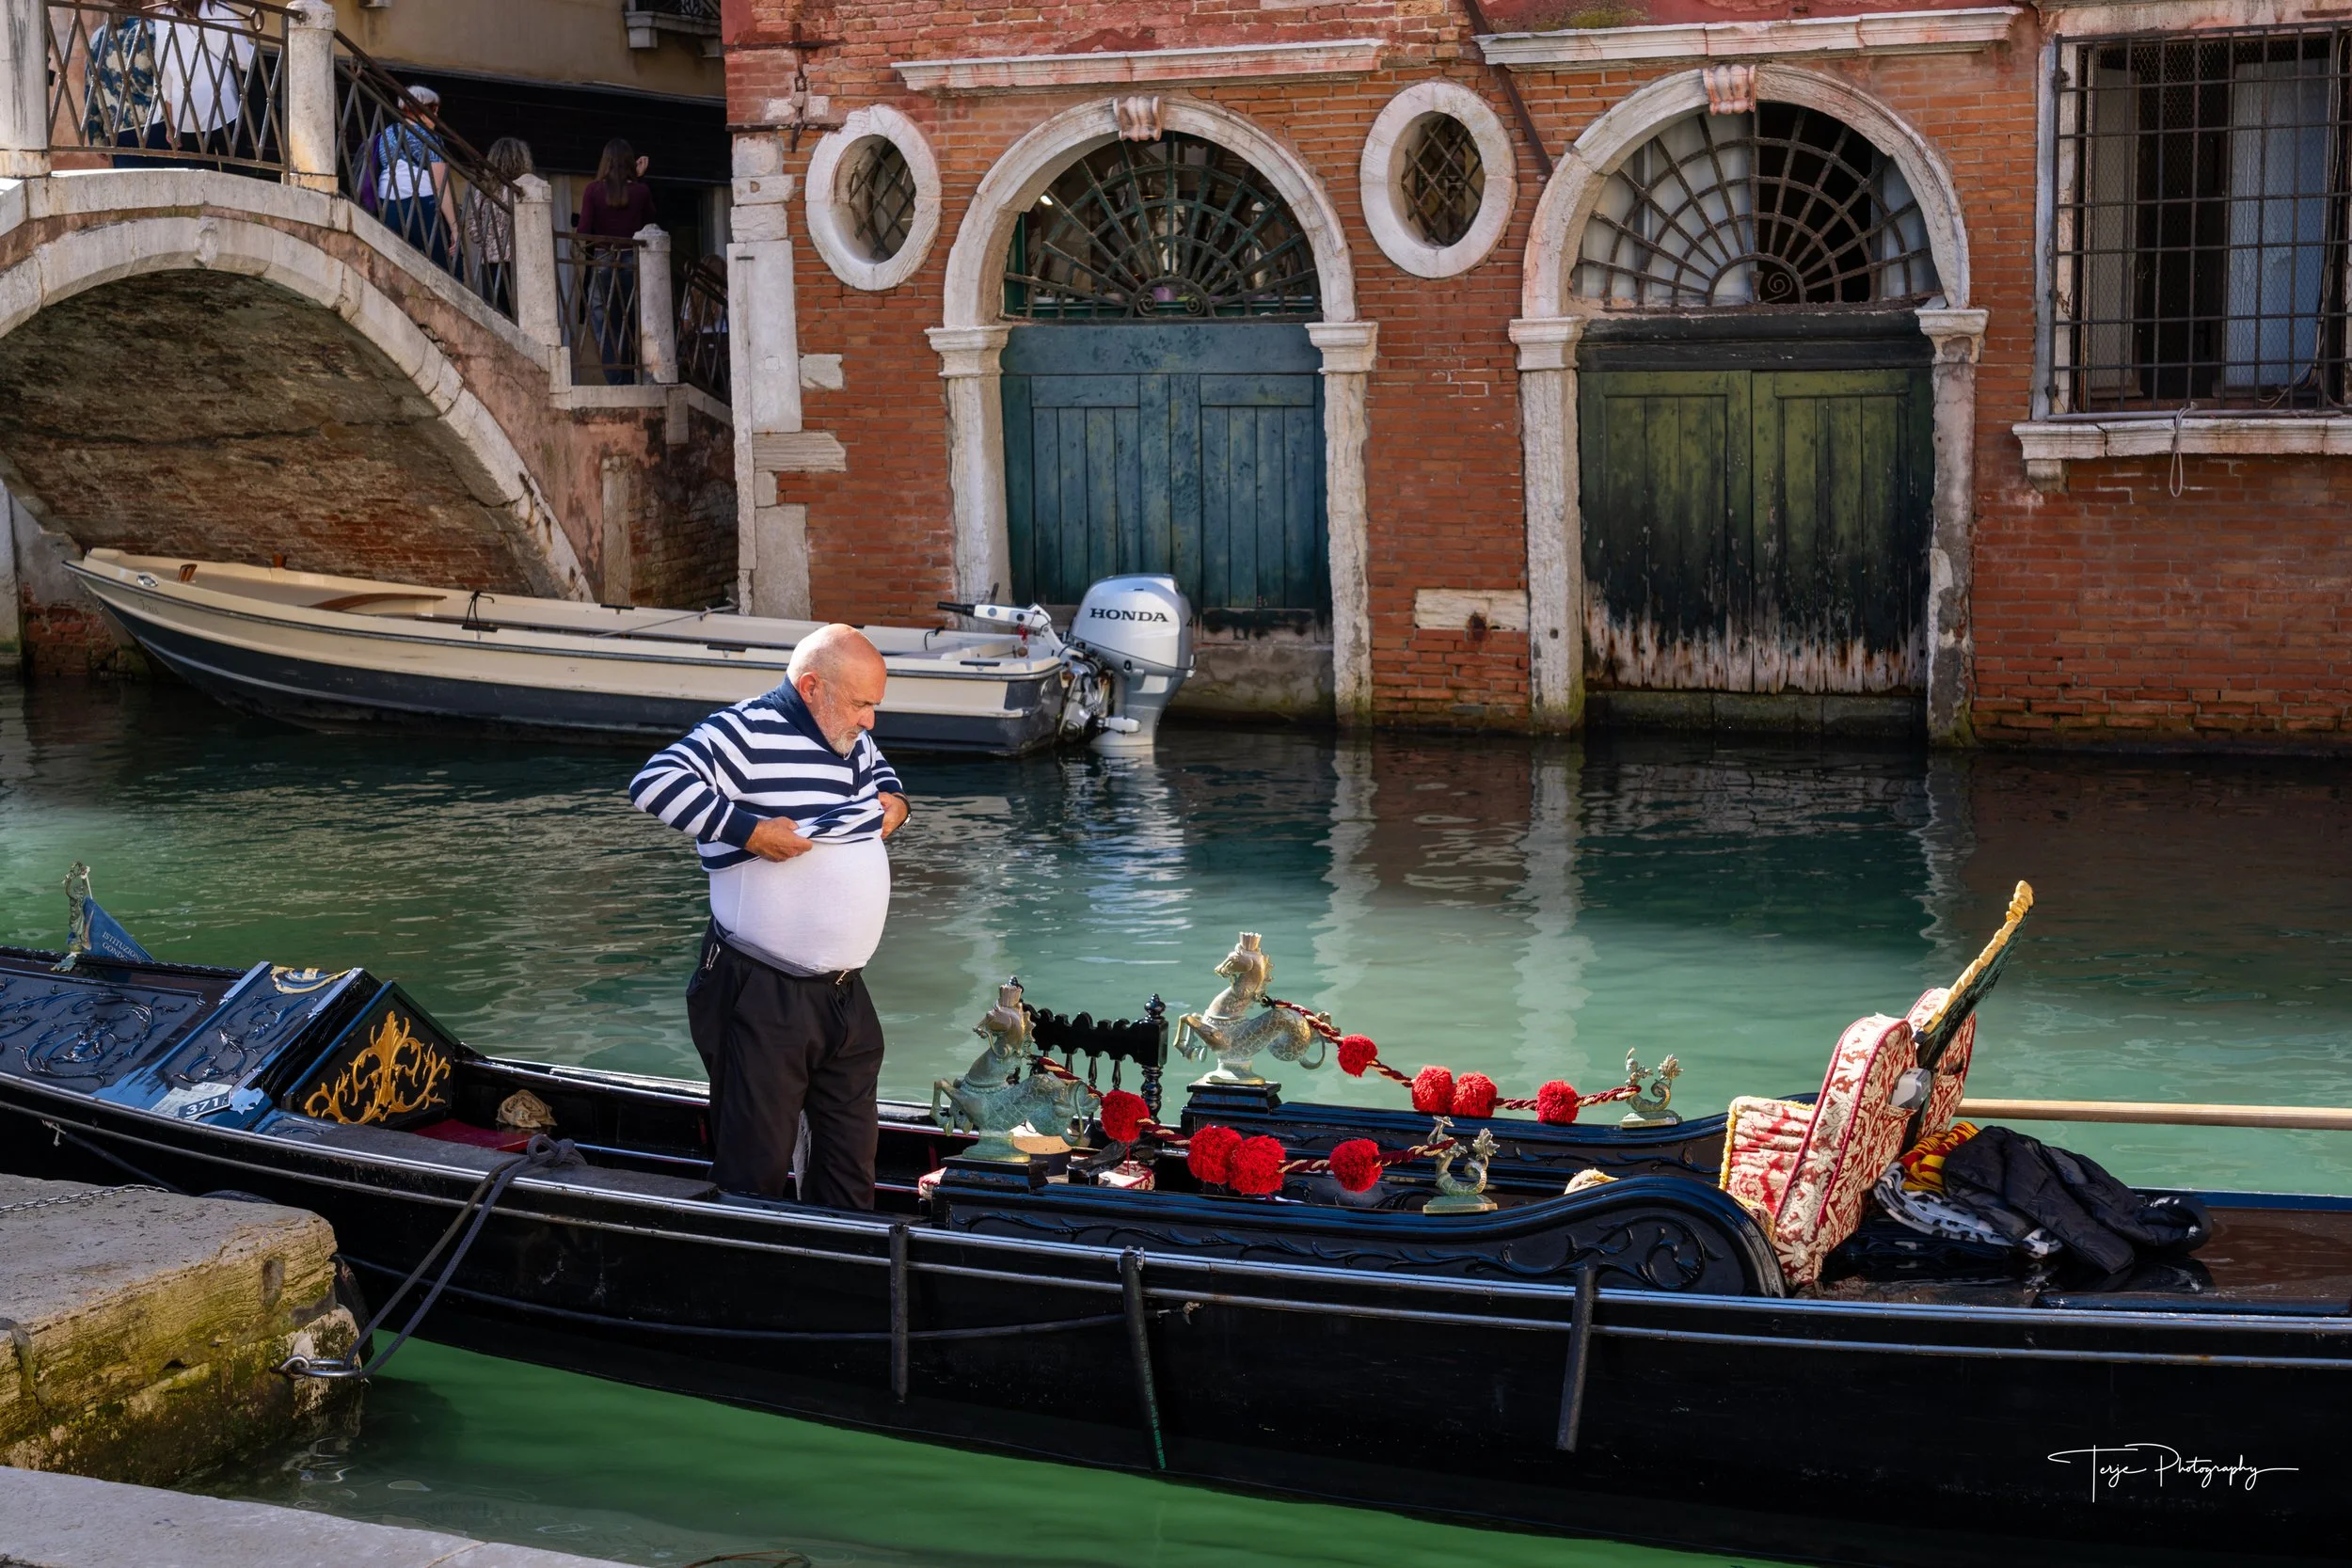
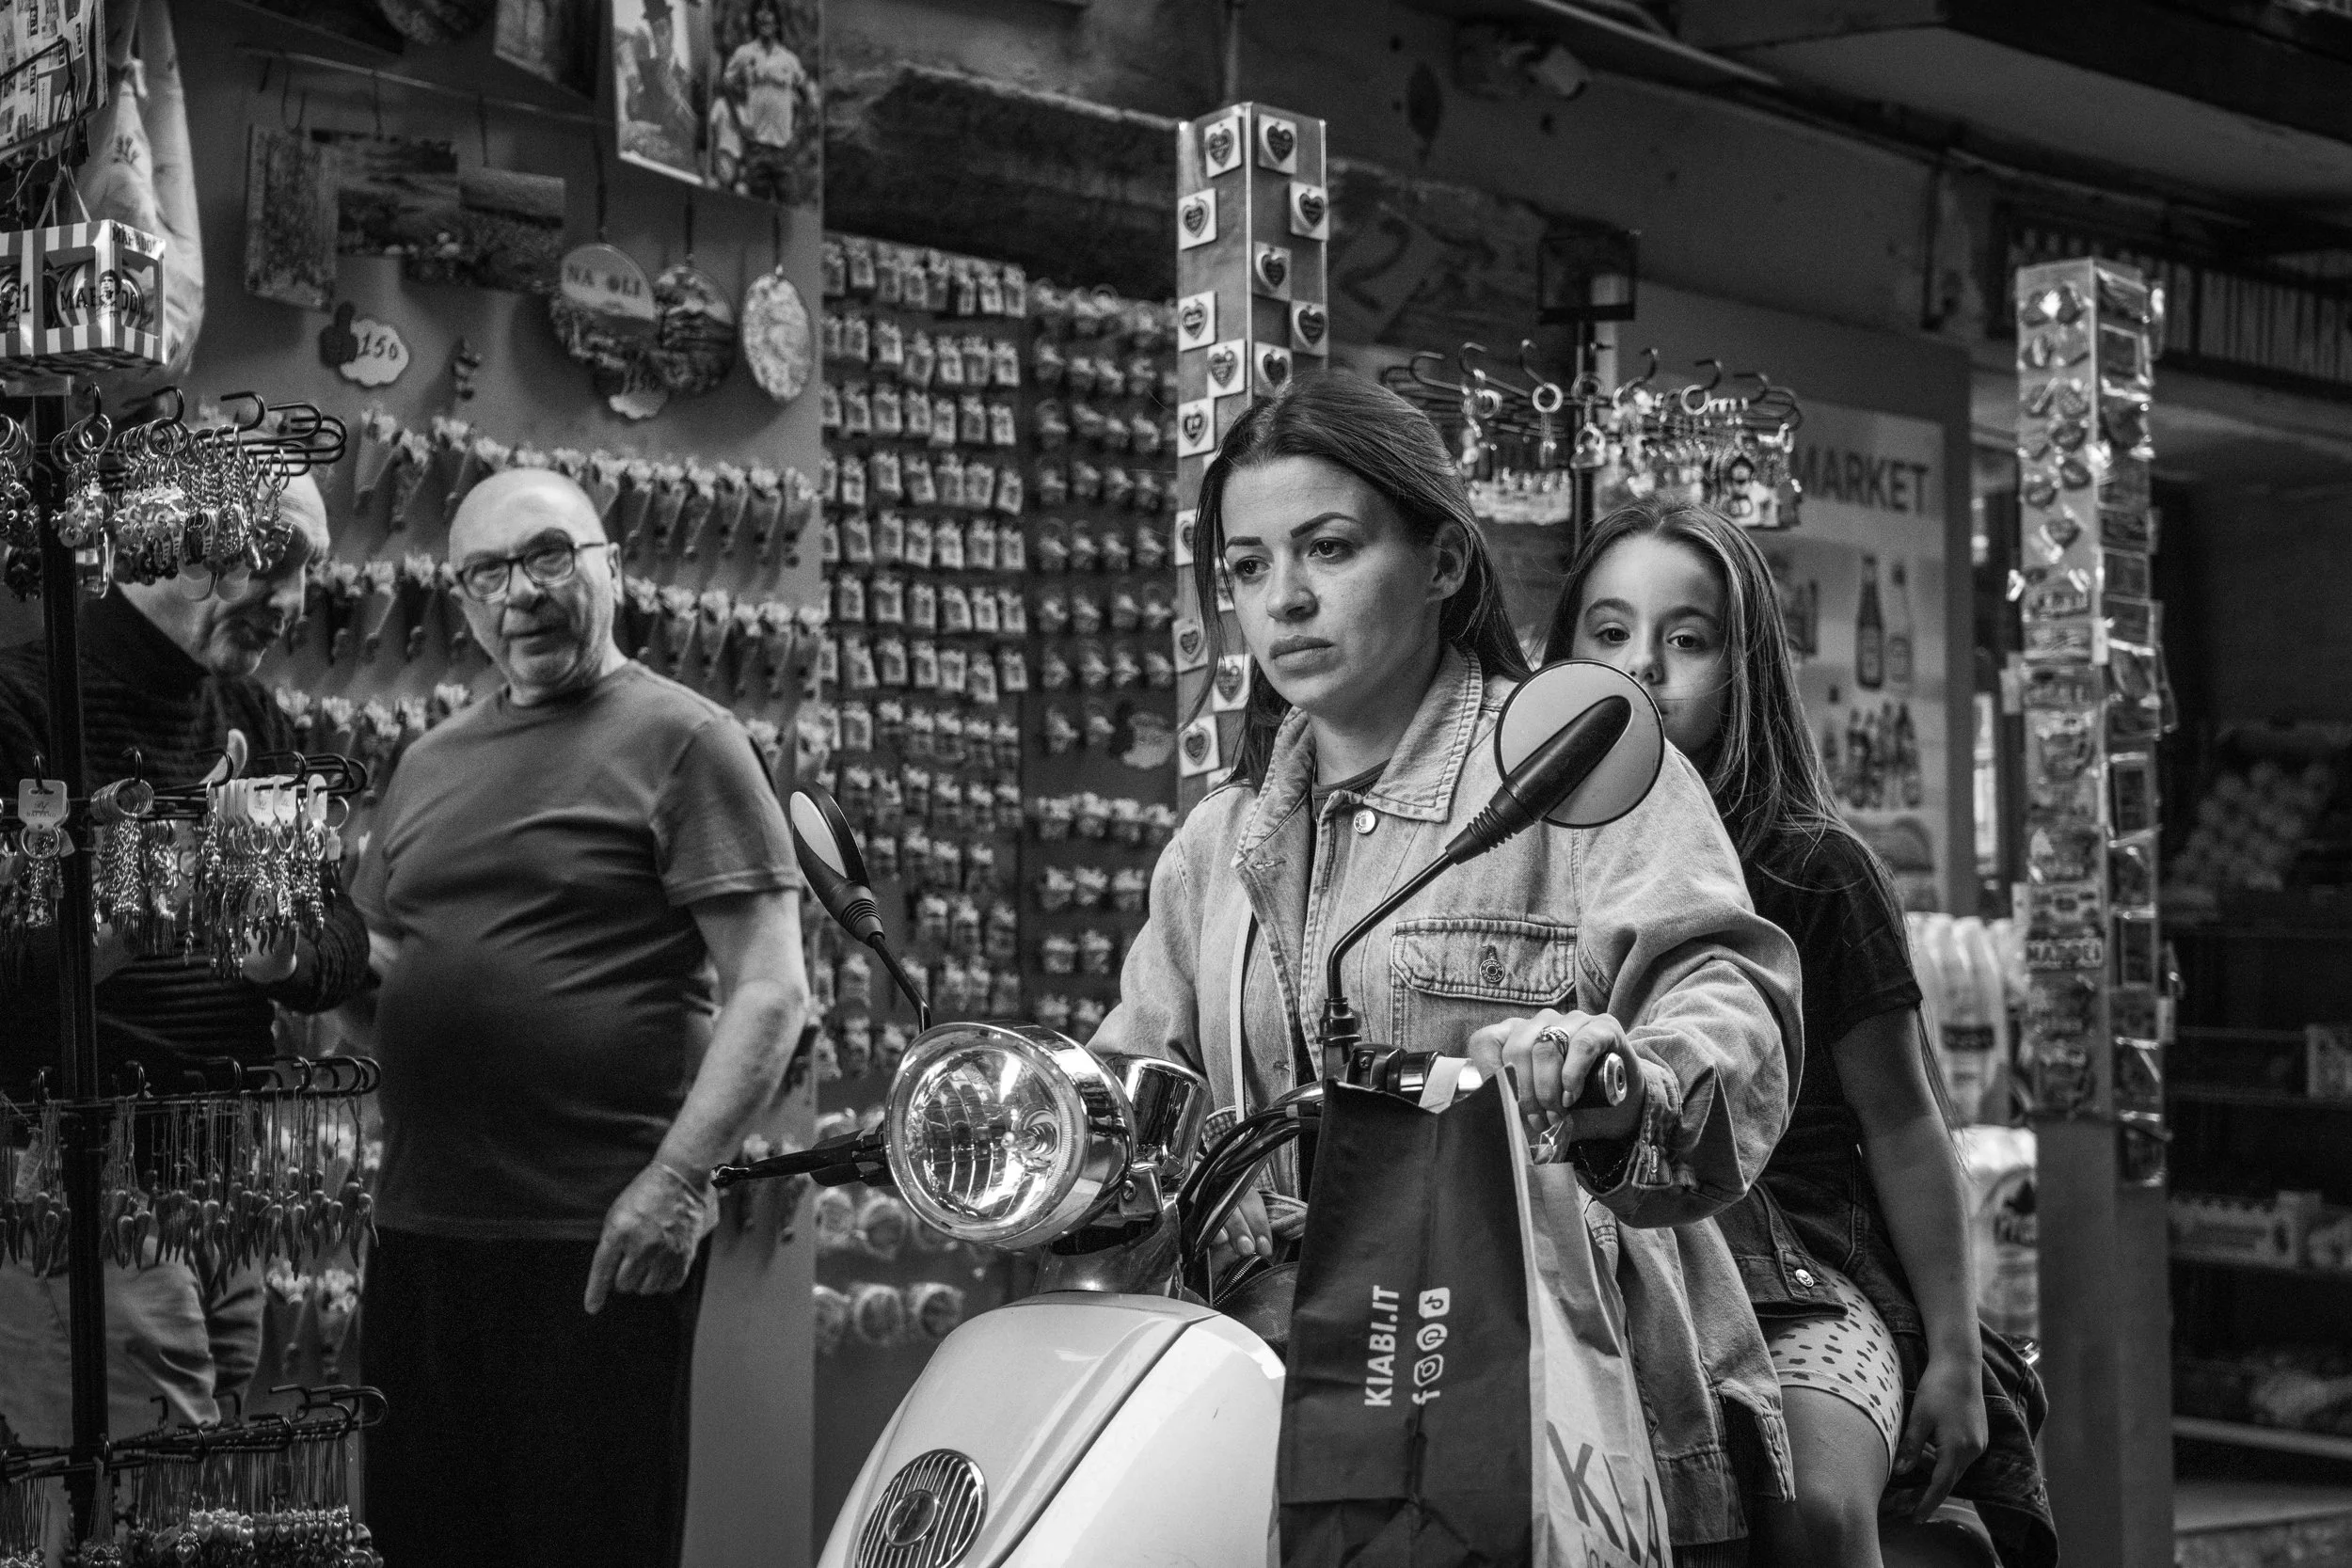
If you’d like to go deeper into street photography, Bjørn has written a thoughtful article about observation and storytelling that pairs beautifully with cityscape work. You can read it here.
A simple rhythm that works in almost any city
When we shoot cityscapes on our workshops, we usually follow a rhythm that keeps everything calm and productive. We start early, when the city is still quiet, and build a few strong frames in sunrise light. Midday is for walking, scouting, and street photography — the human layer that gives context and story. Then we return for blue hour, when the city lights come on and everything becomes more coherent. If conditions are right, we finish with a short night session for long exposures and a different mood. That structure isn’t complicated, but it removes stress and makes the best light feel predictable rather than lucky.
Timing and light: when the city becomes cinematic
Golden hour isn’t just warm color. It’s direction. It’s when a flat façade turns into form, and when a street becomes a composition because the shadows start doing real work. In Paris, that low light can make the city feel sculpted. In Venice, it can make the canals feel calmer and more coherent. In Florence, it often creates a softer, layered look where the city glows without shouting.
Sunrise is also underrated for one simple reason: access. You’re not fighting for space. You can slow down and build the frame.
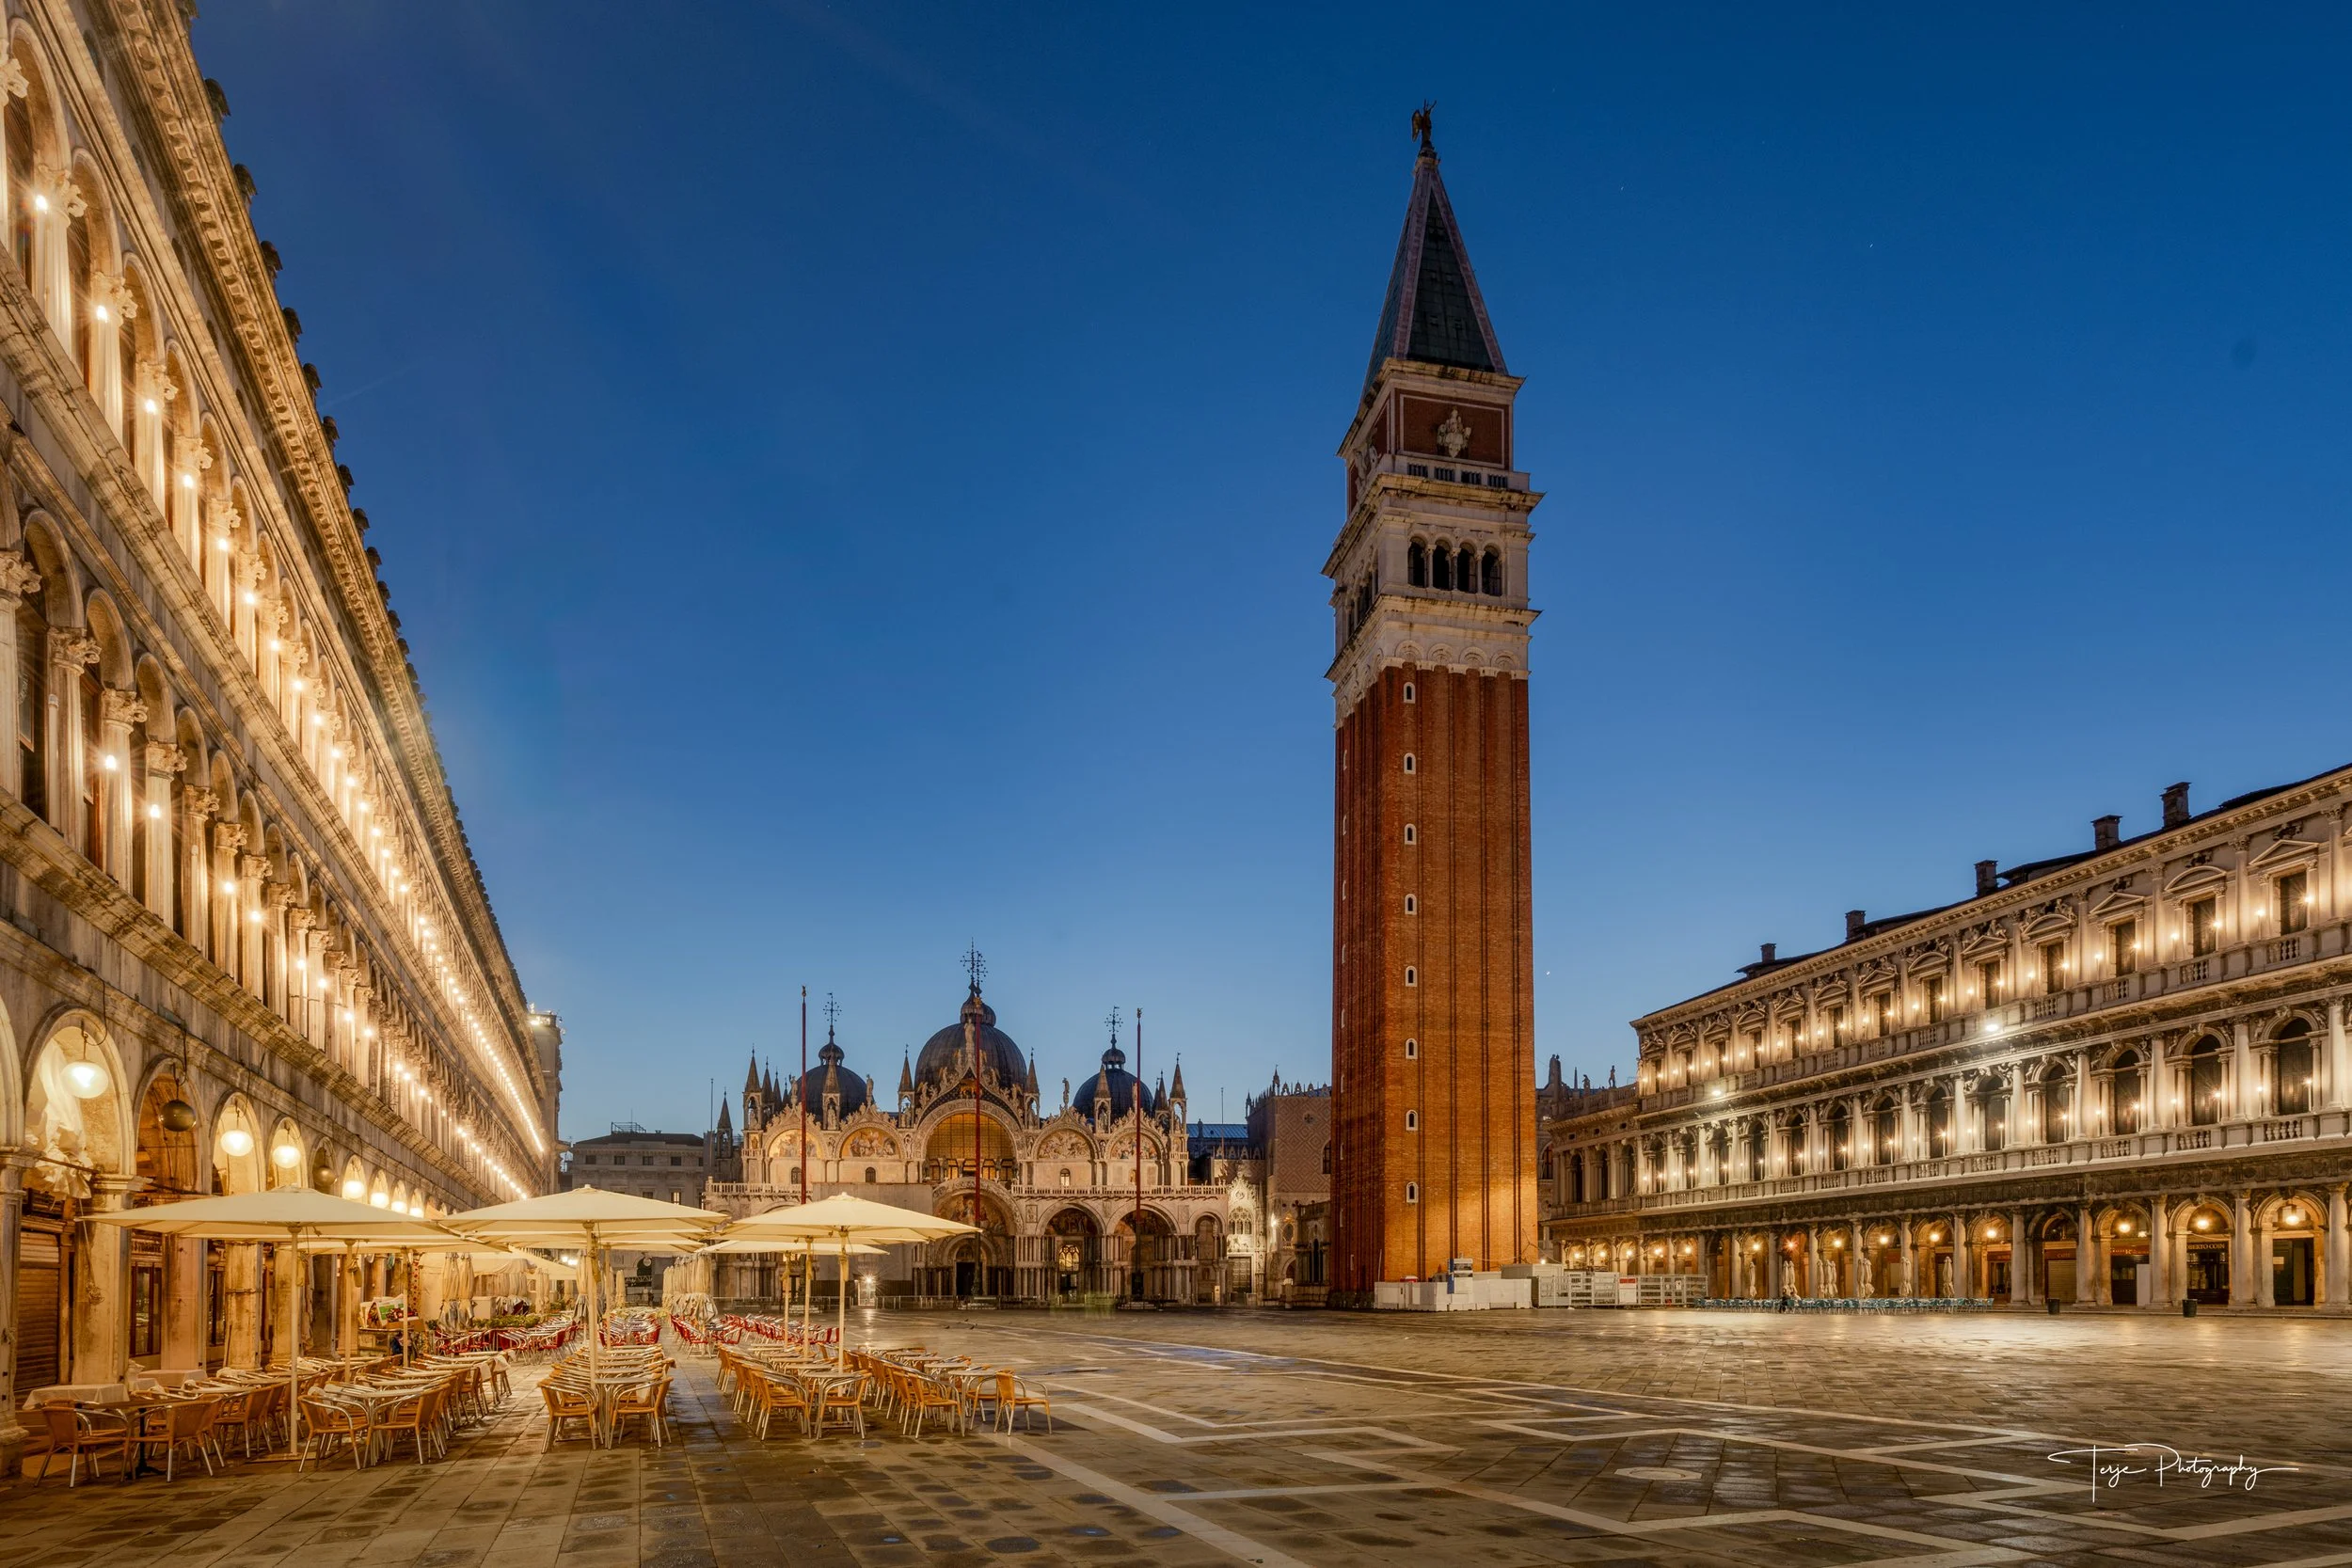
Early morning buys you calm, space, and cleaner frames.
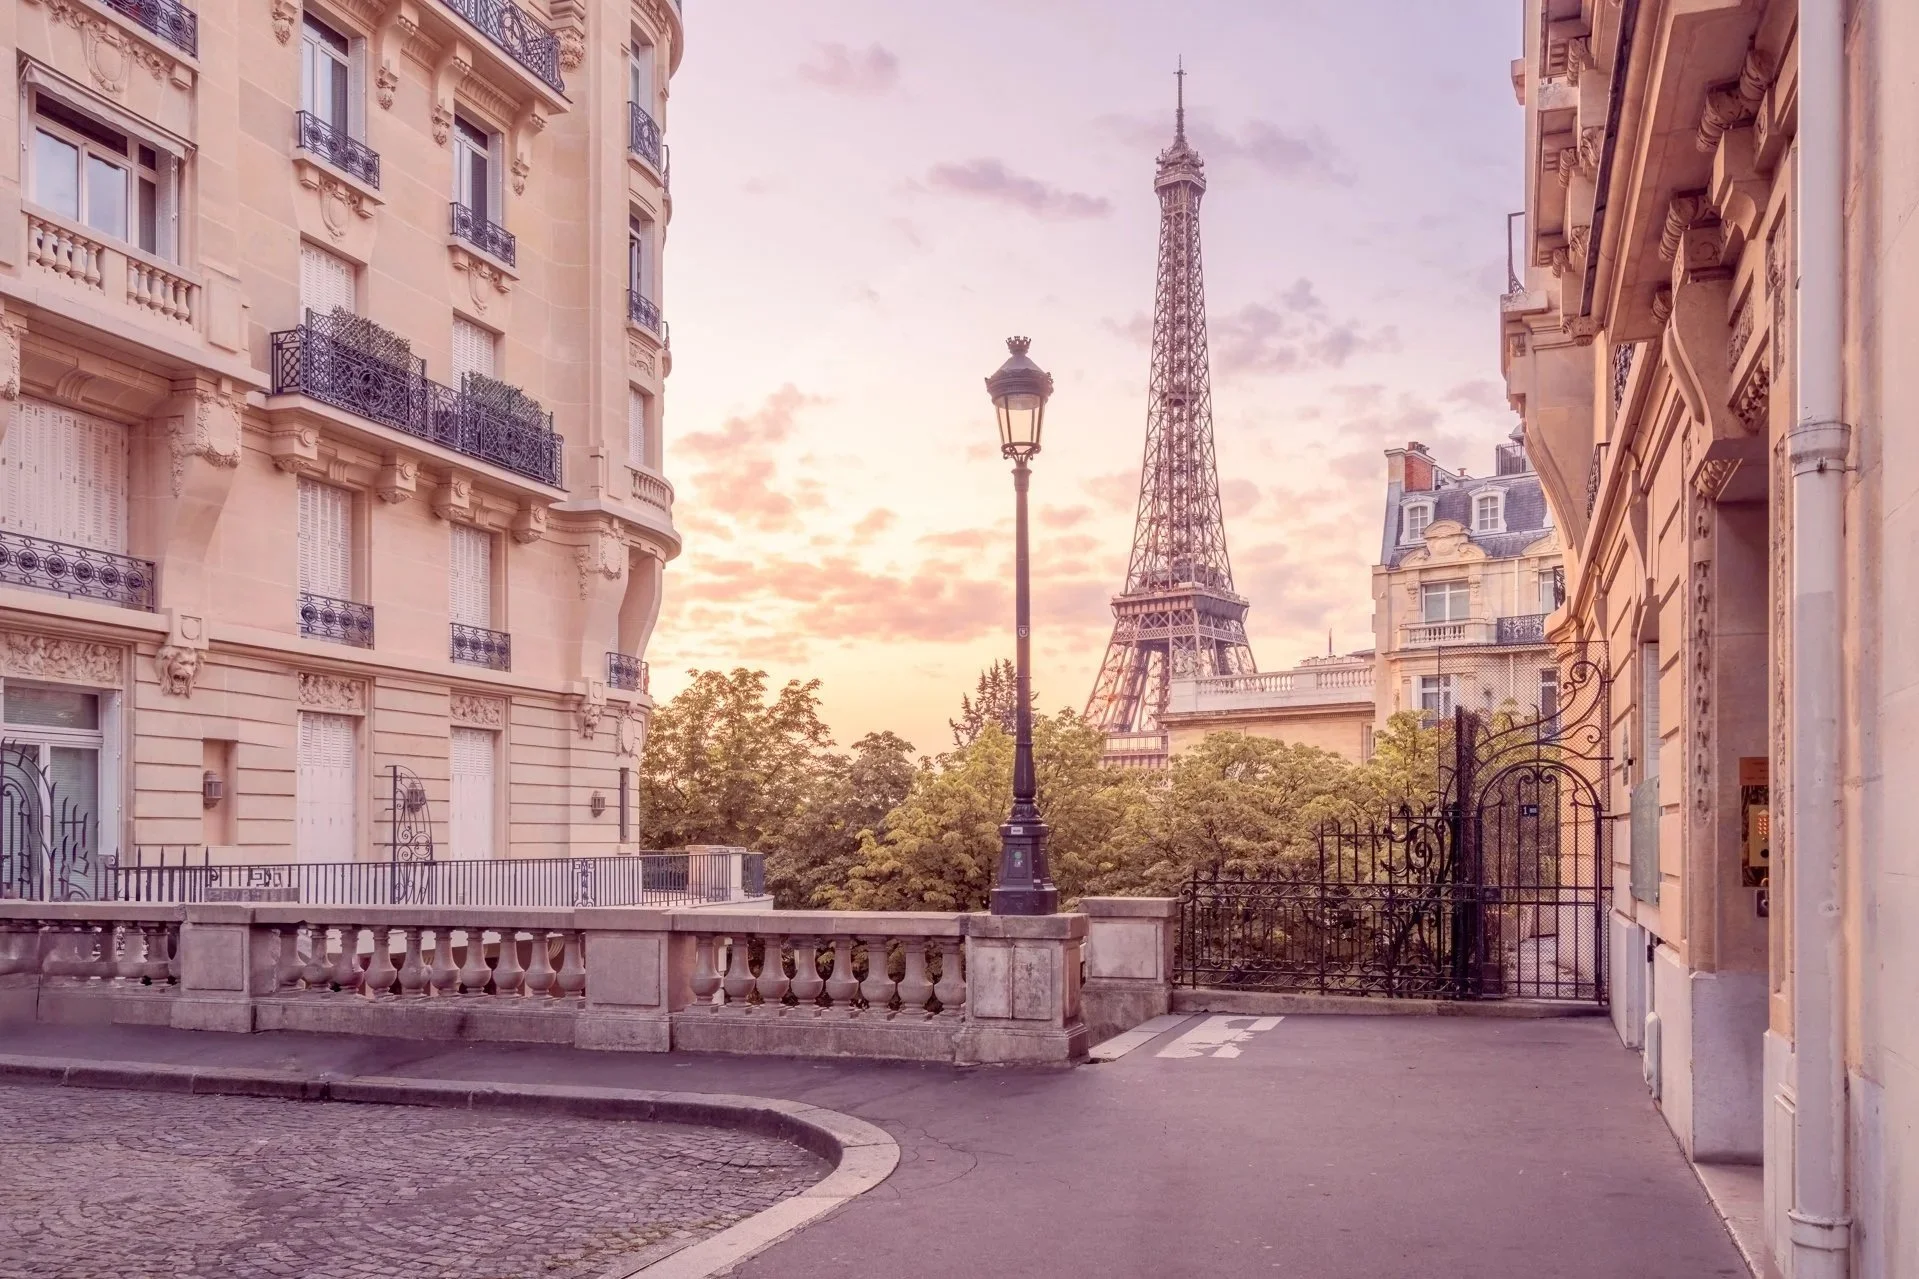
Directional light creates depth and shape.
Sunset is often the most dramatic moment, but also one of the busiest. The trick is not to obsess over the sky. Ask instead: where is the light landing? Which surfaces pick up texture? Which lines become clearer? Most of the time the best frames aren’t “the biggest view,” but the view where the light makes the subject feel three-dimensional.
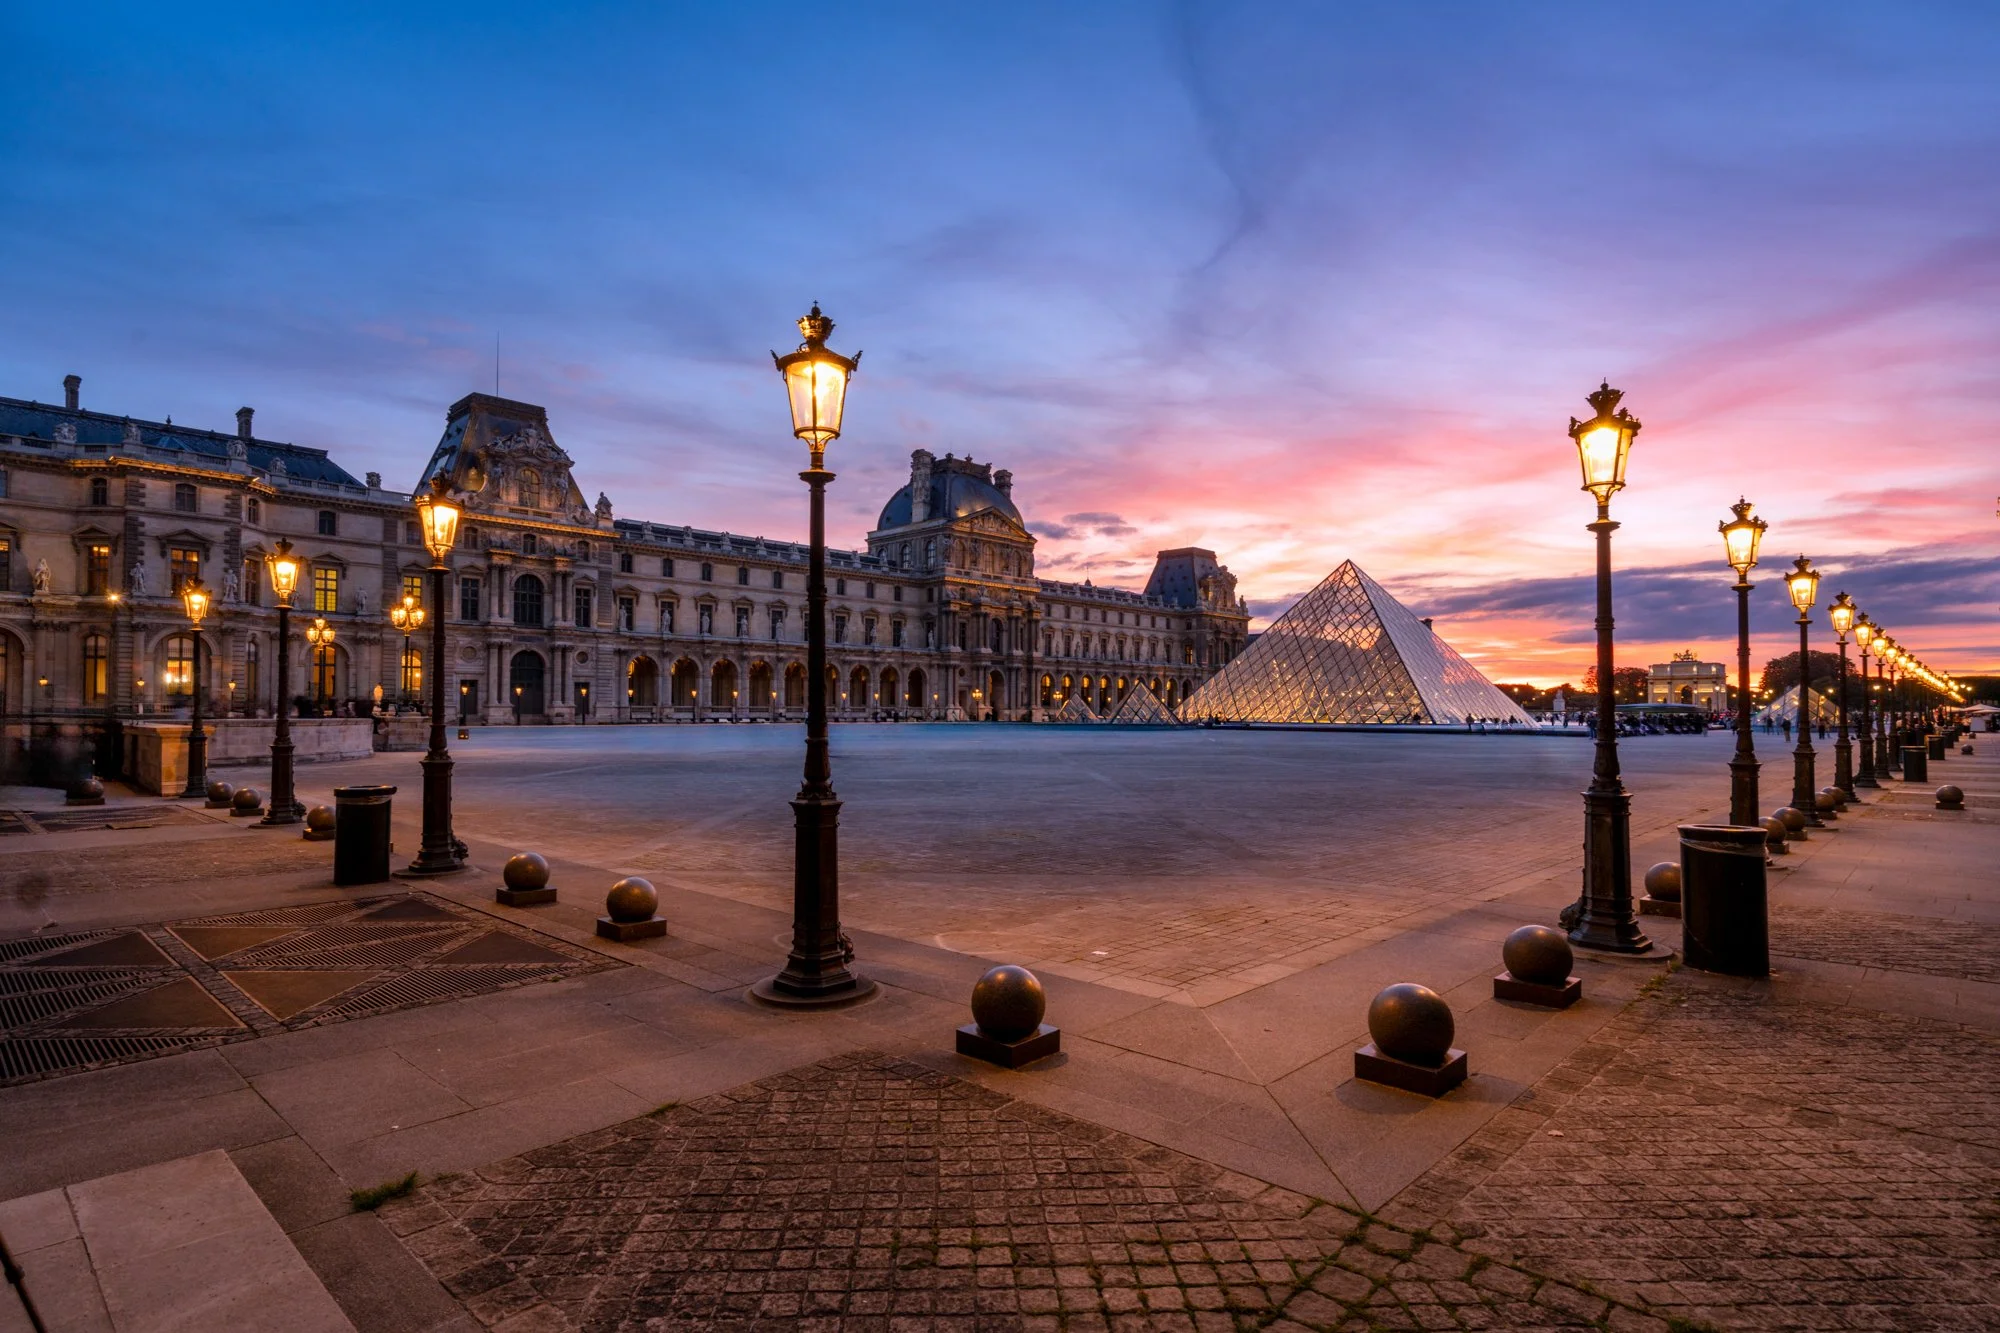
Don’t chase the sky — watch what the light does to the city.
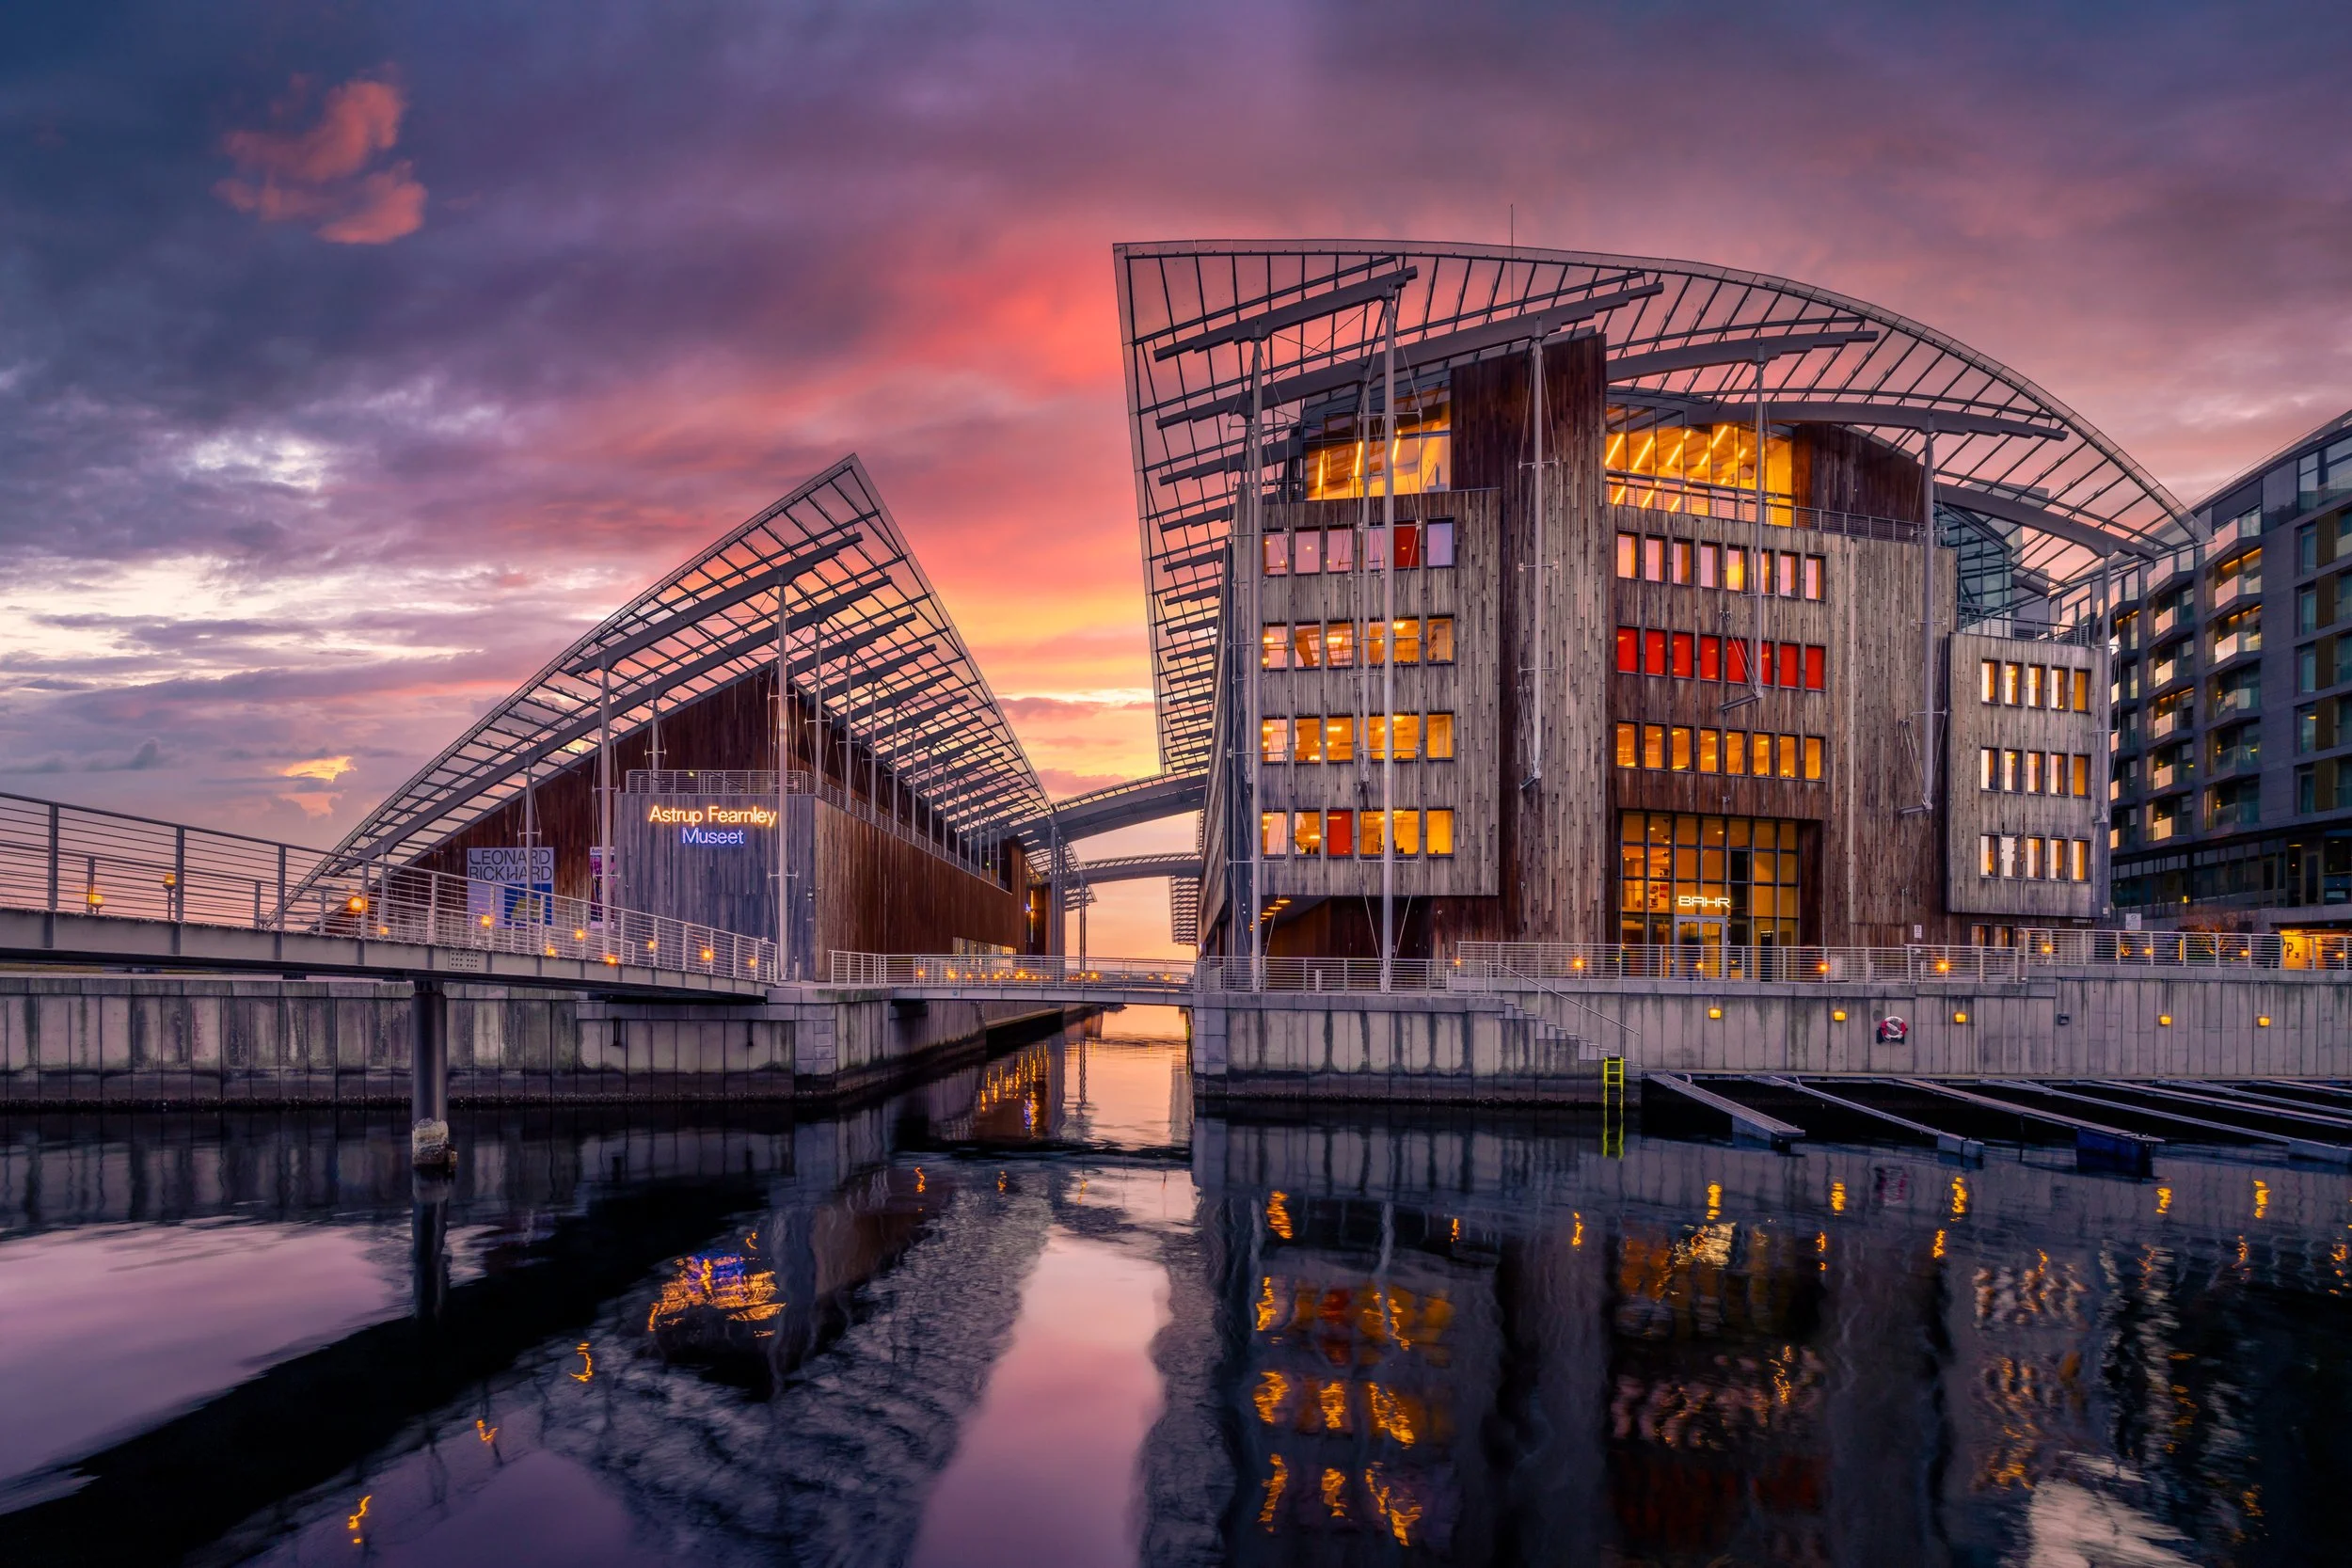
When the light lands right, architecture stops being a subject and becomes a mood
Blue hour is where many classic cityscapes are made. The sky holds depth while the city lights come on, and suddenly everything looks more balanced. It’s also the moment when colors start cooperating: cool sky, warm lights, and fewer harsh transitions.
Blue hour is short. The photos that look effortless are usually made by someone who arrived early, built the composition first, and then simply waited for the city to turn itself on.
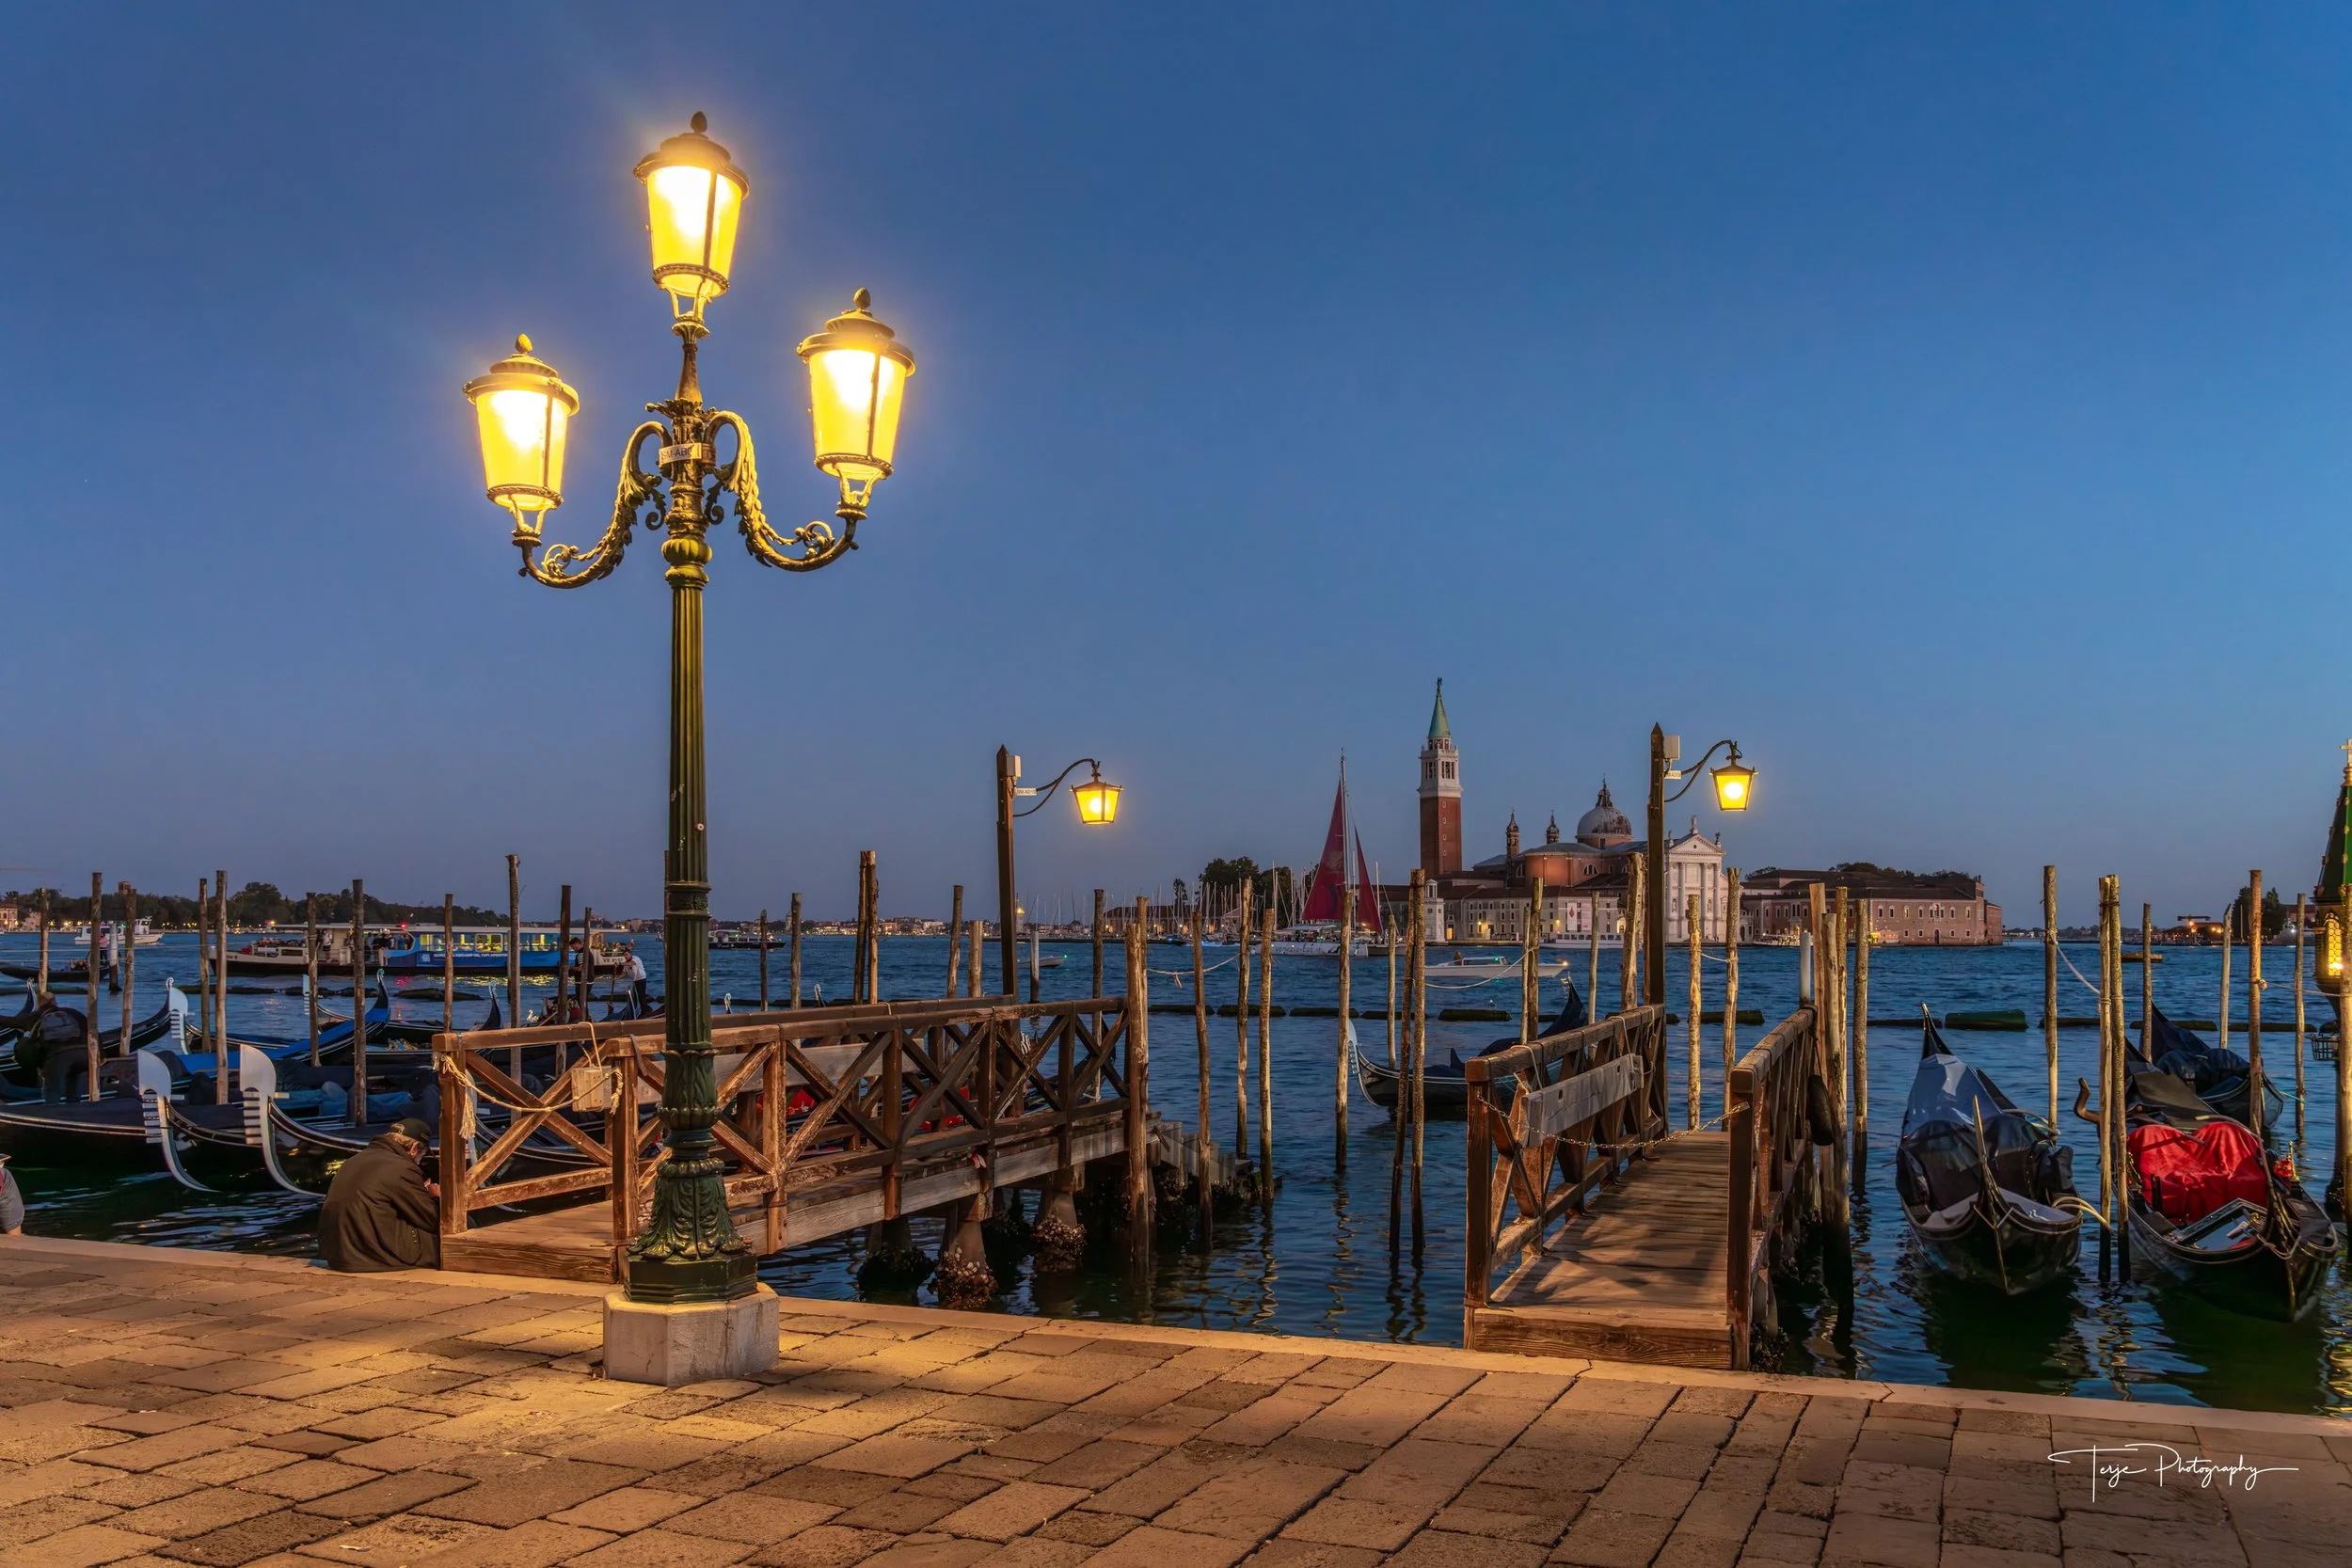
Blue hour is short. Have your frame ready before it peaks.
Night is where the city becomes light design. This is where restraint matters most. The strongest night cityscapes usually have a single idea: a reflection, a repeating line of lights, a clean silhouette, light trails, or a subject that glows against a controlled background.
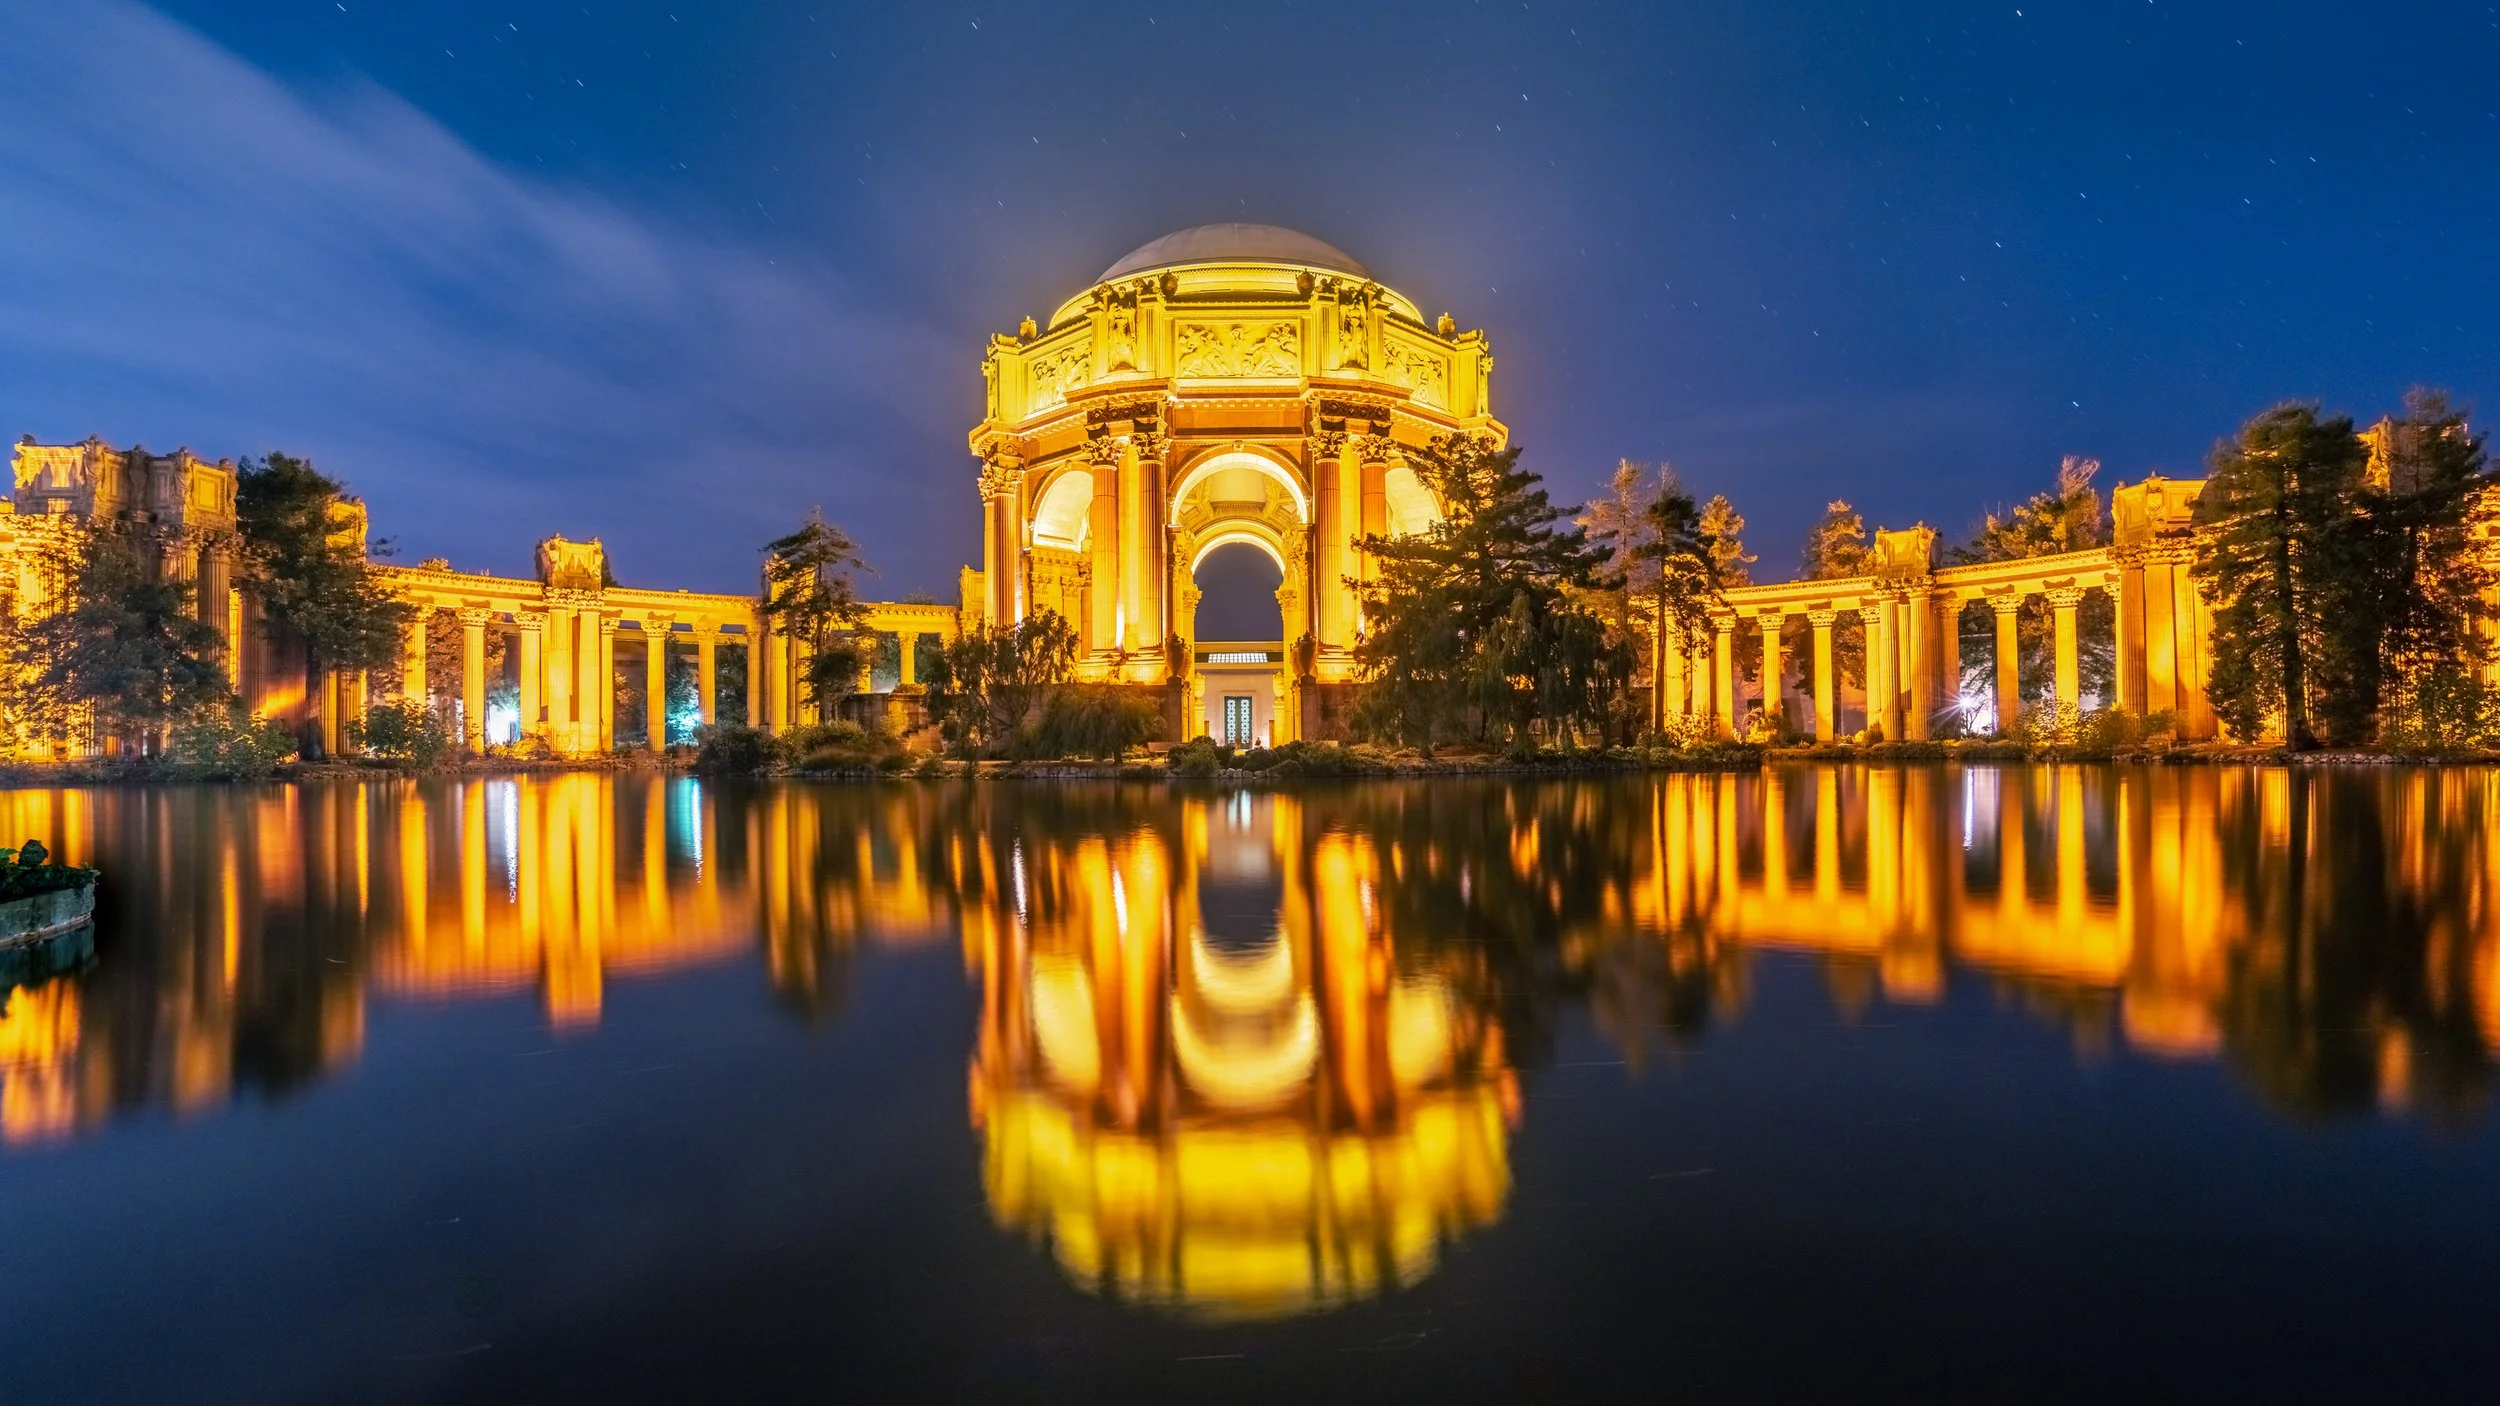
Night rewards patience: low ISO, longer exposure, cleaner detail.
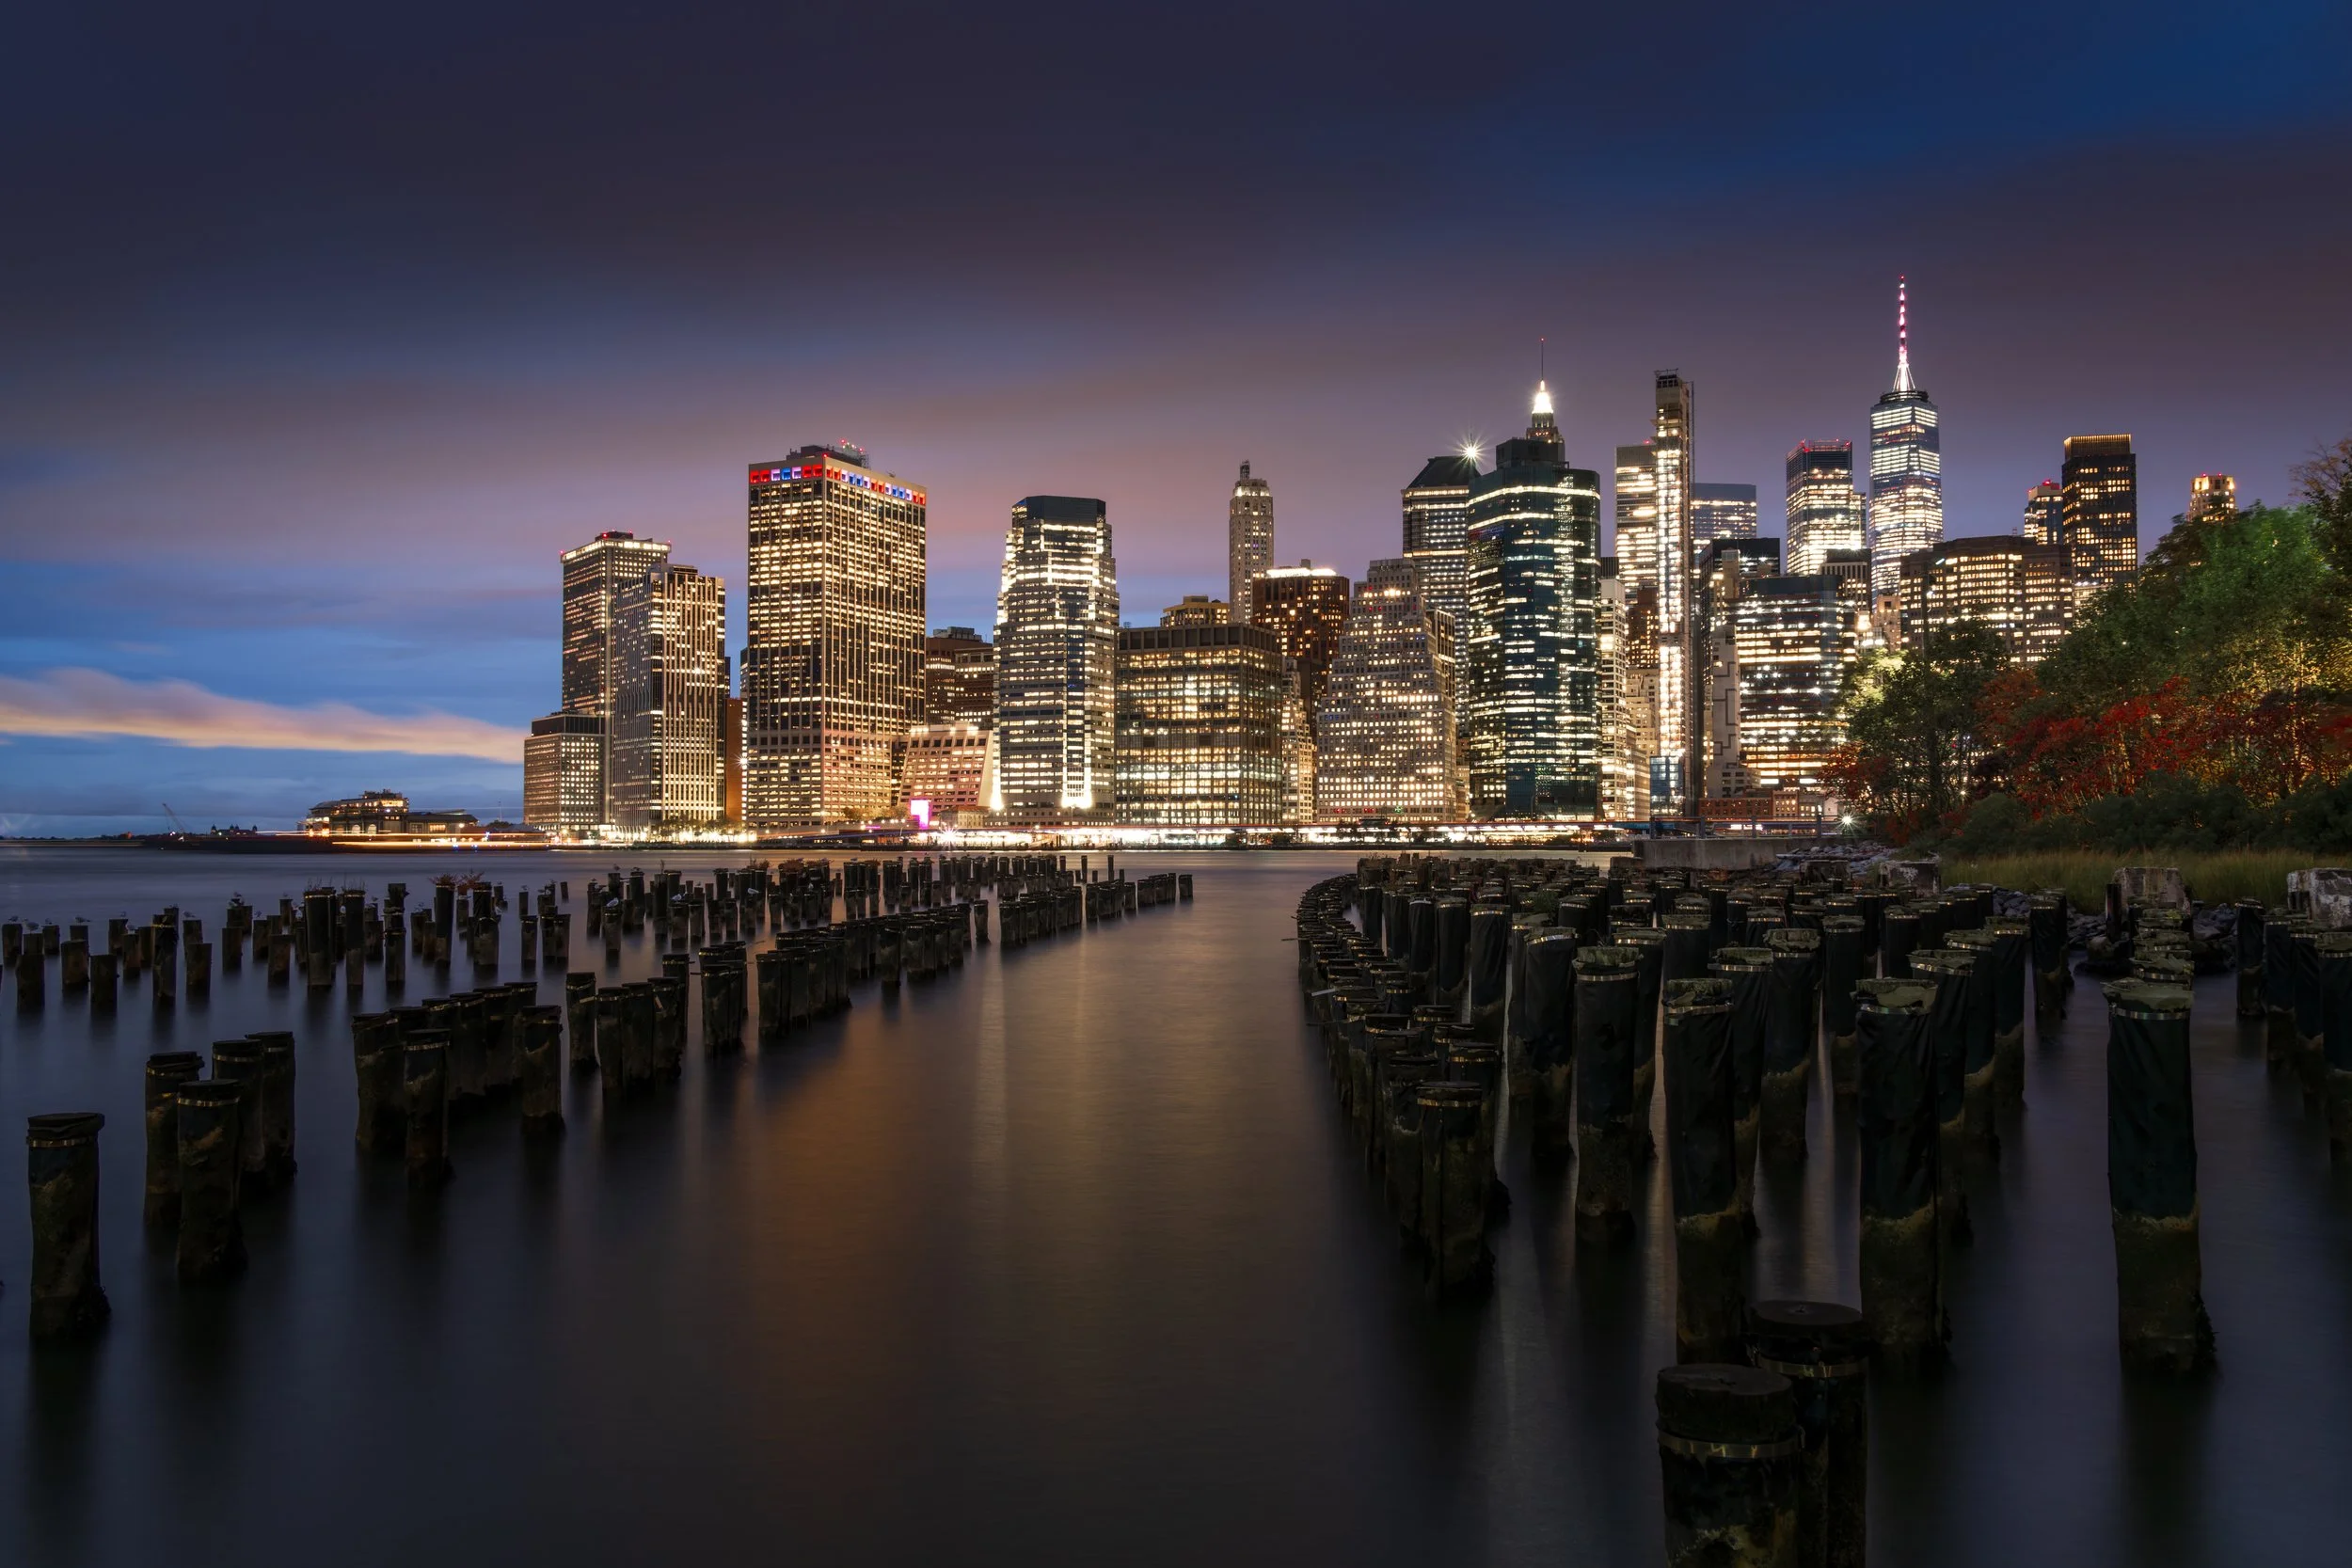
It’s also useful to step outside Europe for a moment, because it proves the point: the method travels. Different architecture, different rhythm — but the same fundamentals. Find the best light, simplify the frame, and build structure with strong lines and layers. This New York long exposure is really about that: a clear path into the skyline, and a city reduced to design.
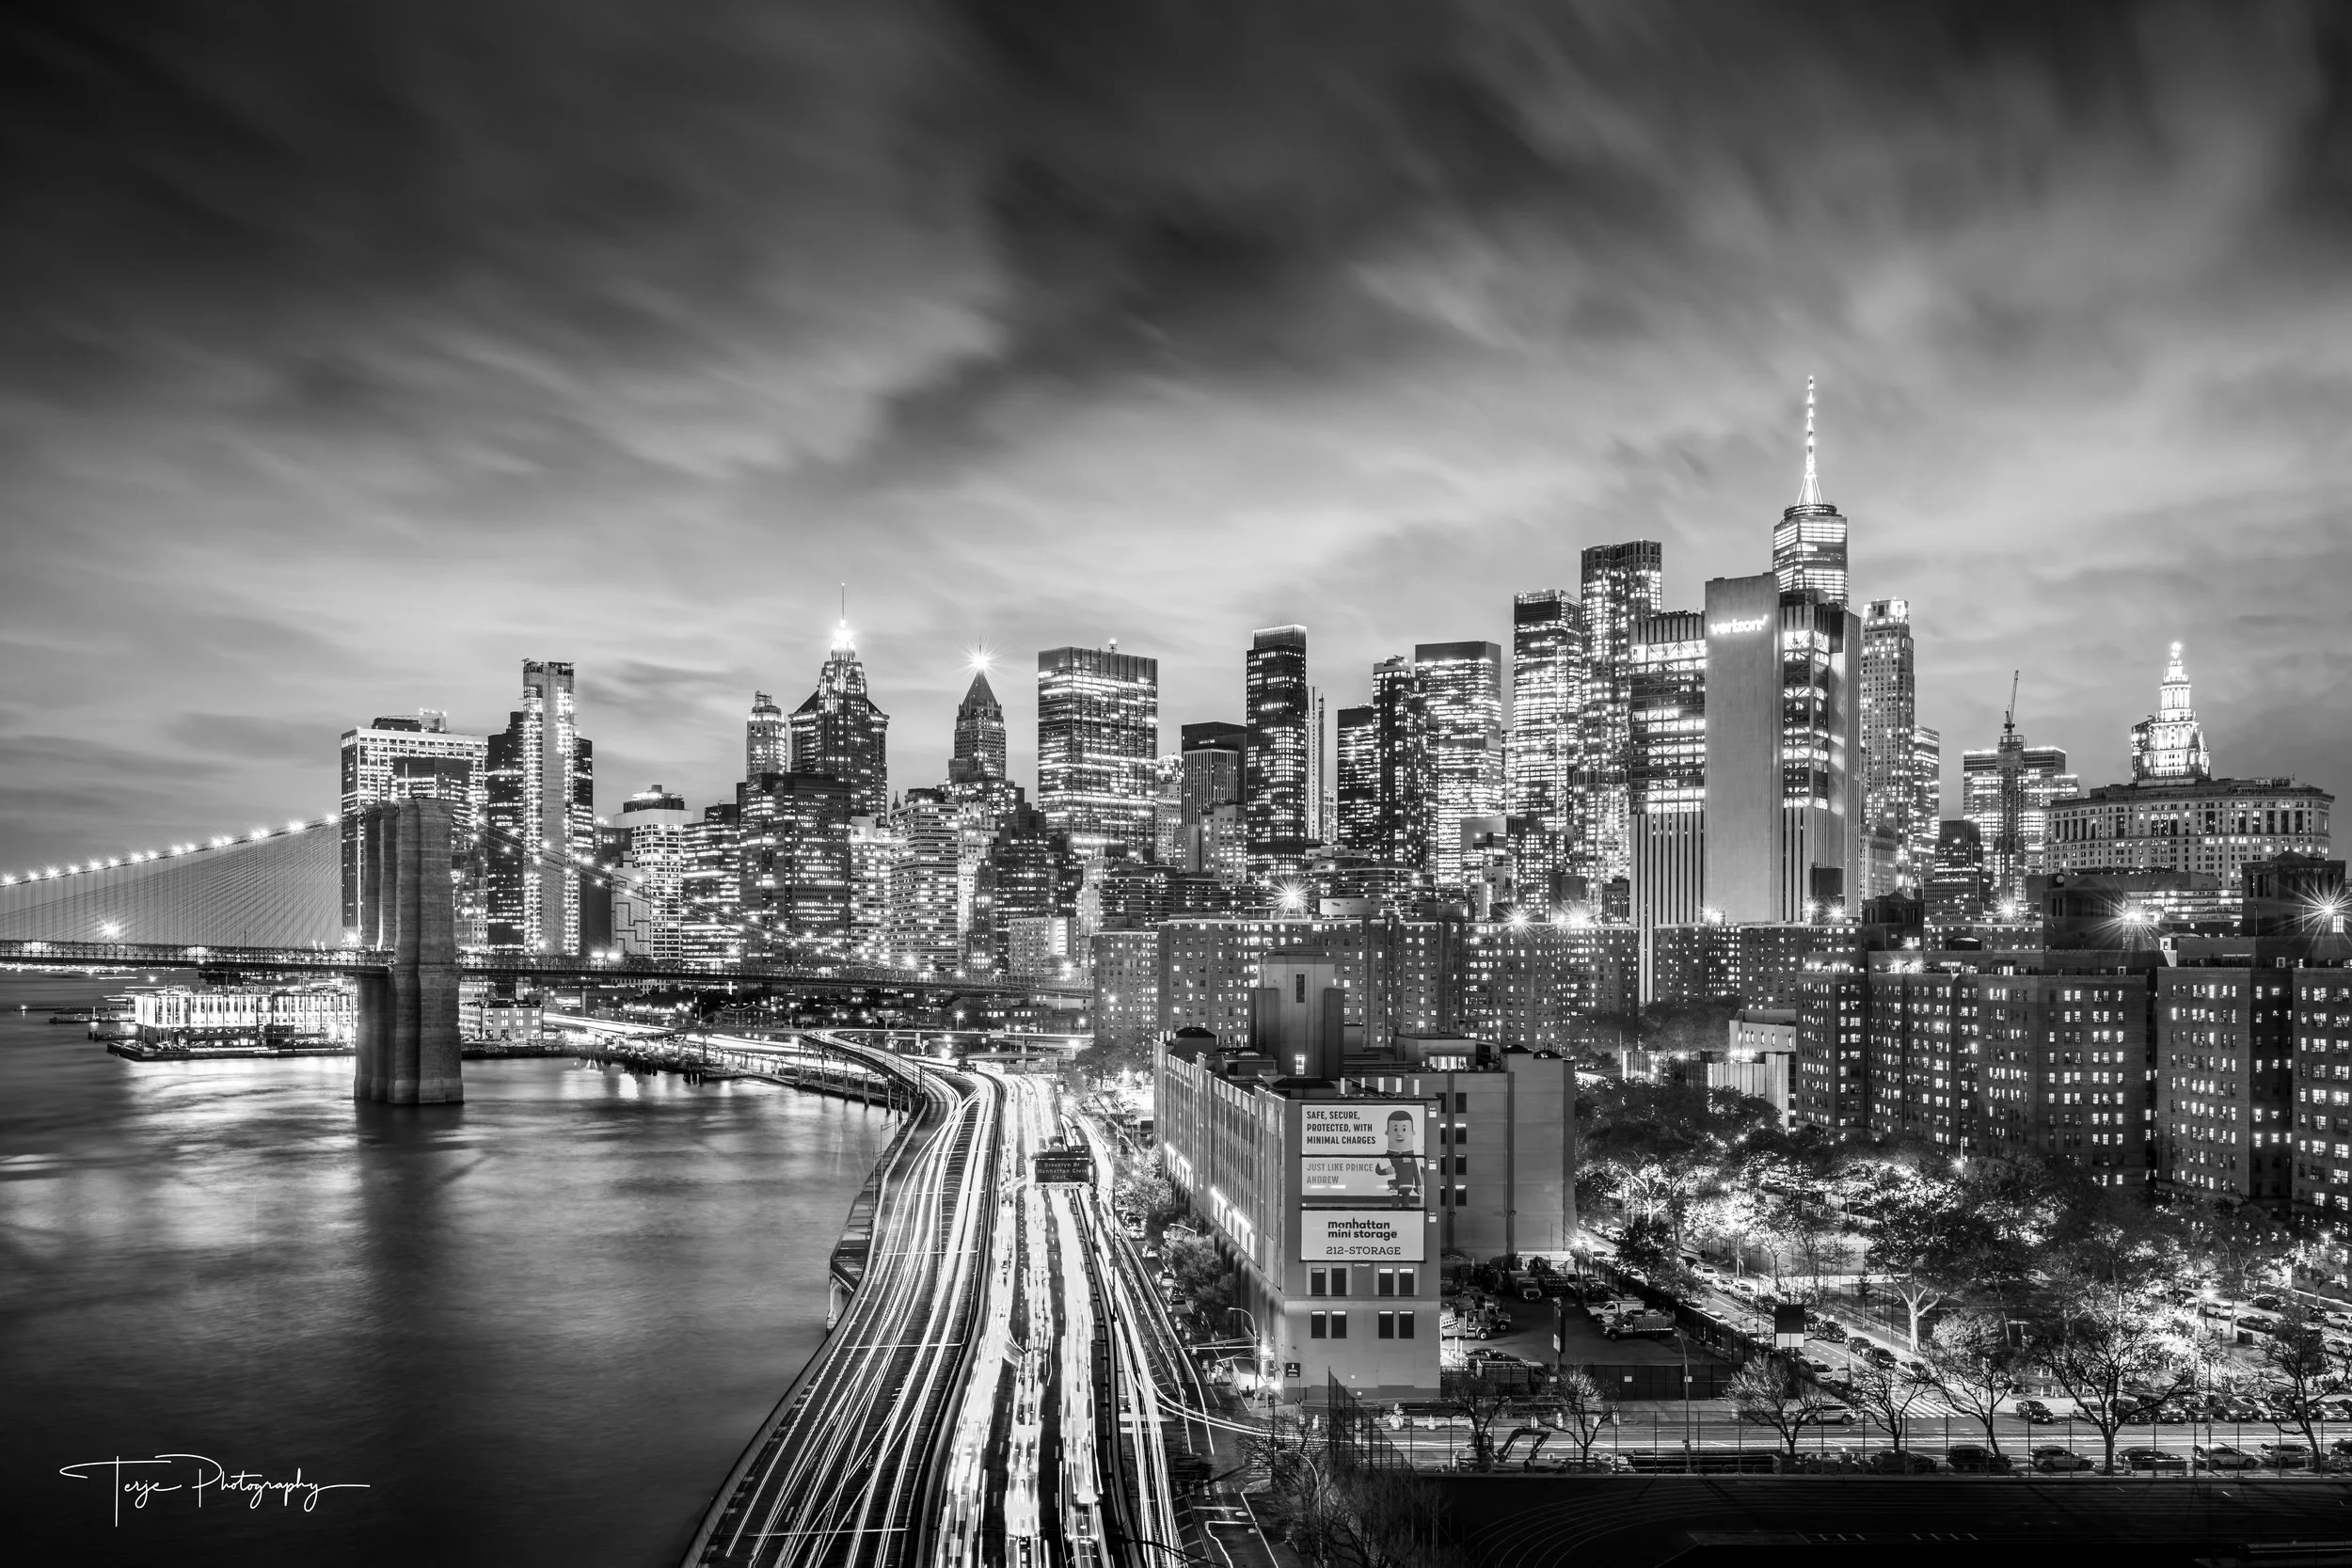
New York at night: long exposure turns movement into design, and leading lines carry the eye straight into the skyline.
Weather is a multiplier. Rain gives reflections and richer surfaces. Fog removes clutter and adds atmosphere. Wind can become a tool if you’re willing to use longer exposures. If you want your cityscapes to feel less generic, show up when the conditions are interesting, not just comfortable.
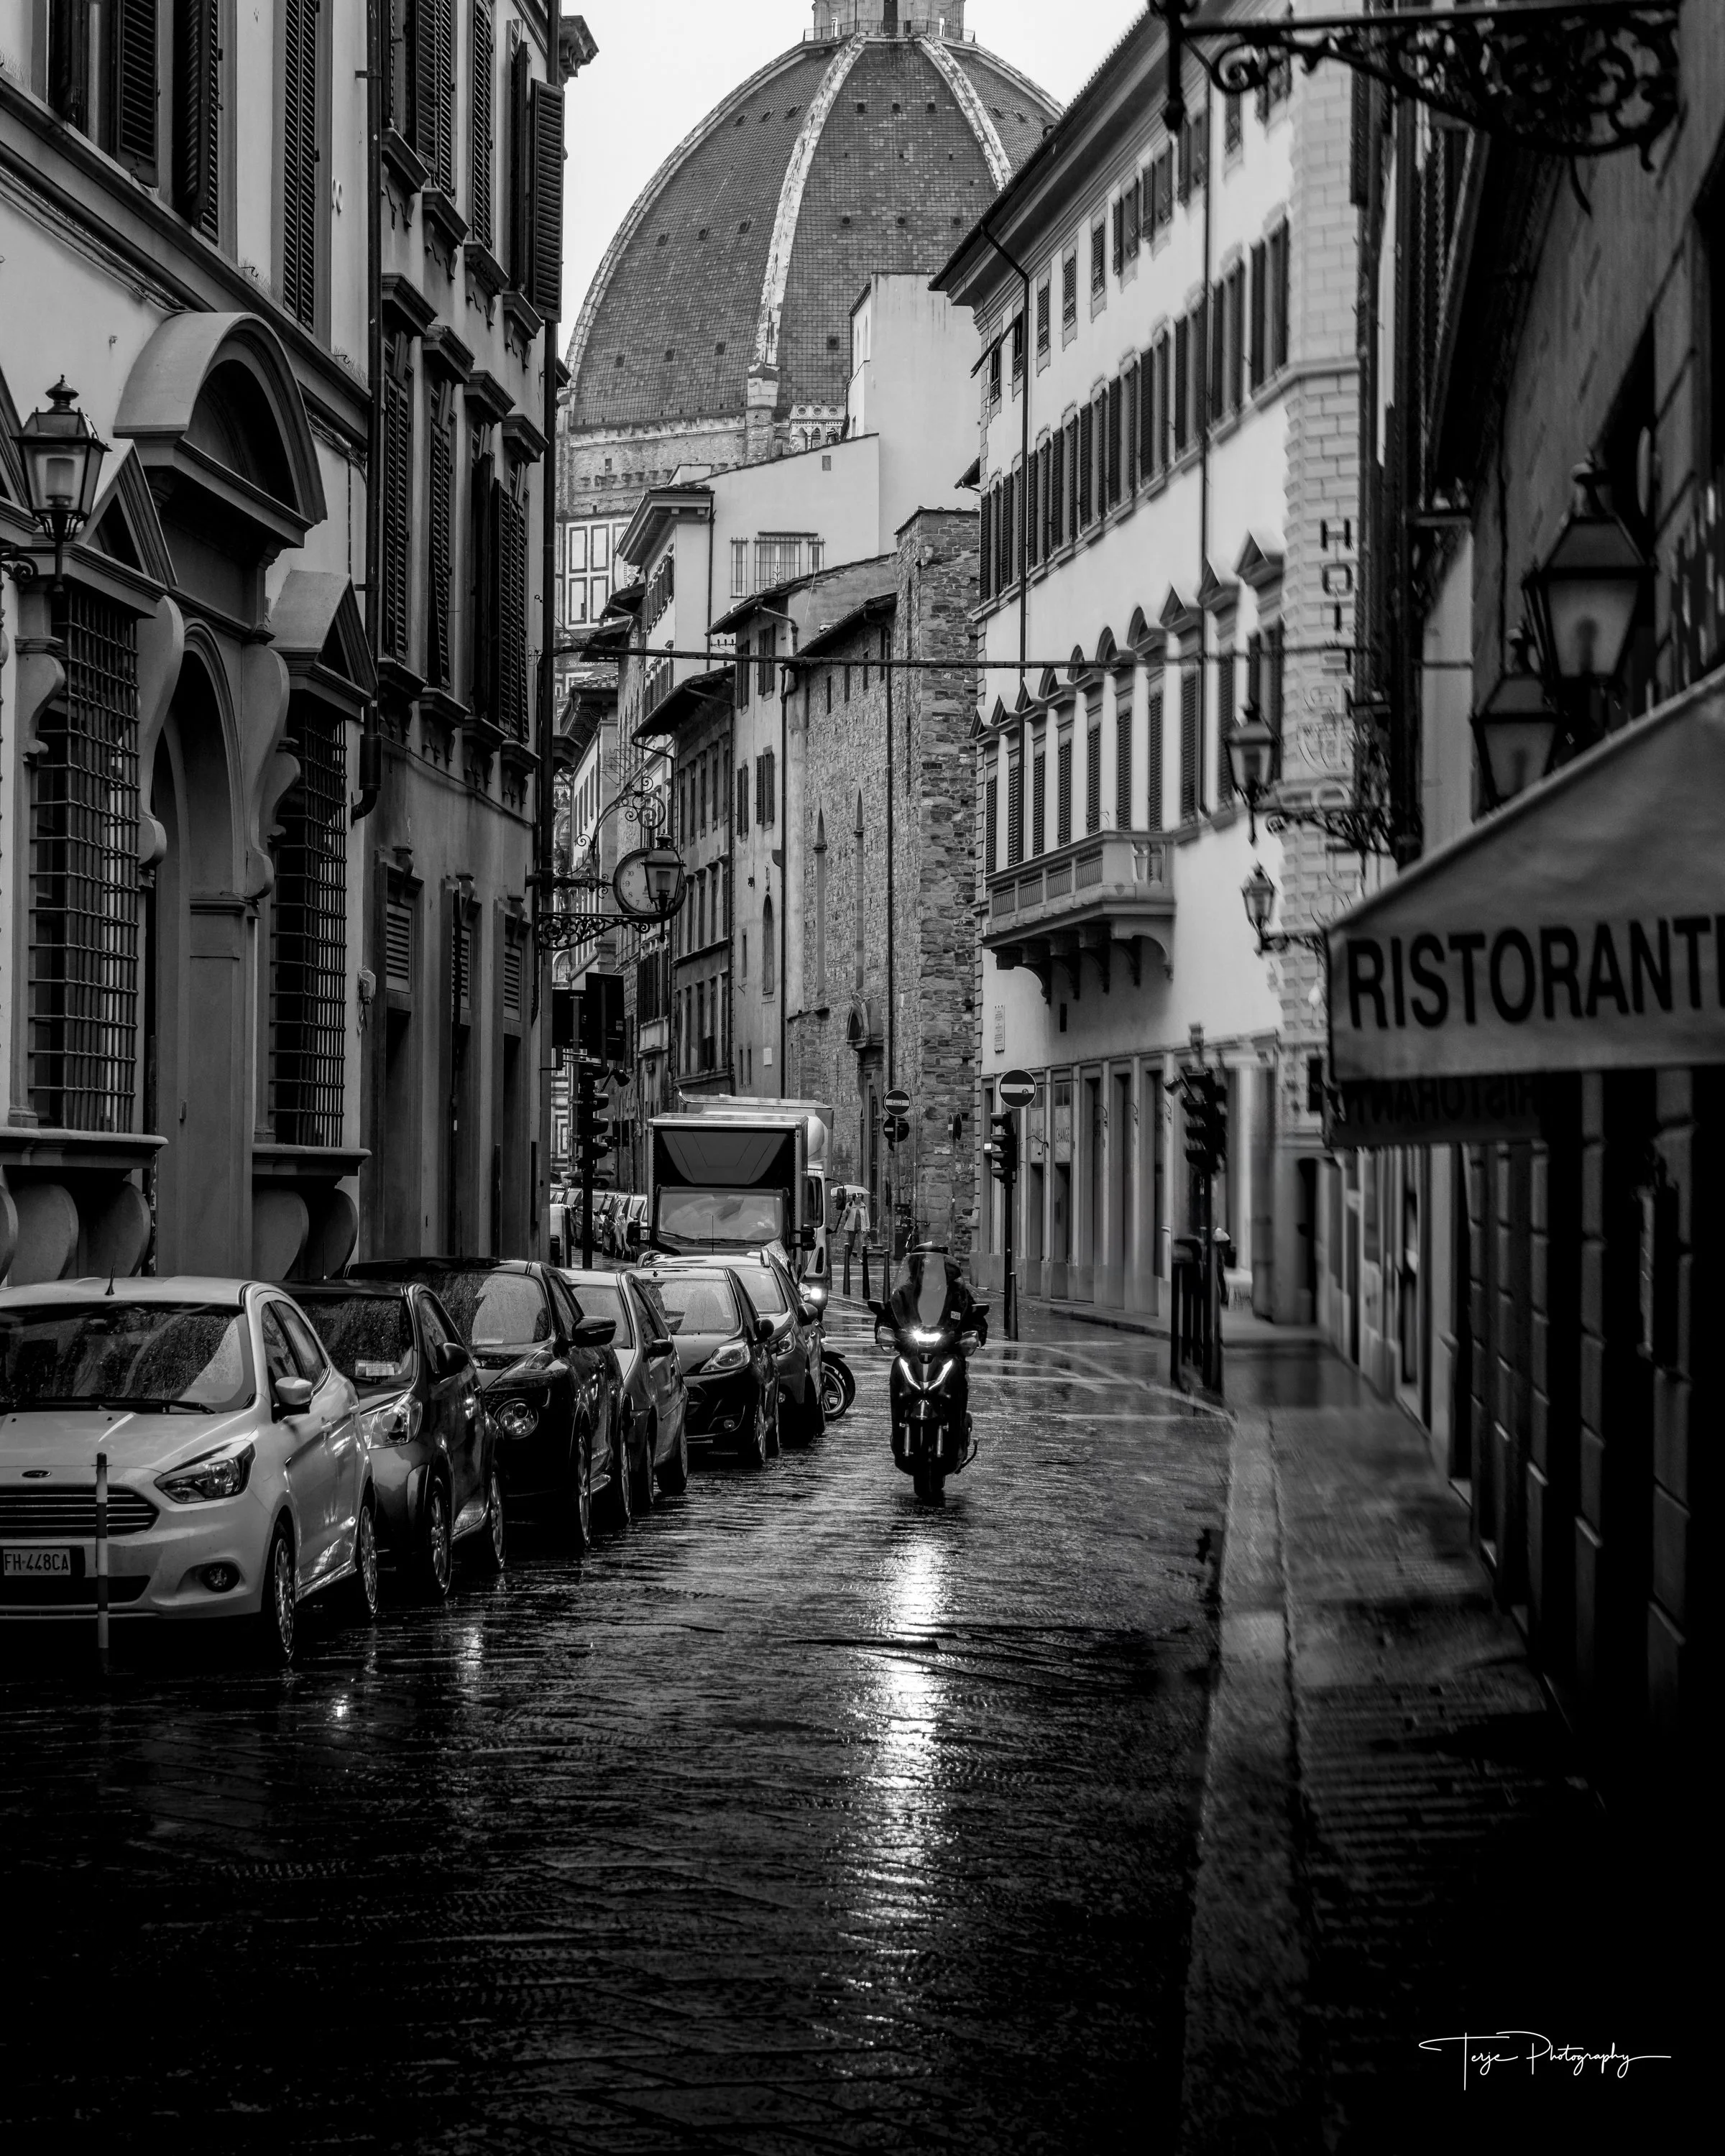
Bad weather is often the shortcut to atmosphere.
Composition: what makes a cityscape feel intentional
Cities are full of information. Your job is to make the frame readable.
Start with lines, because lines are how you control the viewer’s attention. In Paris that might be boulevards, bridges, and repeating street lamps. In Venice it’s canal edges, mooring poles, and the gentle curves of the waterfront. The best lines do more than “look nice” — they give the eye a route: a way into the photo, through it, and ideally toward a clear subject.
When you’re composing, ask yourself a simple question: where do my lines end? If they lead out of the frame, the image often feels unresolved. If they converge toward the main subject — or at least keep the eye circulating inside the scene — the photo feels tighter and more intentional.
Also pay attention to which lines you’re emphasizing. Strong verticals can make an image feel architectural and formal. Diagonals add energy and movement. Repetition — lamps, columns, windows — can turn a chaotic scene into something graphic and calm. And sometimes the best decision is to simplify: step left or right until the lines separate cleanly, and remove anything that fights the main direction.
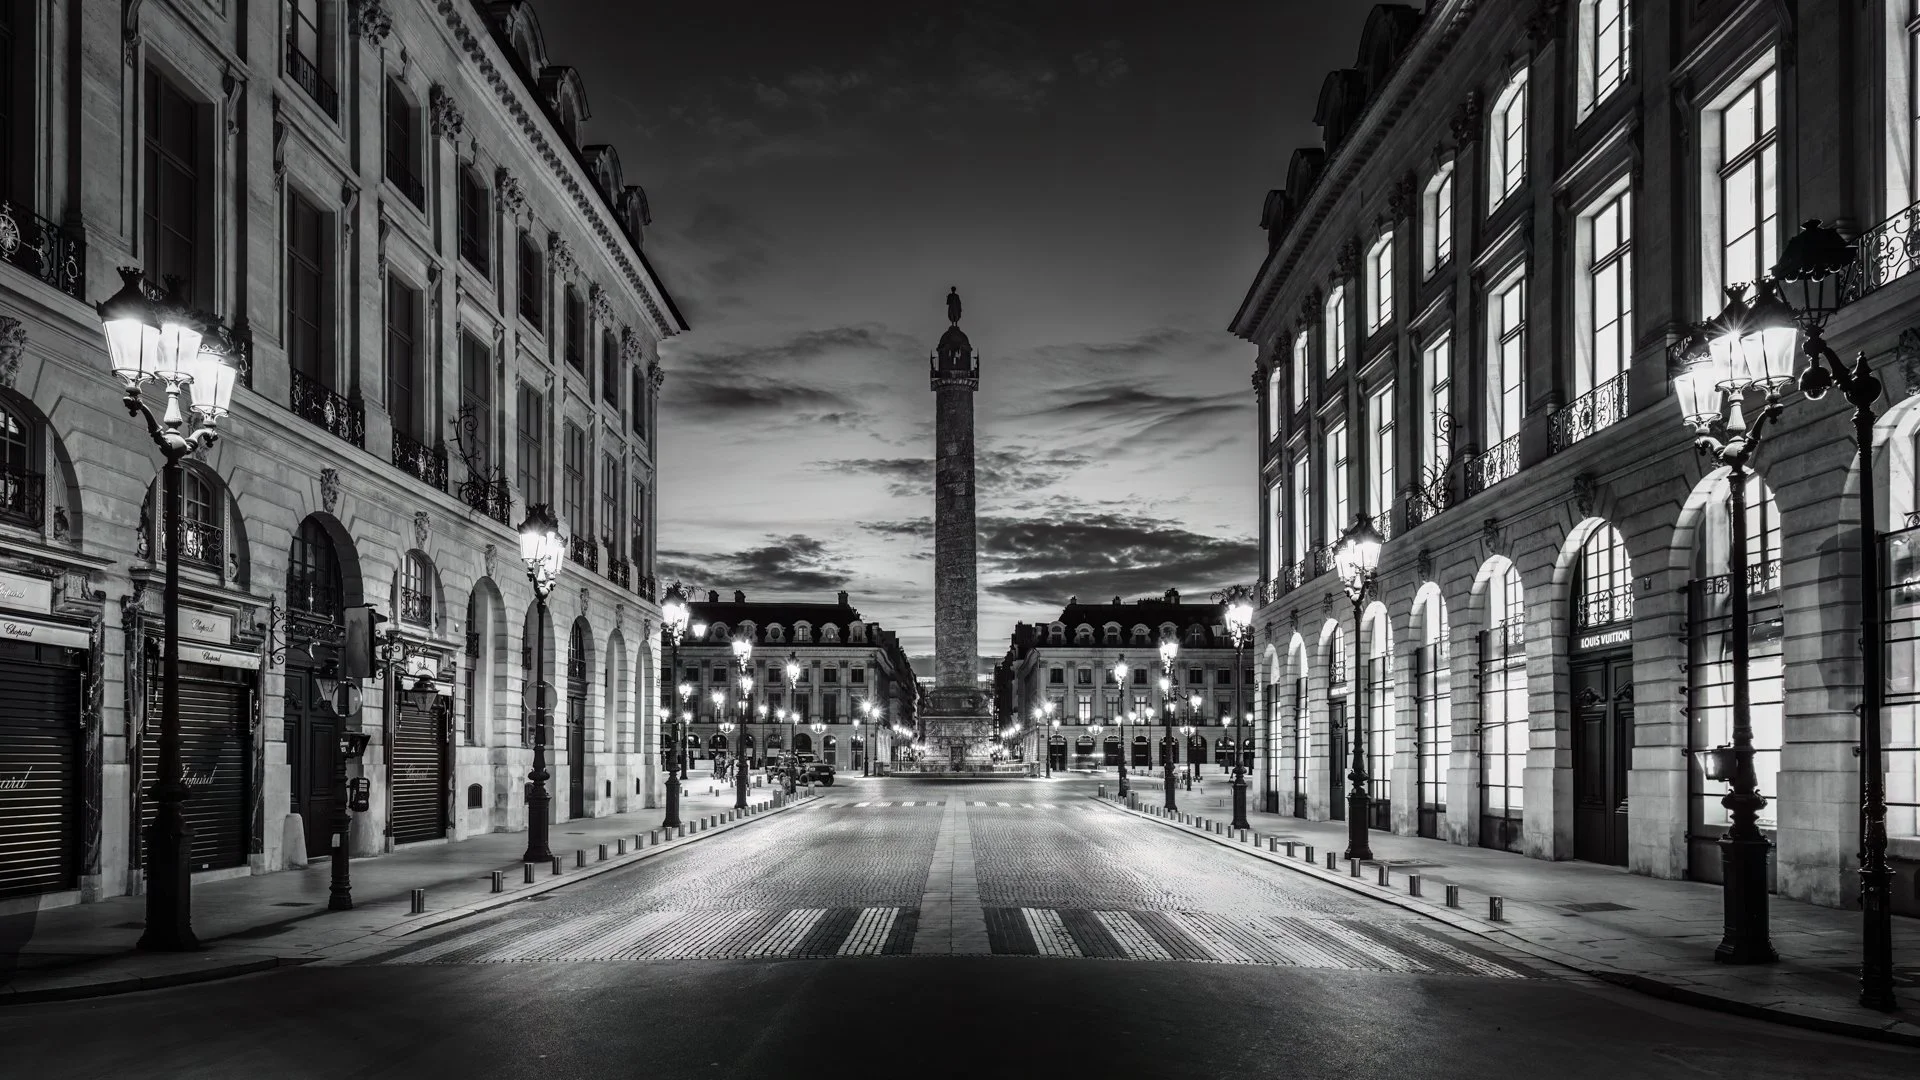
Leading lines: give the eye a path.
A clean line + a clear destination = a stronger frame.
Move your feet: perspective is part of composition
One of the fastest ways to improve a cityscape is also the simplest: don’t settle for the first angle you see.
Most locations have a “default” viewpoint — the spot everyone stands, the straight-on composition that feels obvious. The problem is that obvious often looks flat. The scene becomes a record of a building rather than a photograph with depth and intention.
Instead, treat composition like a small search. Move left and right to change how lines stack and separate. Step forward and back to control foreground size and perspective. Go lower to emphasize leading lines and give the subject more presence. Find a slightly higher position to simplify the scene and clean up the background. Zoom in and out to decide whether the story is the whole setting or a tighter, more designed detail.
A good habit is to shoot one “safe” version quickly — then force yourself to make three variations: one lower, one tighter, and one from a different side. Most of the time, the best frame is one of those variations.
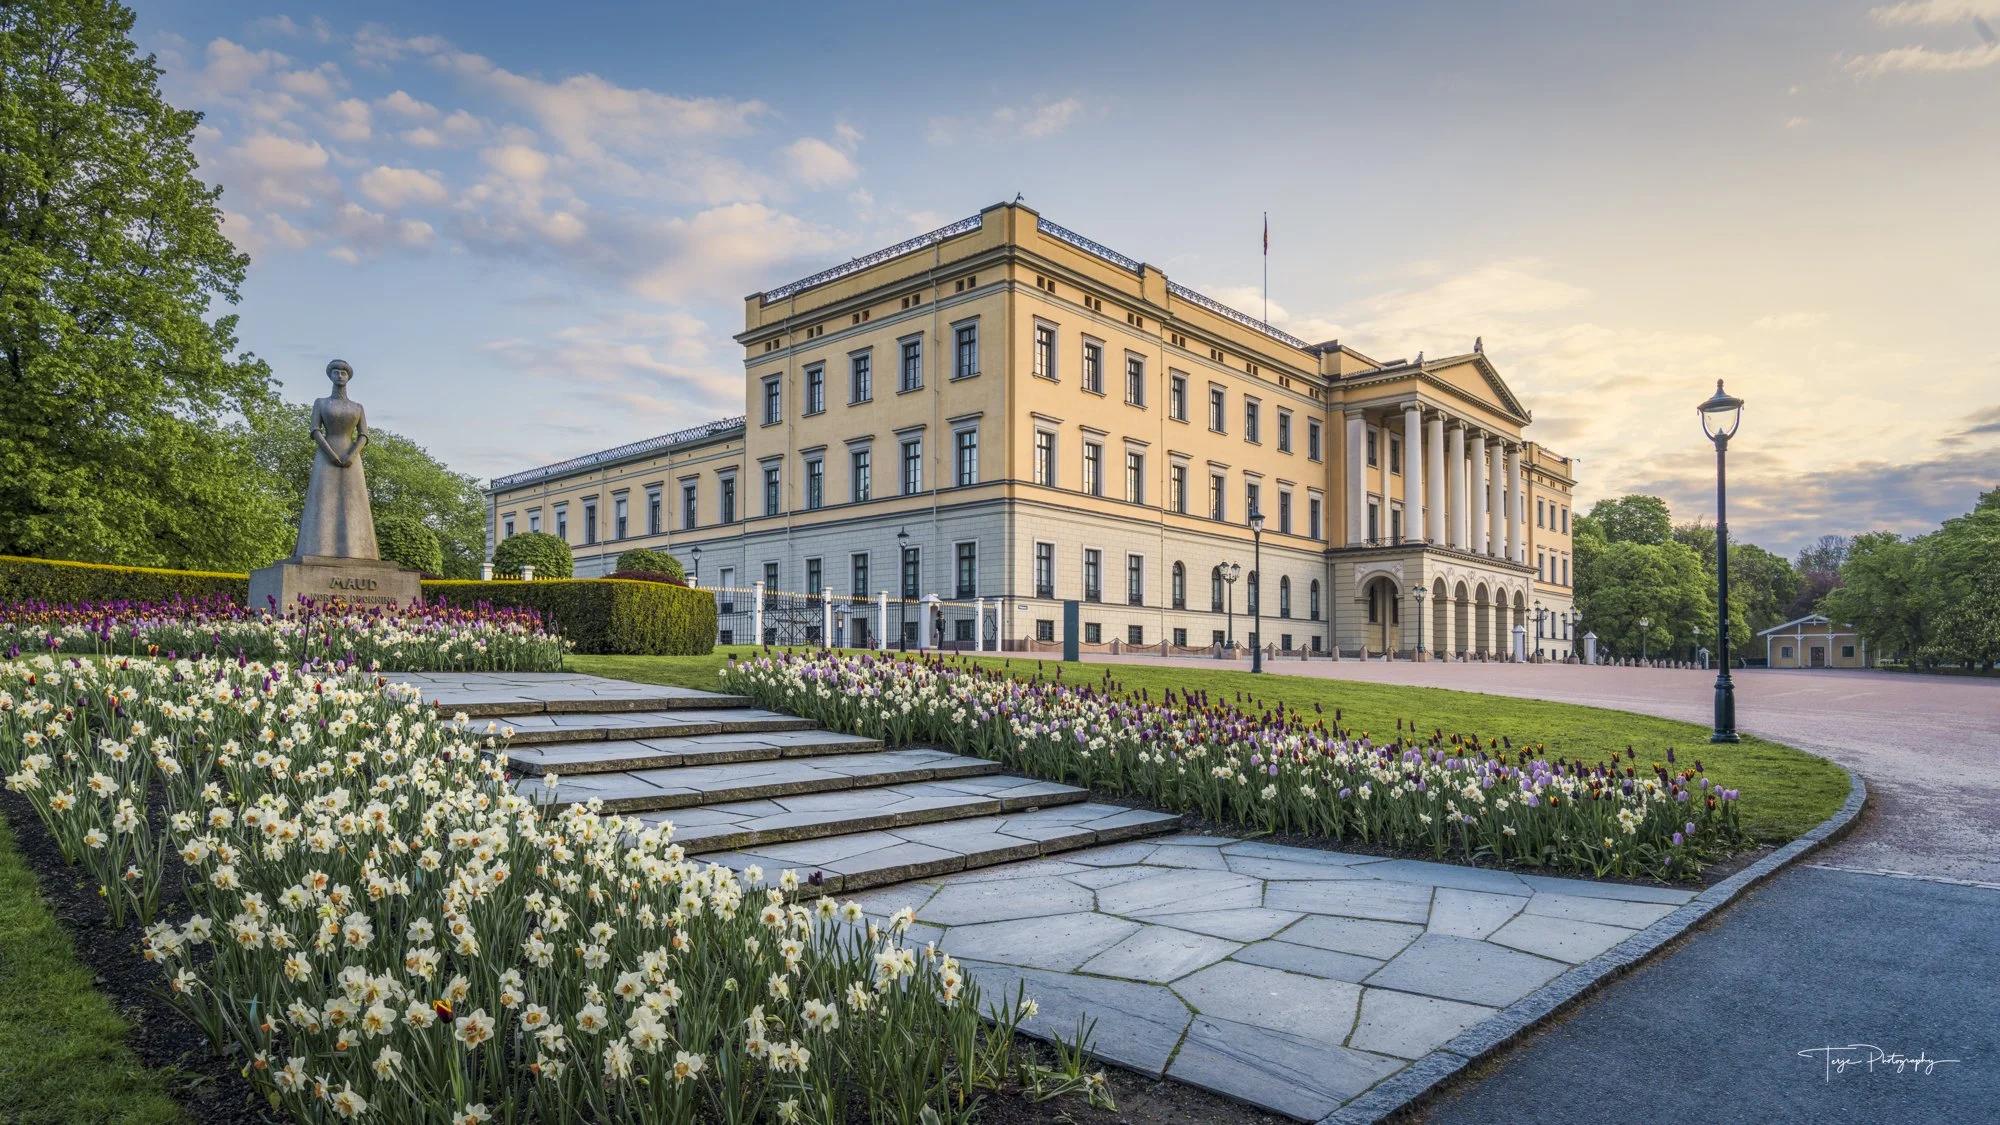
An unusual angle can transform a familiar subject. I worked the scene to frame the palace and add depth with foreground elements.
Once the perspective feels right, start building the frame in layers — foreground, middle ground, background — and the cityscape begins to feel three-dimensional.
Depth through layers: foreground, middle ground, background
One of the simplest ways to make a cityscape feel more immersive is to build it in layers. Instead of treating the scene as a single subject, think in three parts: foreground, middle ground, and background.
The foreground is your entry point. It can be obvious (boats, steps, reflections) or subtle (paving texture, a curb line, a shadow). Its job isn’t to steal attention — it’s to pull the viewer into the frame and create a sense of distance.
The middle ground is usually where the story lives: the canal, the landmark, the bridge, the façade. This layer should feel clean and readable, because it’s where the viewer will “settle.”
The background gives the image atmosphere and breathing room. Often it’s the sky, but it can also be distant rooftops, hills, or negative space that supports the scene without competing.
In Venice, this is almost effortless. Gondolas and mooring poles naturally form a strong foreground, the city becomes the middle ground, and the sky (or distant skyline) completes the frame. The result is a cityscape that feels three-dimensional even before you touch the file in post.
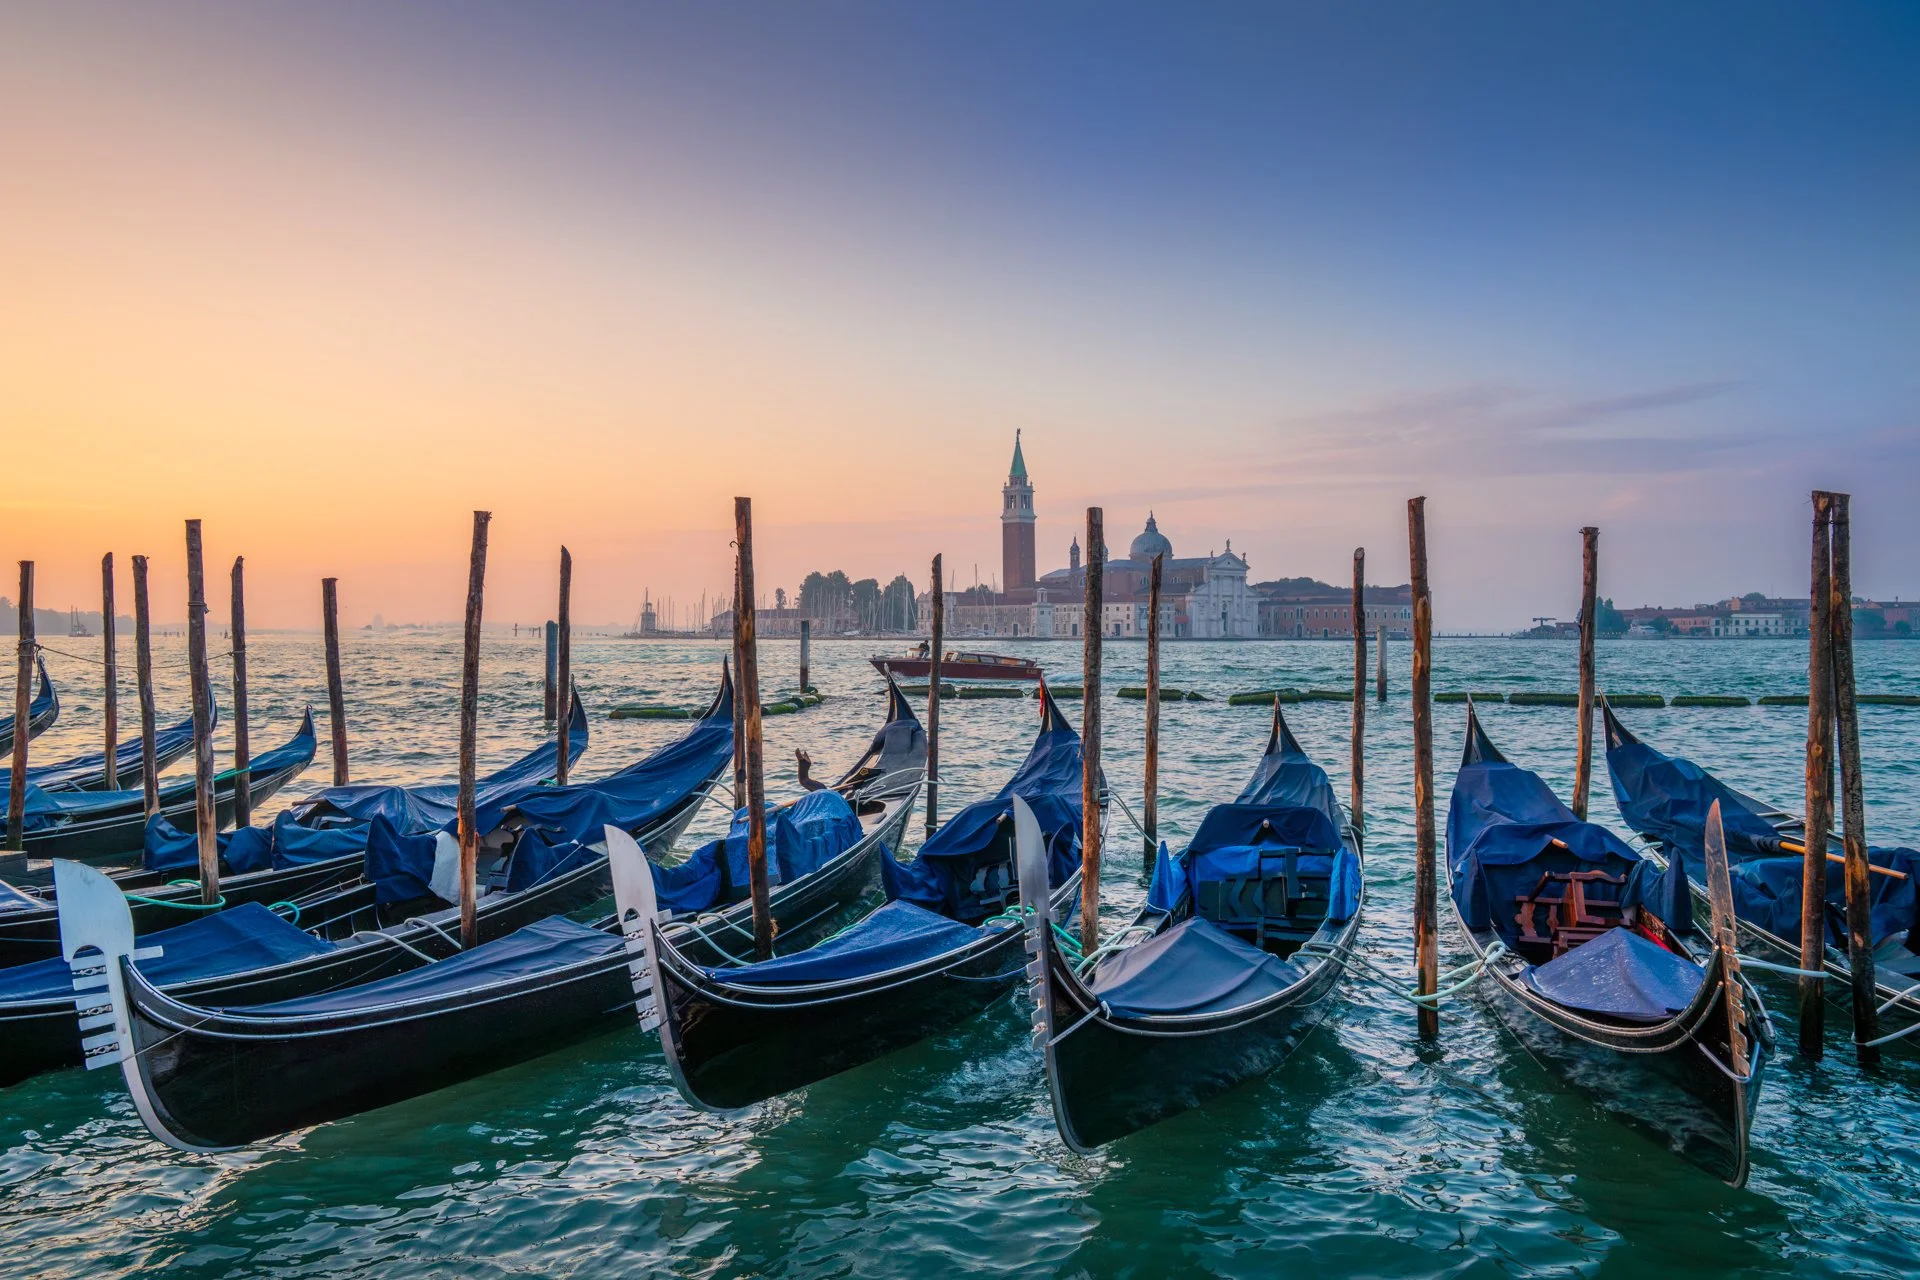
Foreground anchor + subject + distance: layers are what make a cityscape feel three-dimensional.
The same idea works in more architectural scenes too. In a place like the Louvre courtyard, the foreground can be the texture and pattern of the ground, the pyramid and buildings become the middle ground, and the sky provides the final layer that gives scale and calm. It’s a small compositional shift — but it’s what turns a record shot into an image you can step into.
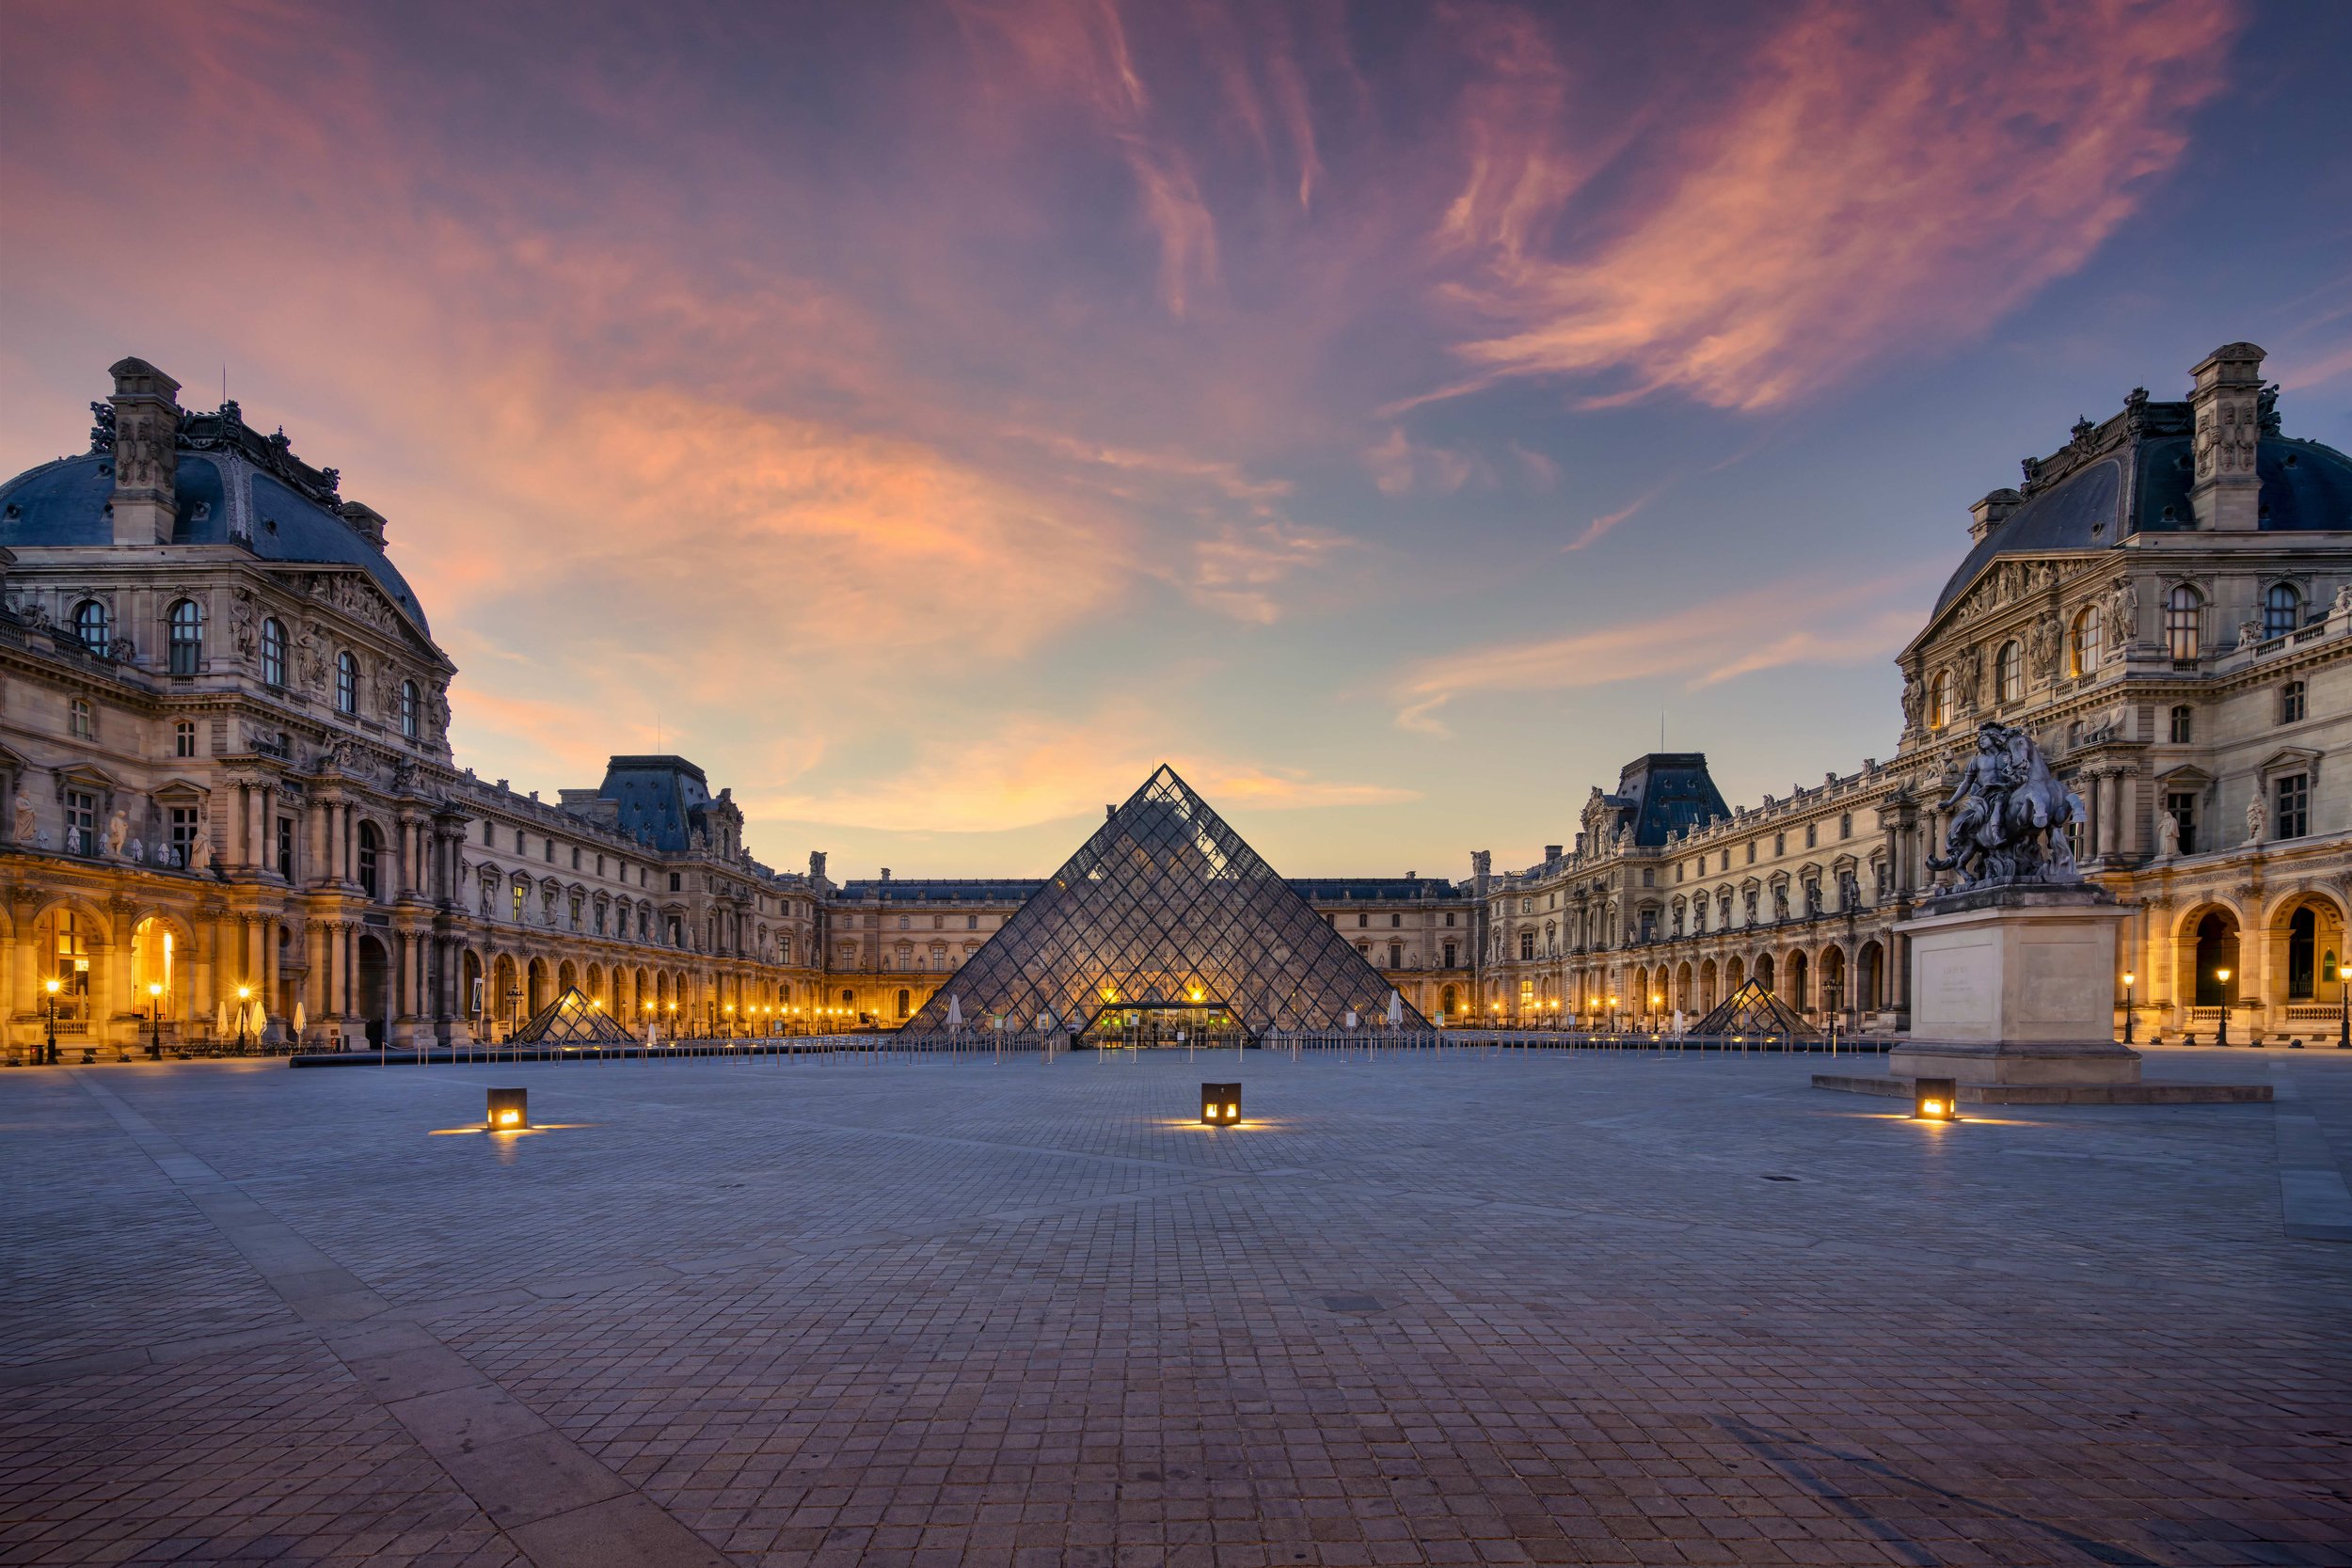
A layered frame: foreground texture, a strong middle ground, and a calm sky to hold the scene together.
Framing: the fastest way to bring order into a busy scene
Framing is one of the most reliable composition tools in a city because it immediately creates hierarchy. Cities are visually busy, and a strong frame tells the viewer, this is the part that matters. Look for arches, doorways, bridges, tunnels, passages — or simply the gap between buildings.
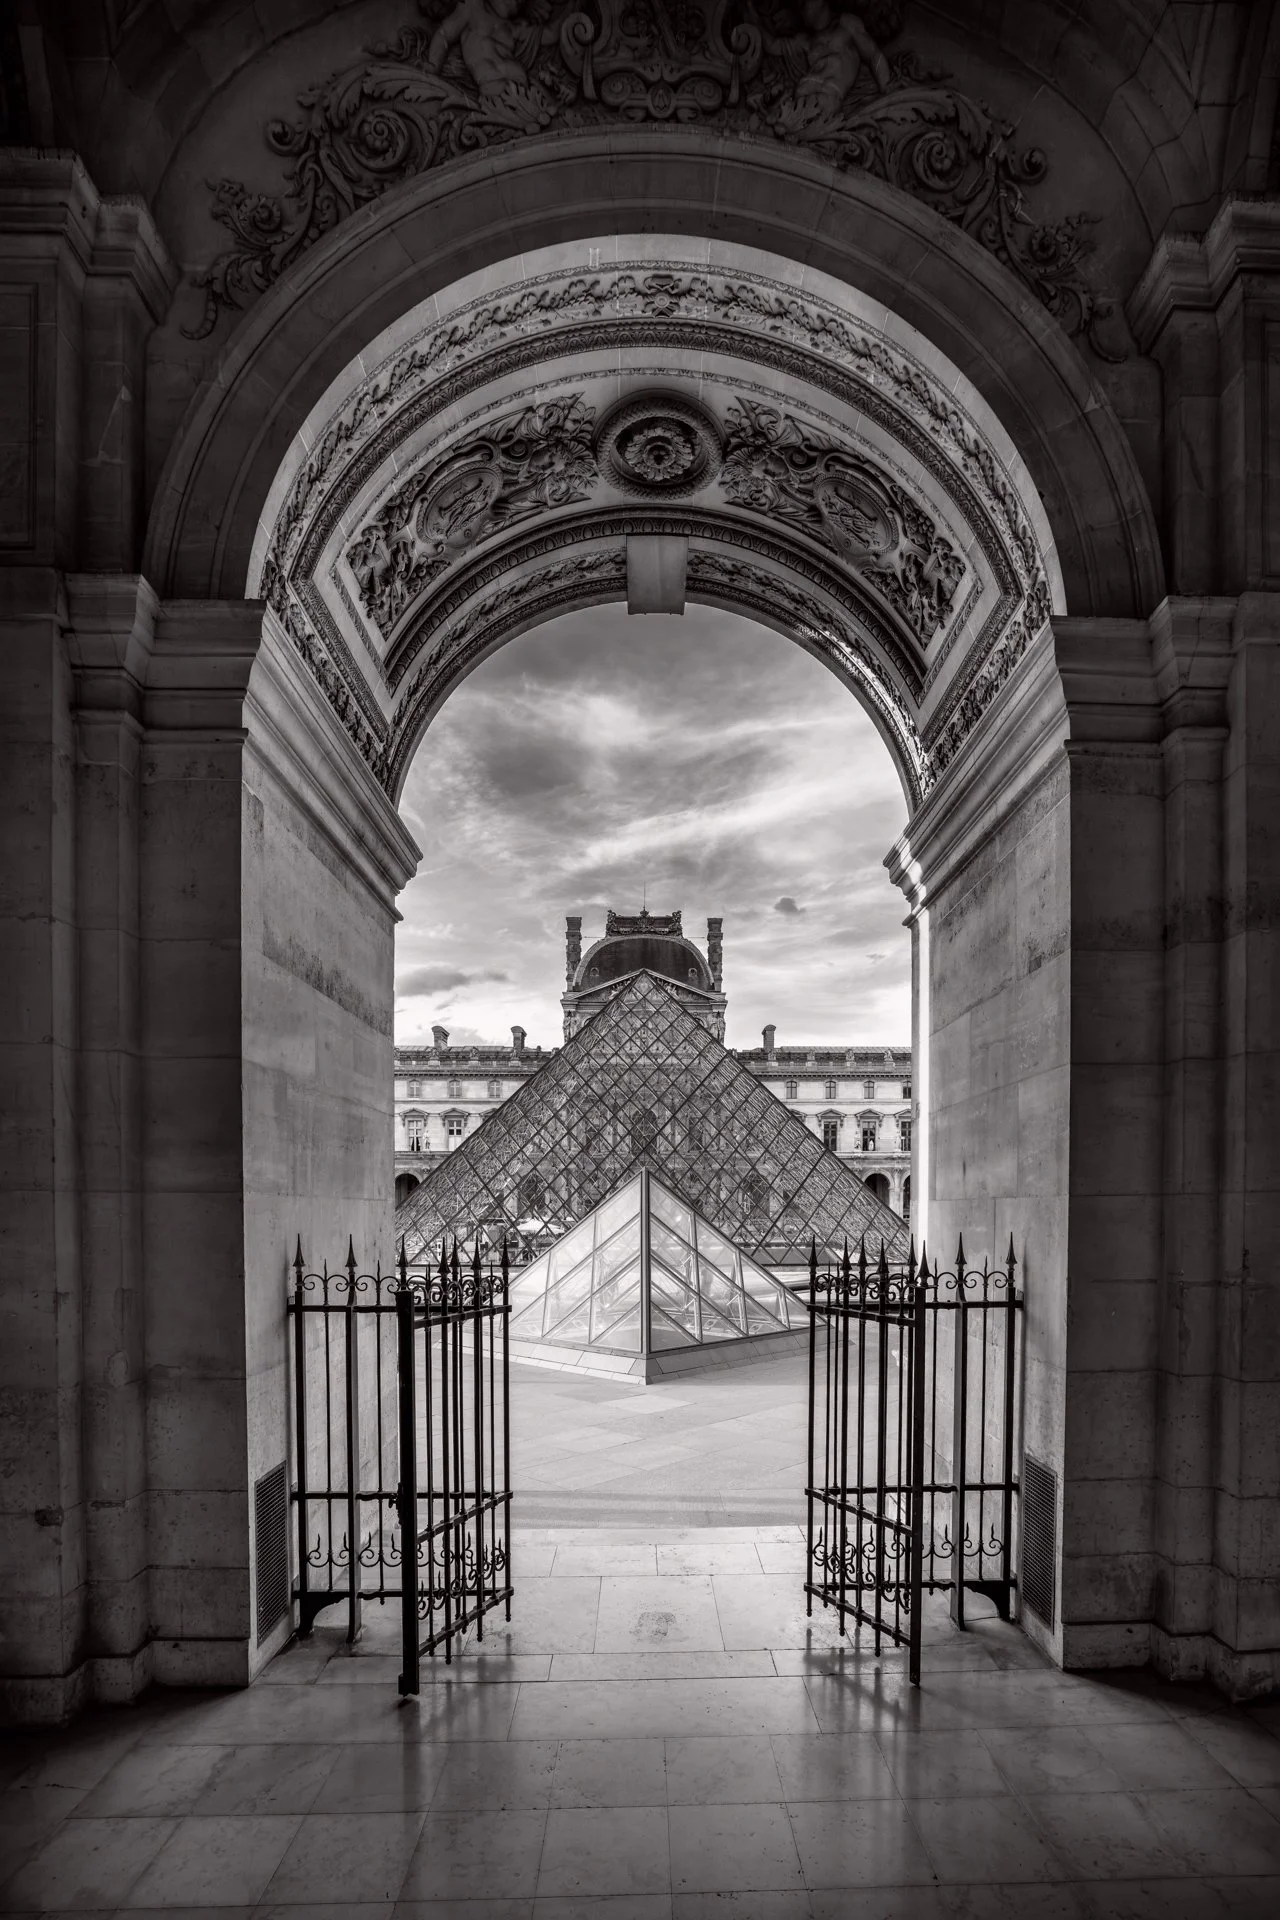
Frame within a frame: a simple way to add depth and direct attention.
A good frame does three things at once. First, it simplifies the scene by hiding distractions at the edges. Second, it adds depth by placing a strong foreground element close to the camera, with the subject deeper in the scene. Third, it guides the eye by creating a clean visual path into the image.
Framing also gives you control over mood. If you keep the frame darker and the subject brighter, the viewer naturally “steps through” the frame. If the frame is bright and busy, it competes with what you’re trying to show. In practice, this means paying attention to exposure and contrast inside the frame — and being willing to move a half-step until the frame feels clean.
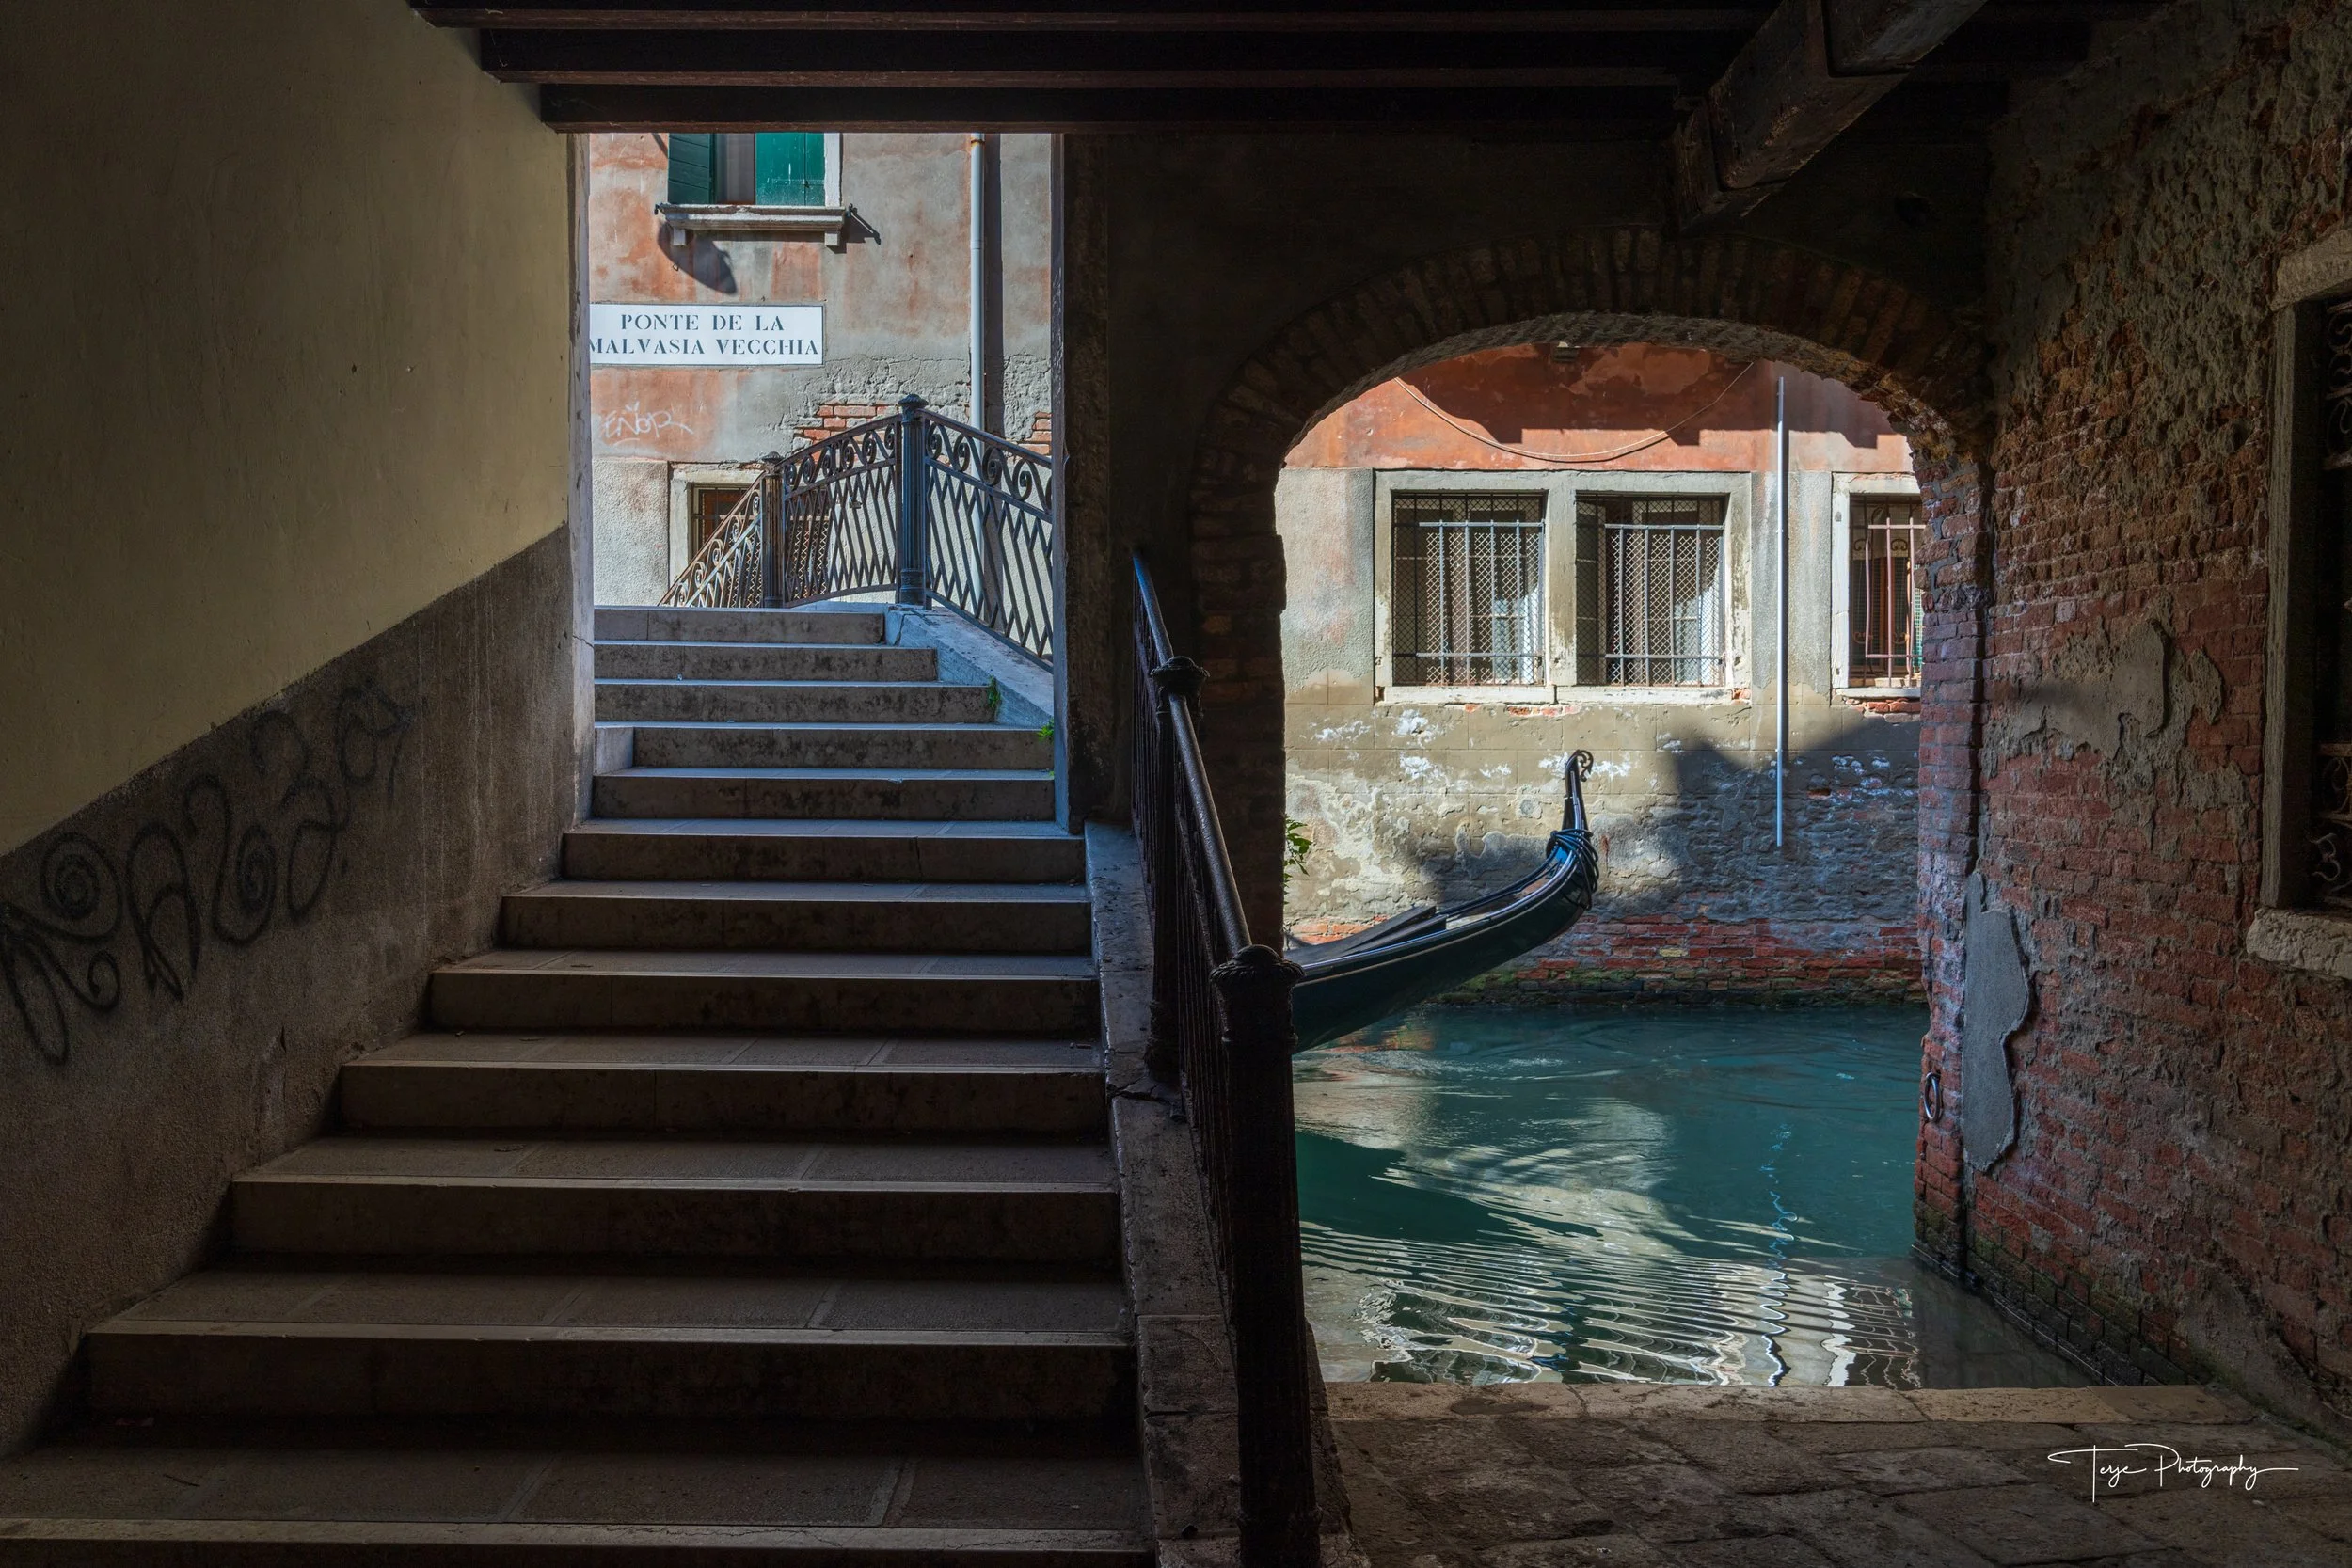
Framing with atmosphere: a foreground ‘window’ that adds depth and keeps the viewer inside the scene.
Not all framing has to be obvious. Some of the most effective frames are subtle — the edges of buildings, a street that narrows toward the subject, or shadow and light that quietly shape the viewer’s path. These “found frames” often look more natural, and they’re incredibly useful in busy cities because they reduce clutter without feeling staged.
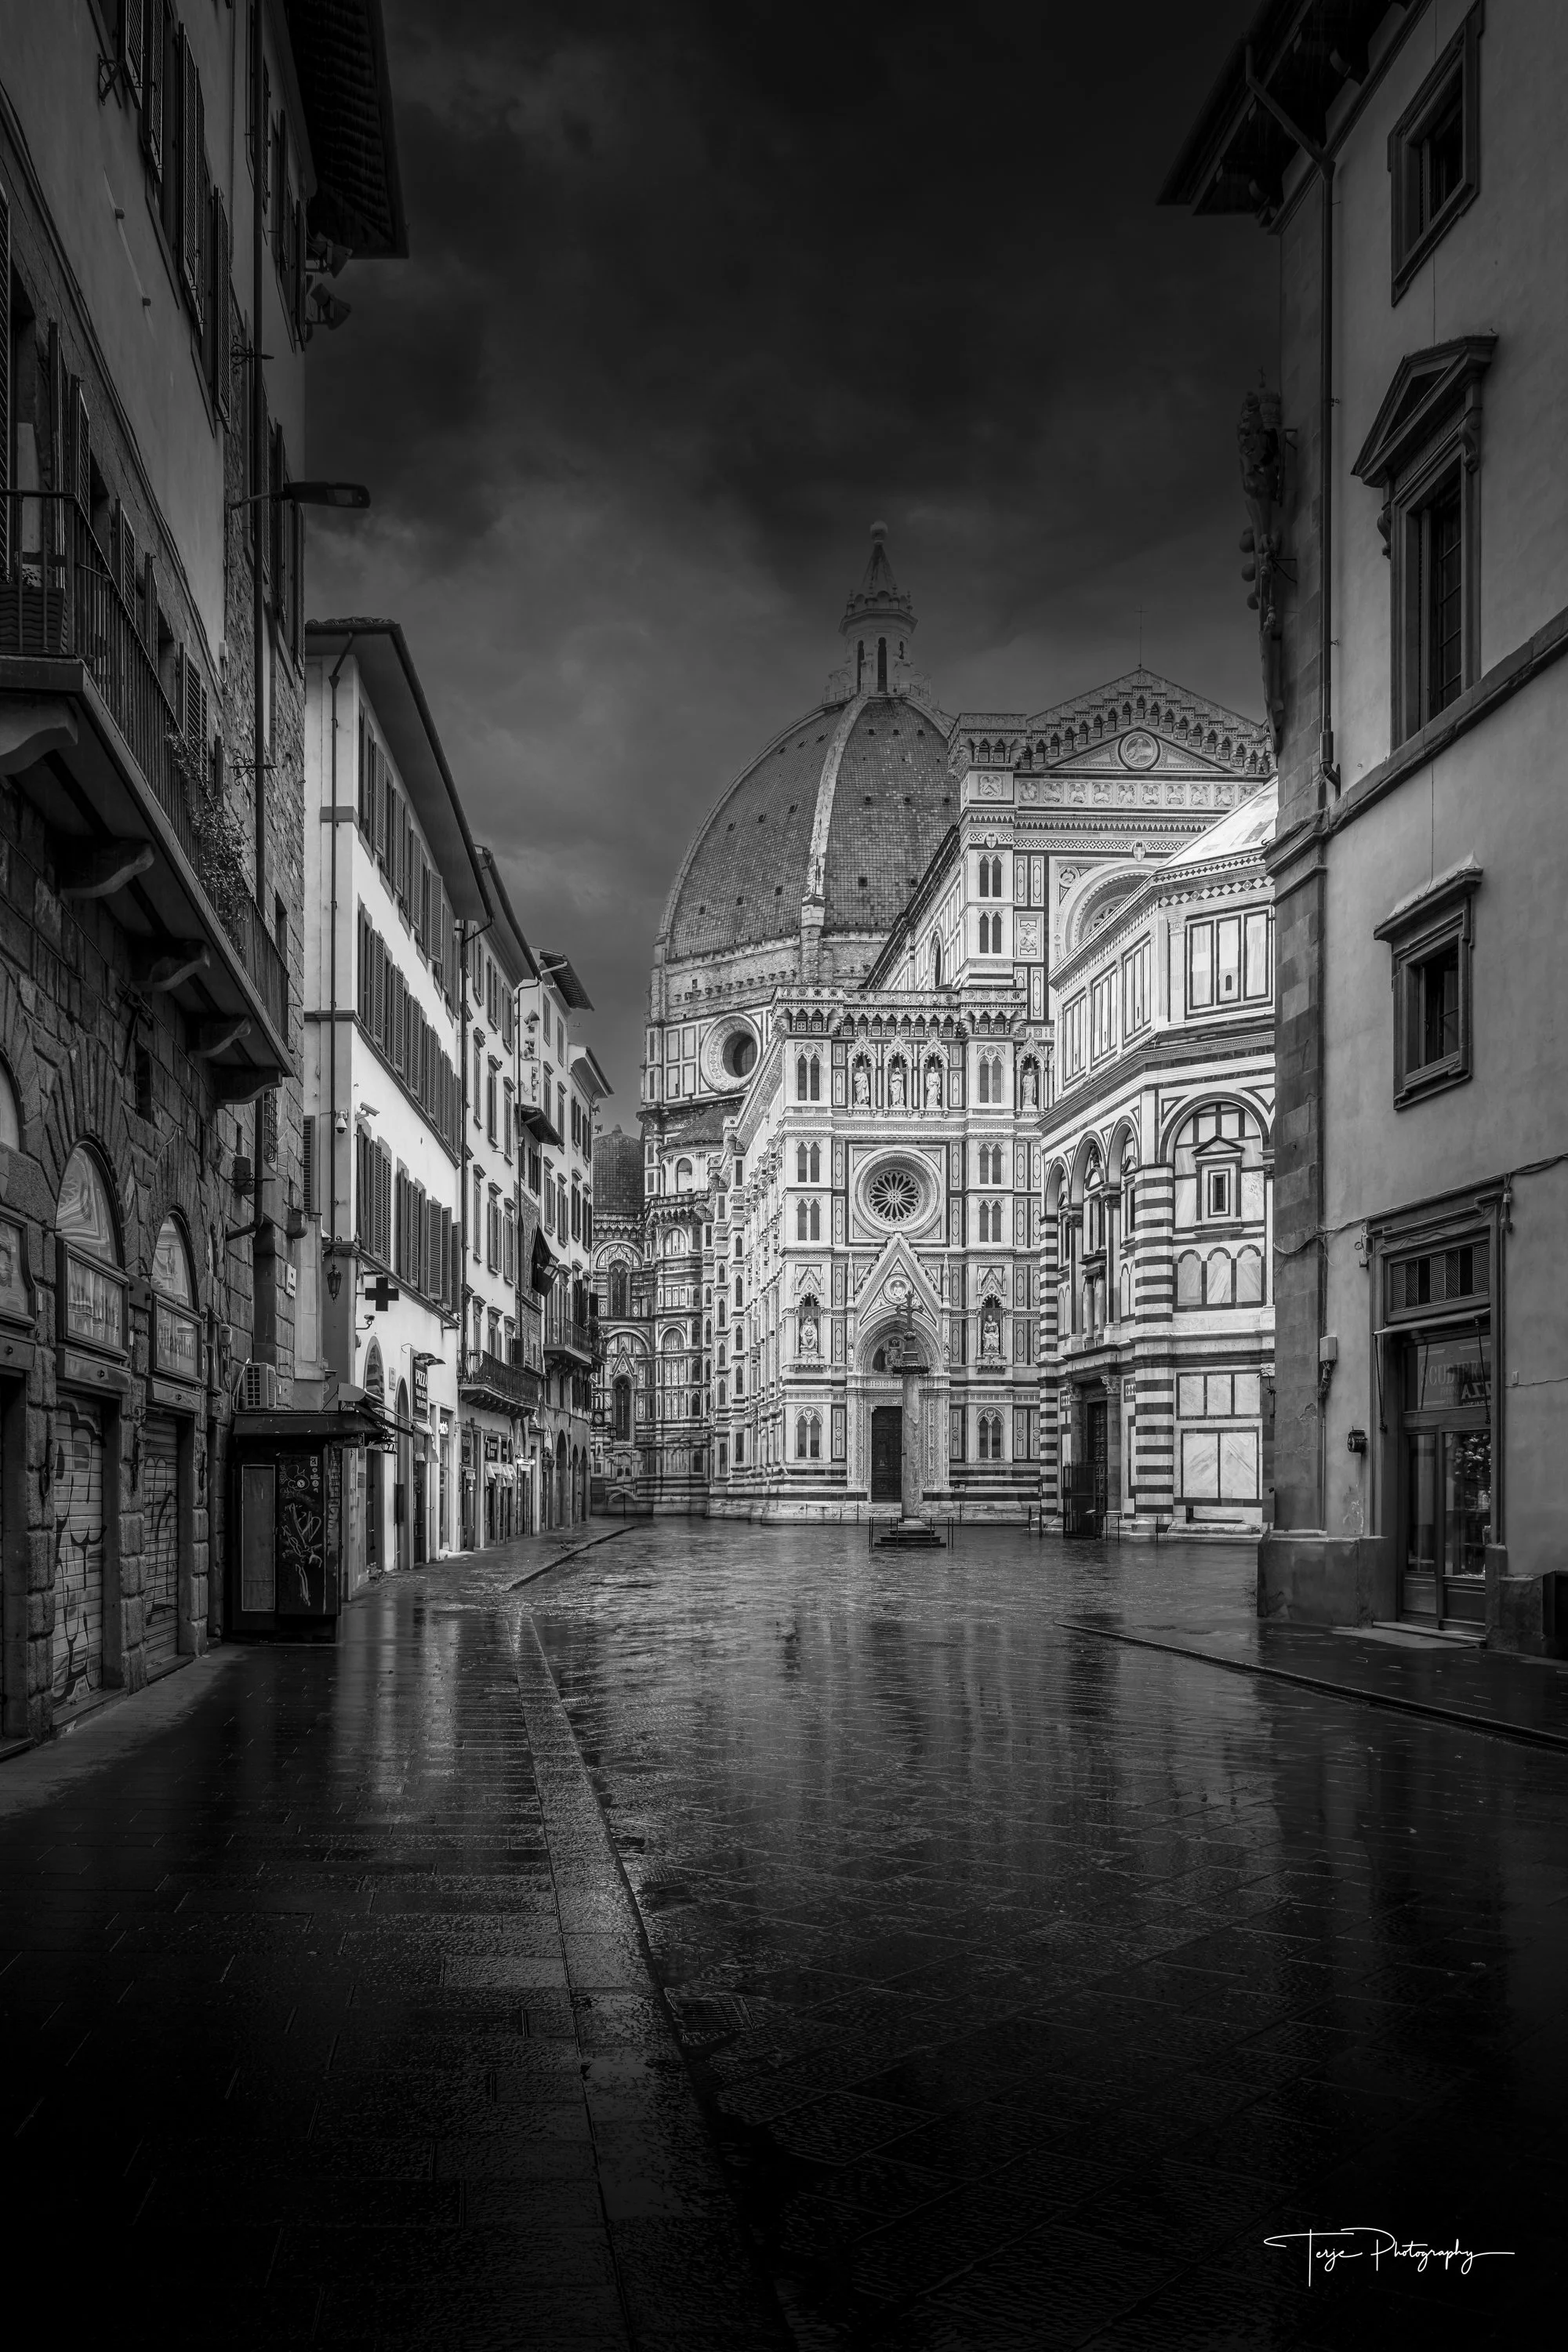
A found frame: the street edges quietly guide the eye straight to the Duomo.
Micro-tip that makes this work even better: once you’ve found a frame, take 10 seconds to refine it. Check the edges for distractions, straighten verticals if needed, and see if you can position the subject so it doesn’t merge awkwardly with the frame. Small adjustments here are often the difference between “nice” and “finished.”
Gear that actually matters
You don’t need much to make strong cityscapes, but a few choices make the work easier — and more consistent.
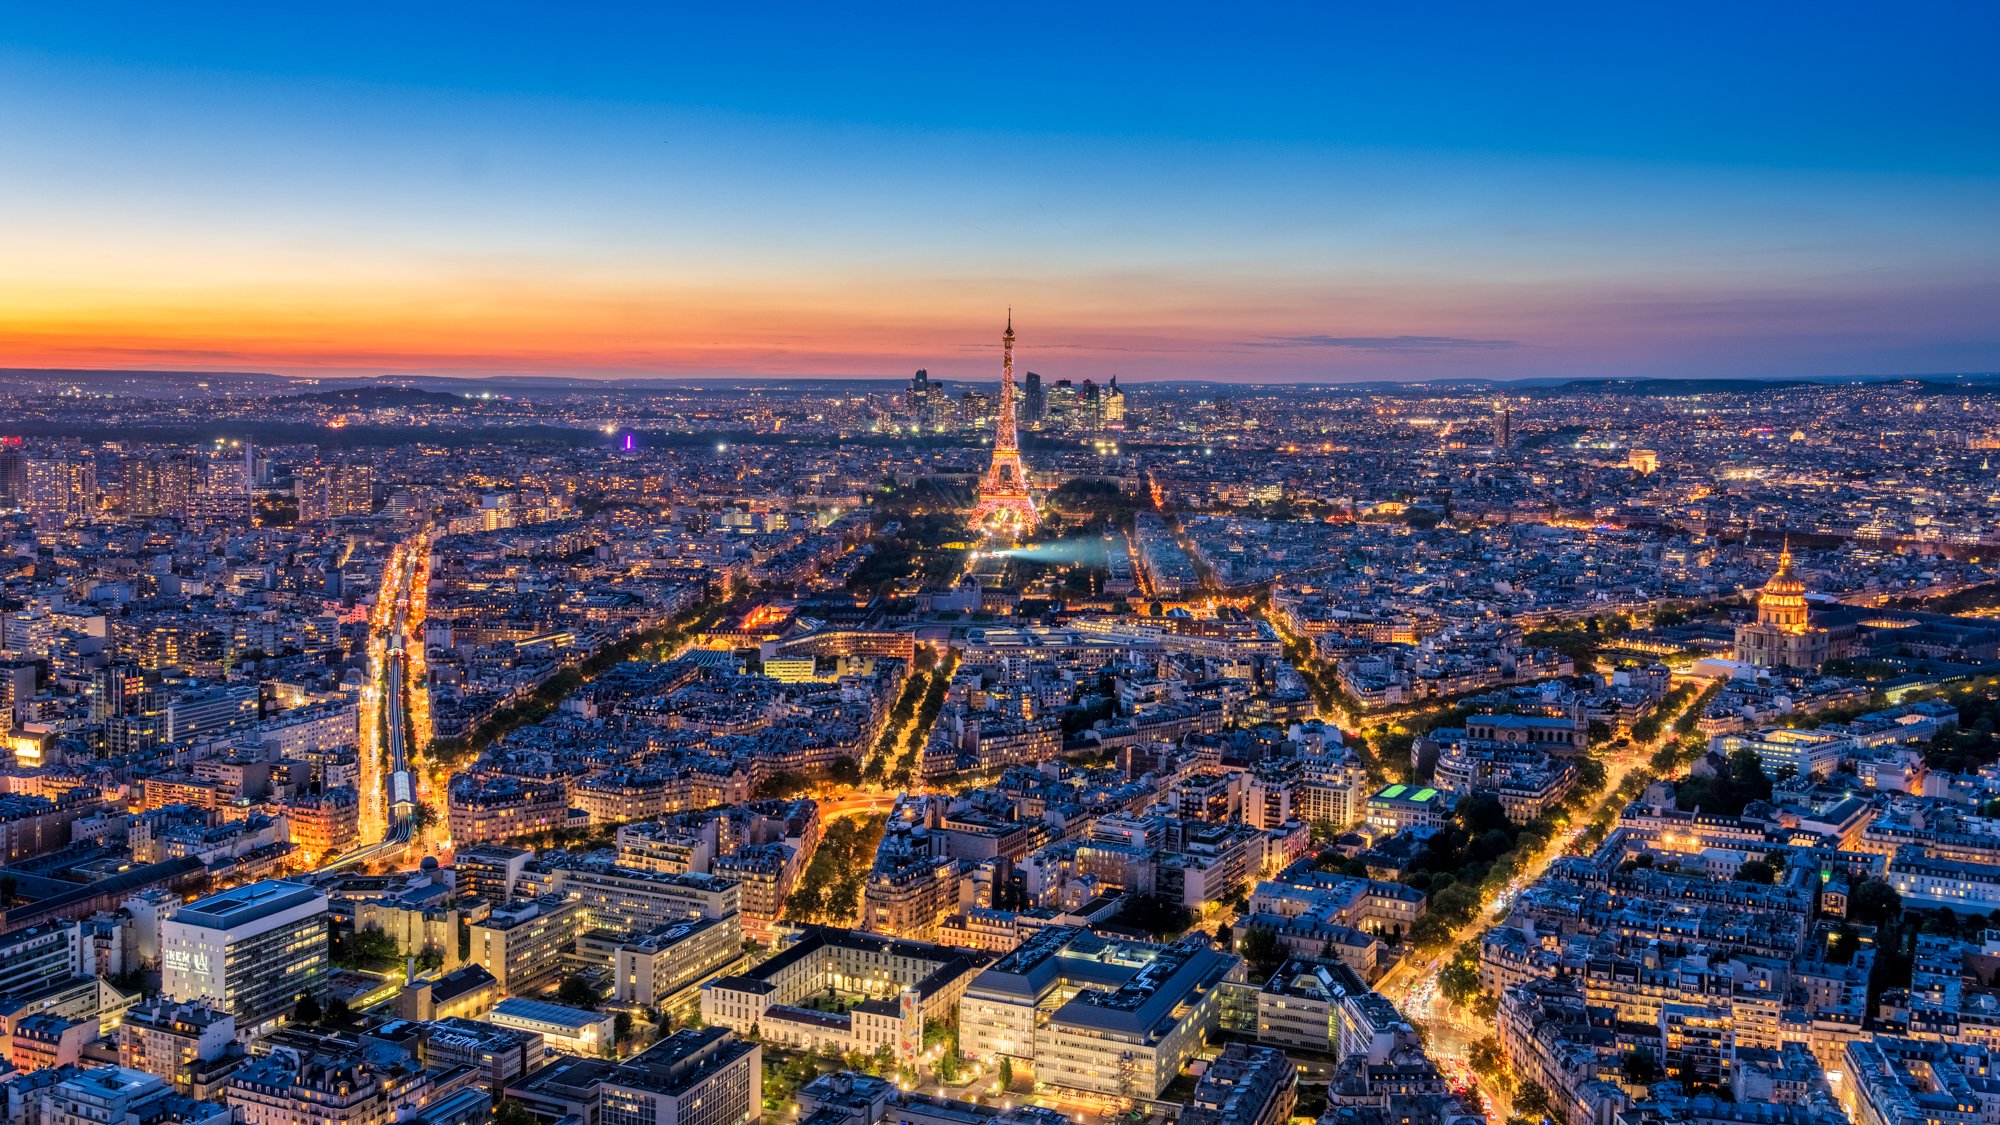
A tripod matters for blue hour and night because it buys you time. Time to refine the frame. Time to keep ISO low. Time to make small, deliberate improvements that compound. It also changes how you shoot: you stop grabbing quick snapshots and start building photographs. If you’ve ever felt rushed during blue hour, a tripod is often the difference between “almost” and “finished.”
A tripod buys time — and time buys better decisions.
Lens choice shapes the feel of a cityscape more than people think. A wide angle can be beautiful, but it only really shines when you’re willing to work close and let the foreground do something interesting. Wide frames can easily become “too much information,” so the discipline is in the edges: simplify, separate shapes, and make sure the foreground leads somewhere.
Telephoto is the quiet upgrade for cityscapes. It compresses layers, reduces clutter, and turns a busy city into design — patterns, rhythm, and clean structure. In dense European cities, a tighter focal length often creates a more refined result because you can isolate what matters and remove everything that doesn’t.
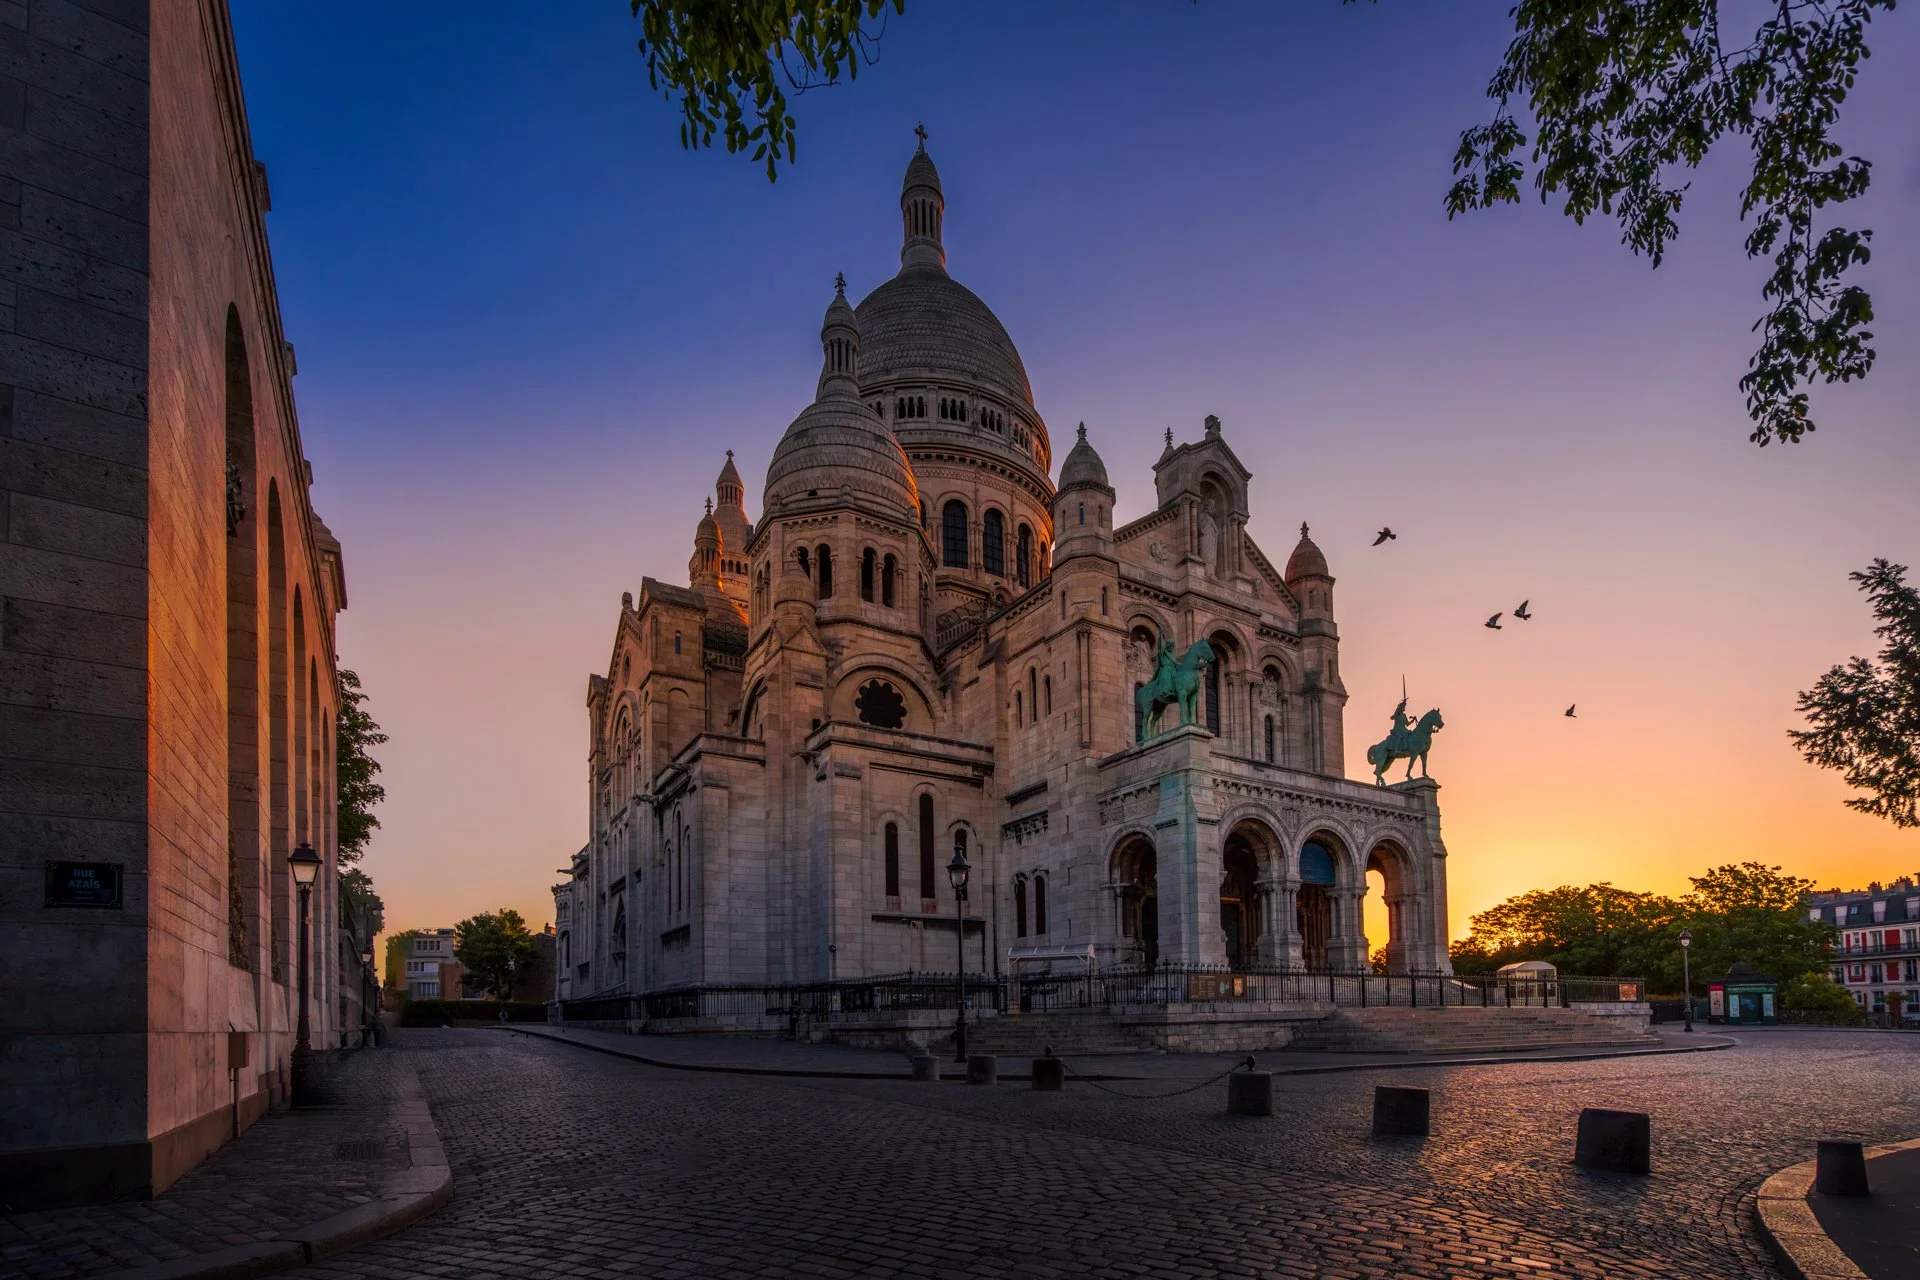
Wide angle tells the story — foreground matters.
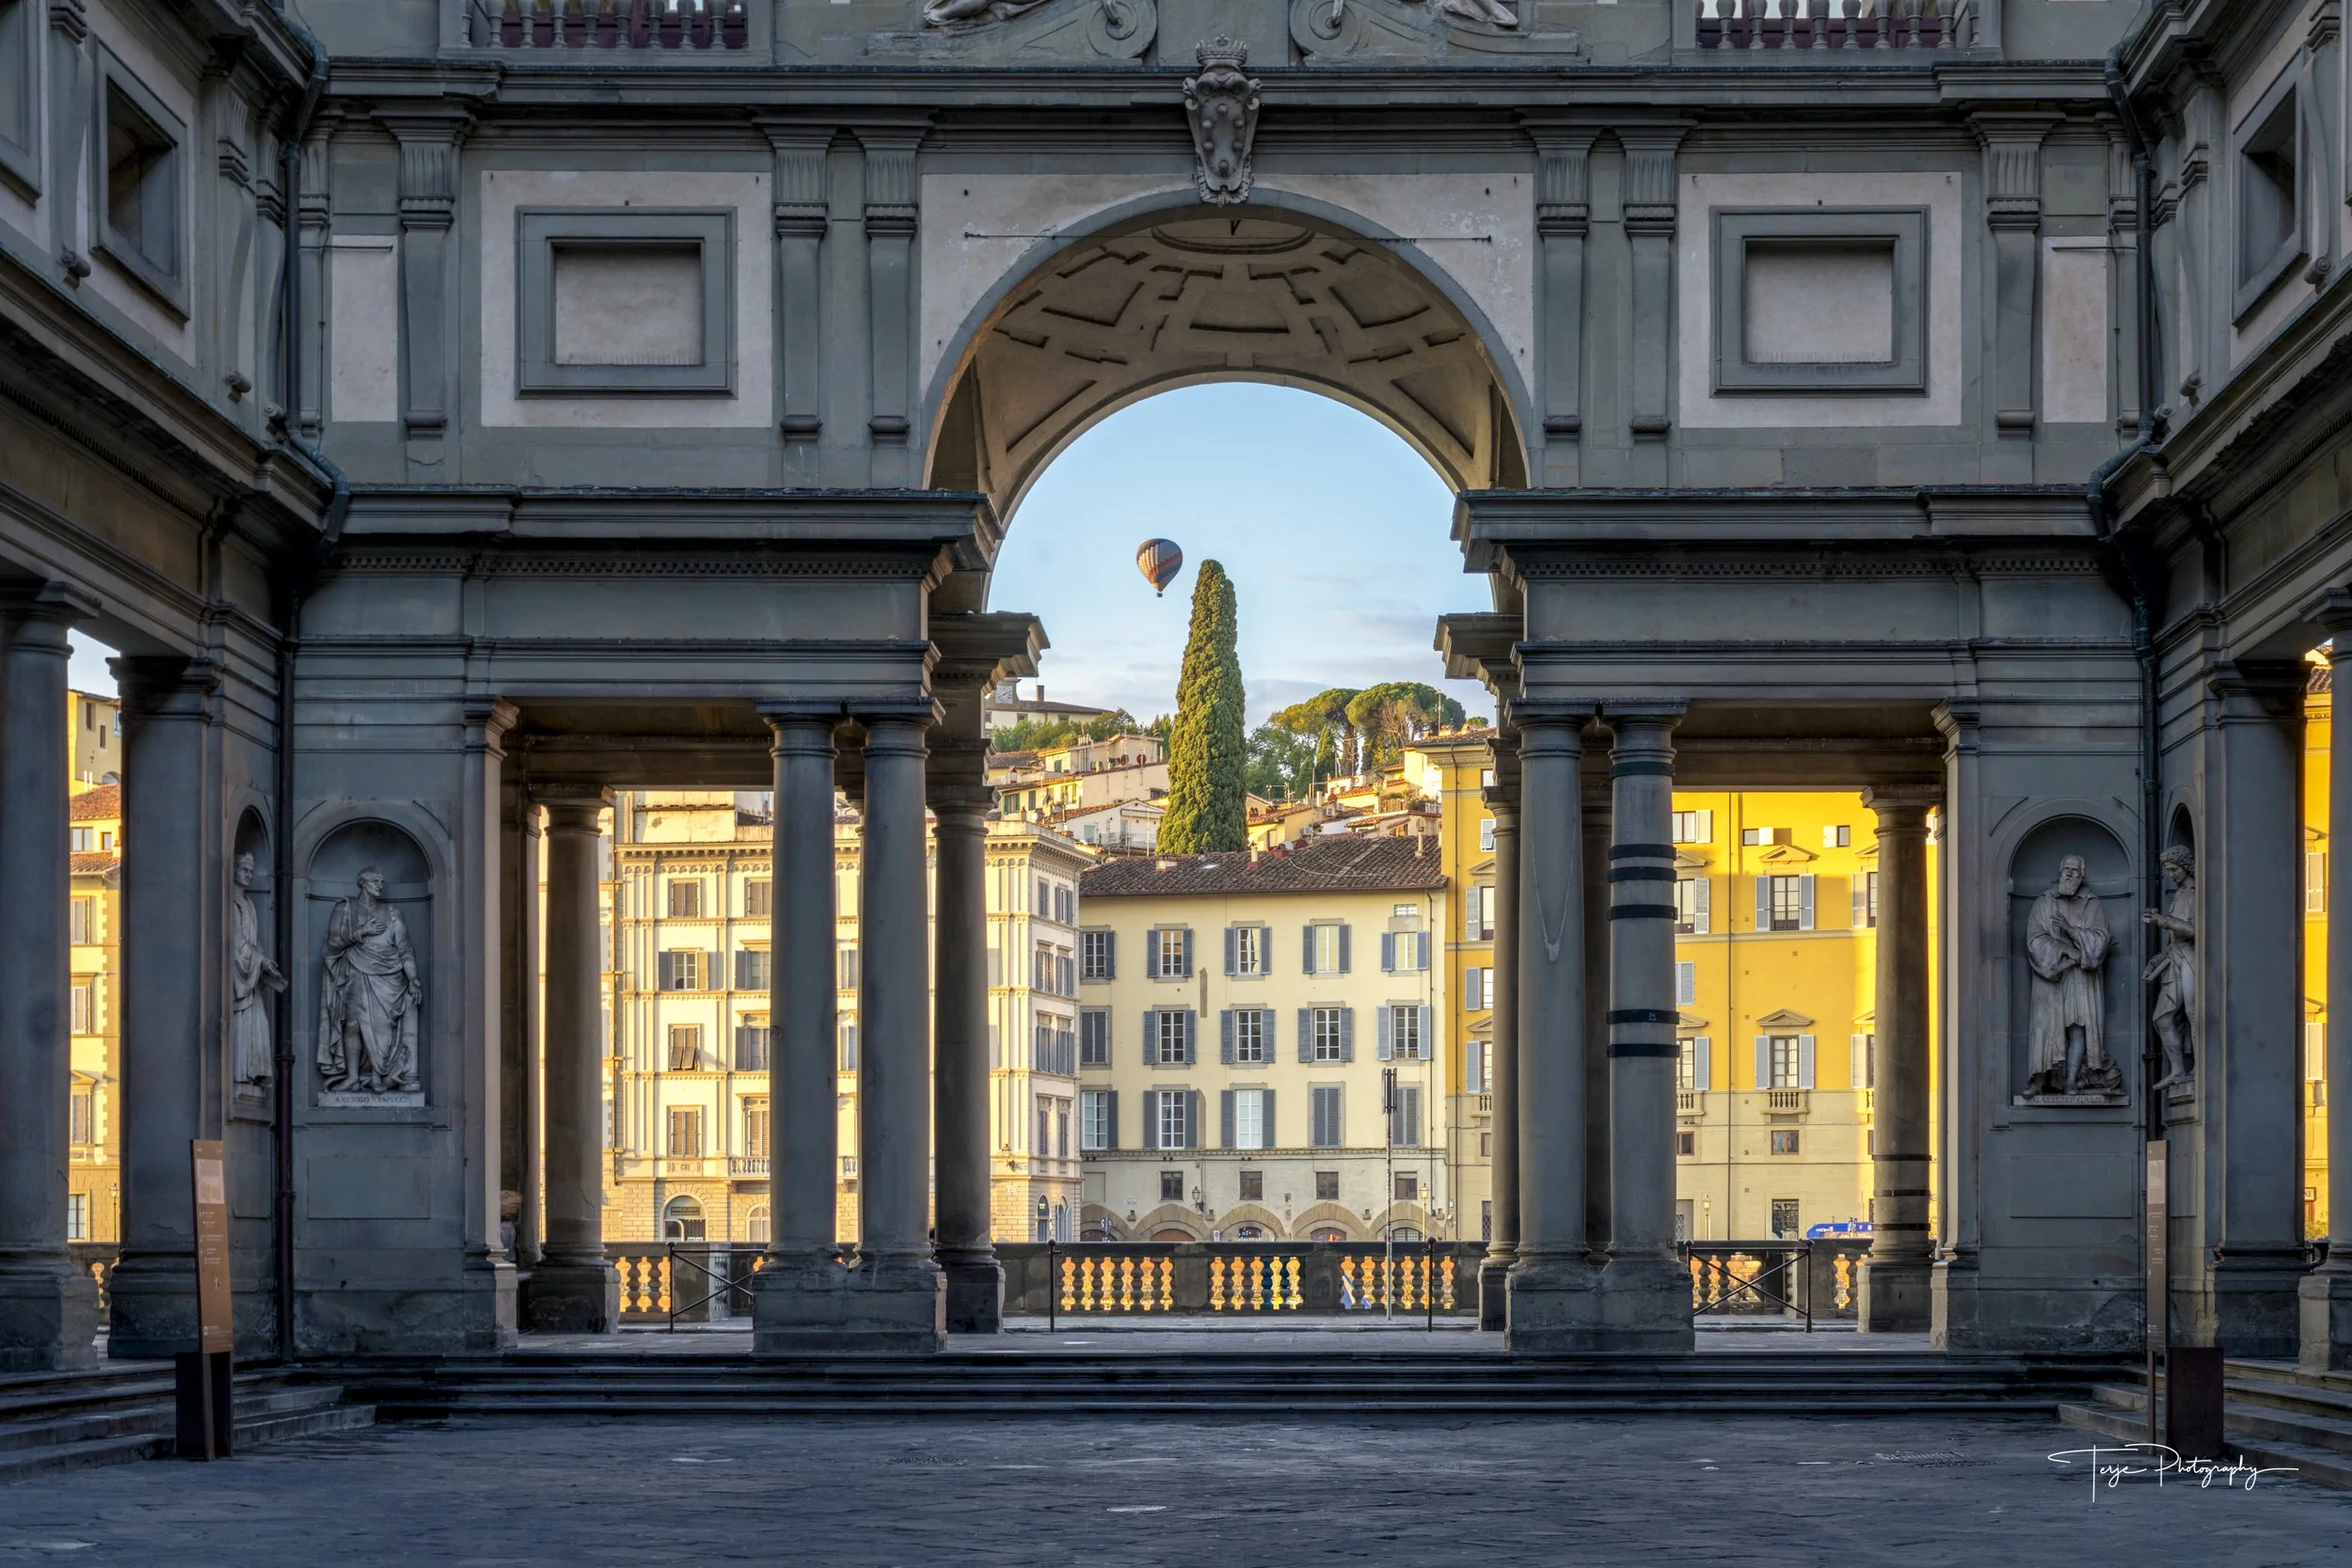
Telephoto simplifies and designs the frame.
Filters are optional, but they’re useful when they solve a specific problem. An ND filter lets you slow the scene down: smoothing water, stretching clouds, or letting crowds disappear into motion. A polarizer can reduce glare on windows and deepen color in certain situations, but it’s easy to overdo — especially with wide lenses — so treat it as a subtle tool, not a “look.”
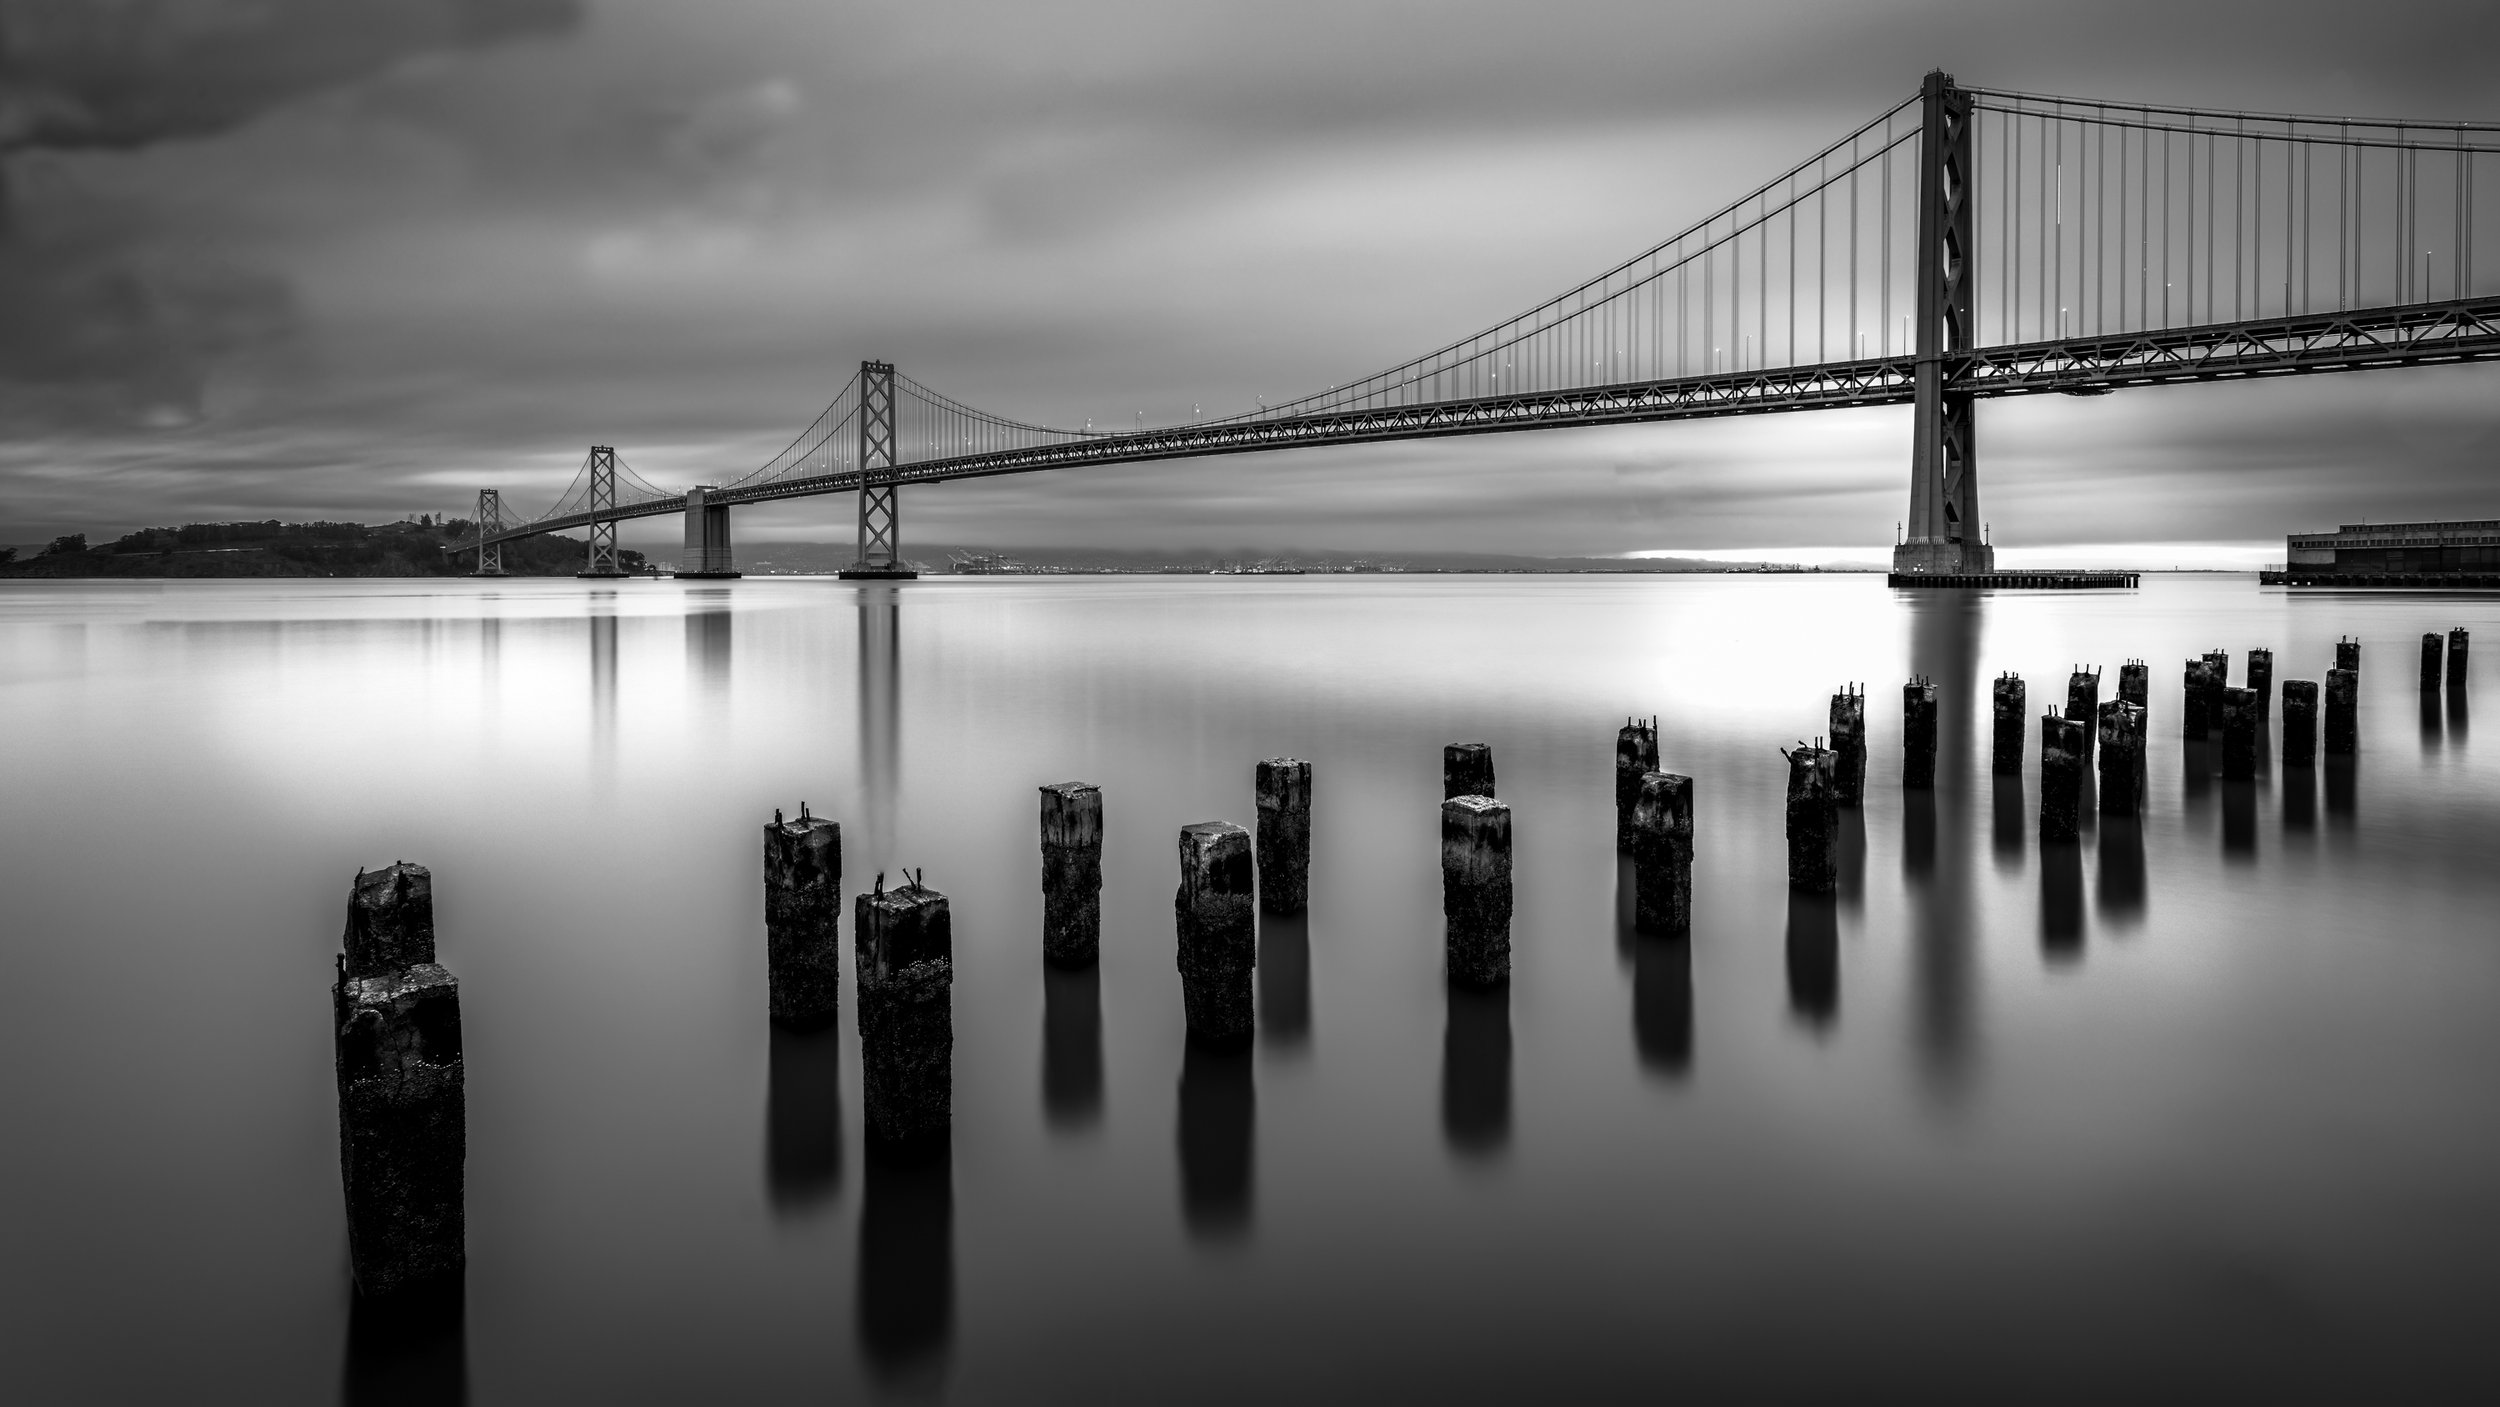
Filters are for control: long exposure can turn a busy scene into calm.
Finally, the most overlooked “gear” choice is comfort and simplicity. Cityscape sessions often start early and finish late. If you’re cold, rushed, or carrying too much, you’ll shoot differently. One camera, one or two lenses, and a tripod you actually like using is usually the sweet spot.
Technique in the field: consistency beats complexity
Protect highlights. City lights clip quickly, and once they’re blown they often look harsh. Expose with bright areas in mind and lift shadows later with restraint.
When contrast is extreme, bracketing is a quiet safety net. Done gently, it gives you natural balance without the heavy HDR look.
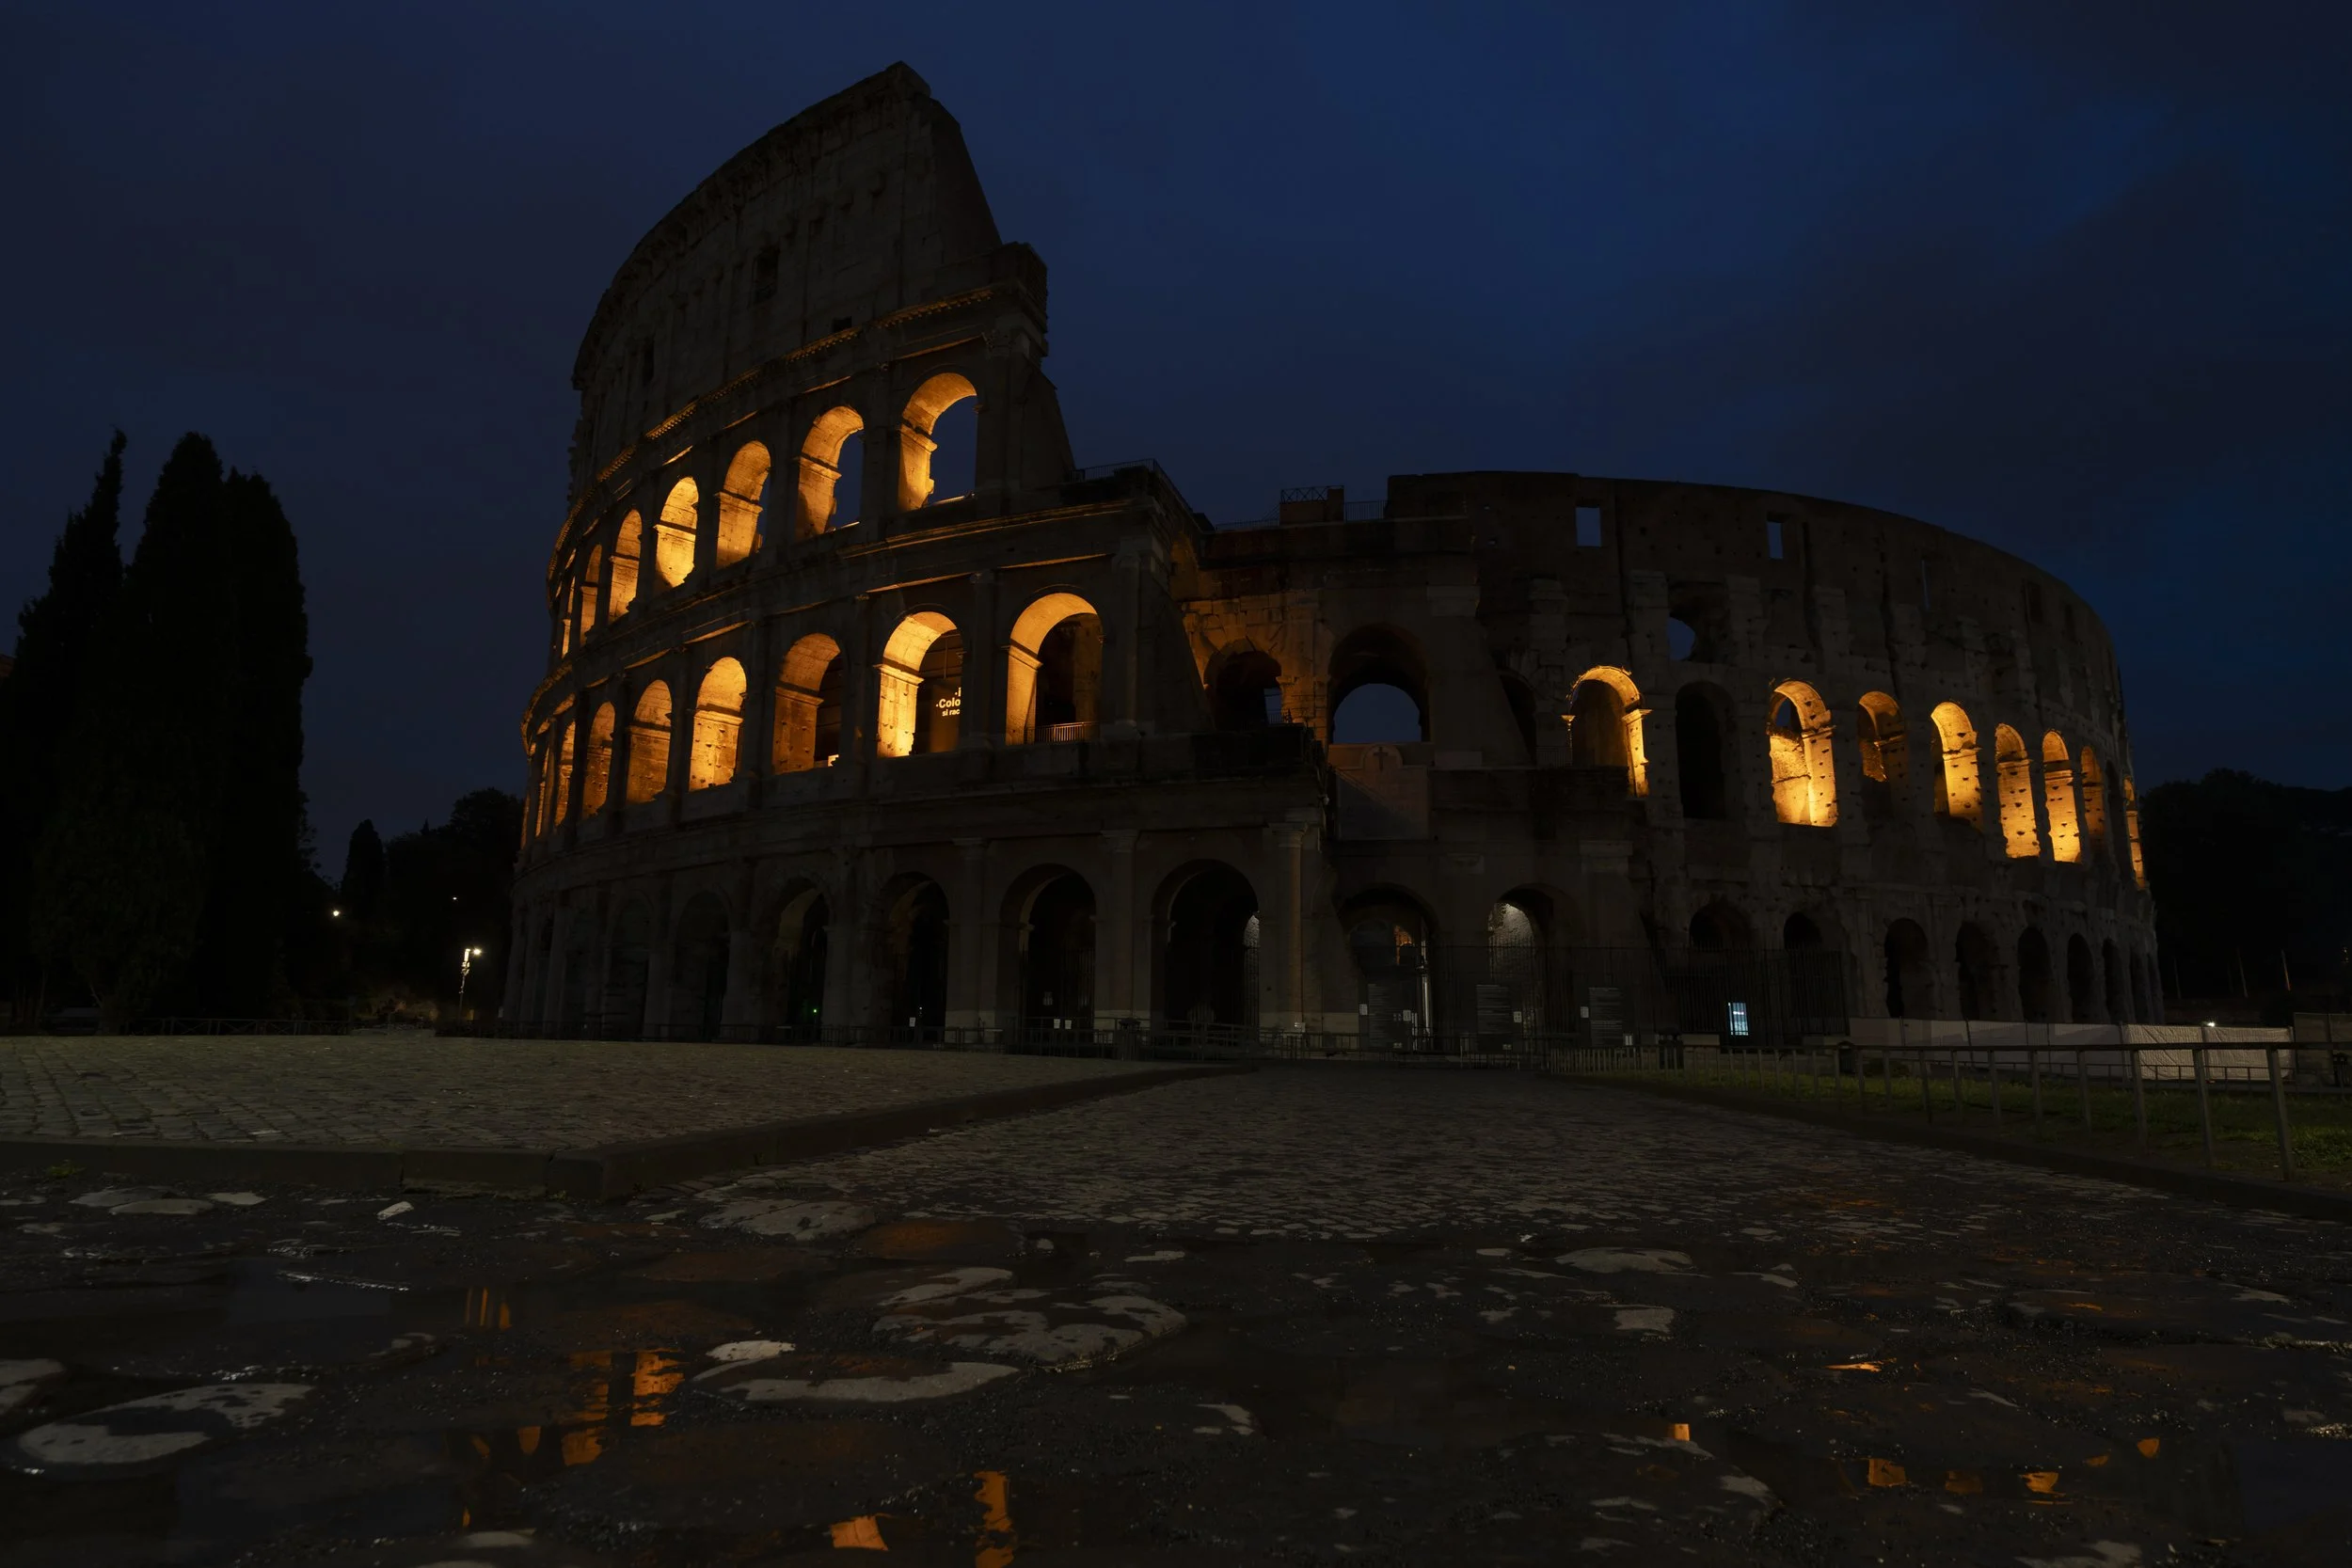
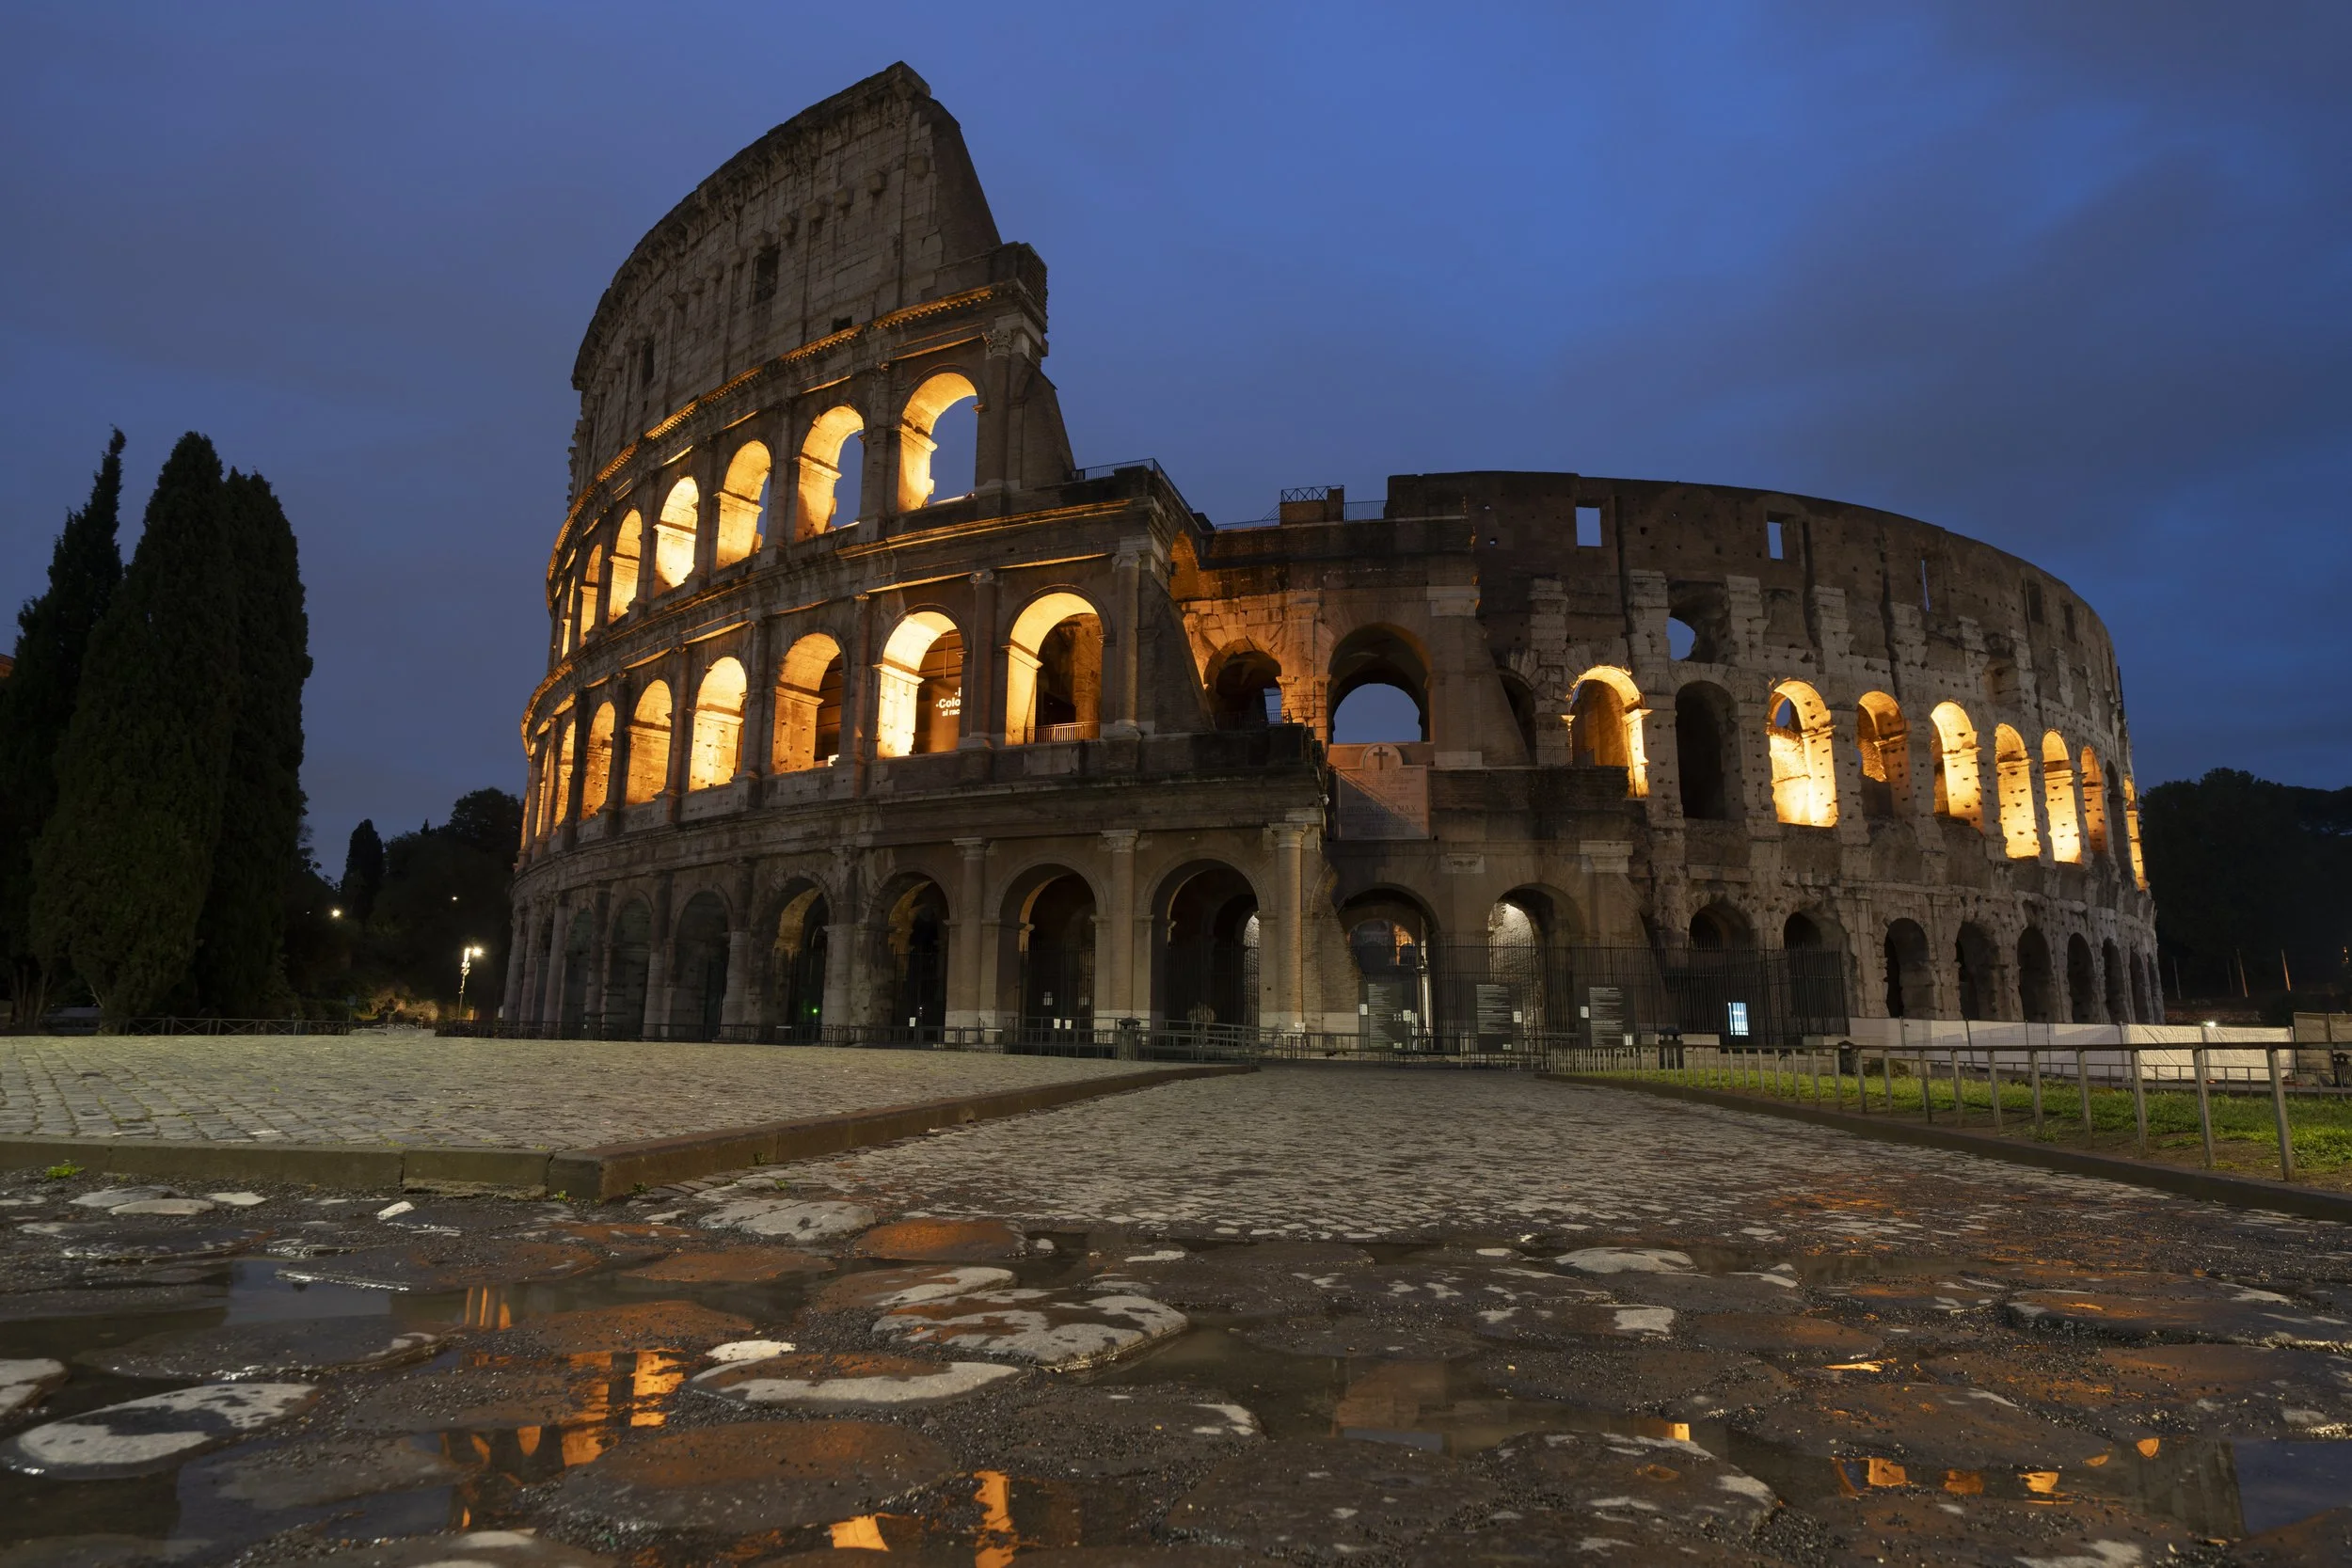
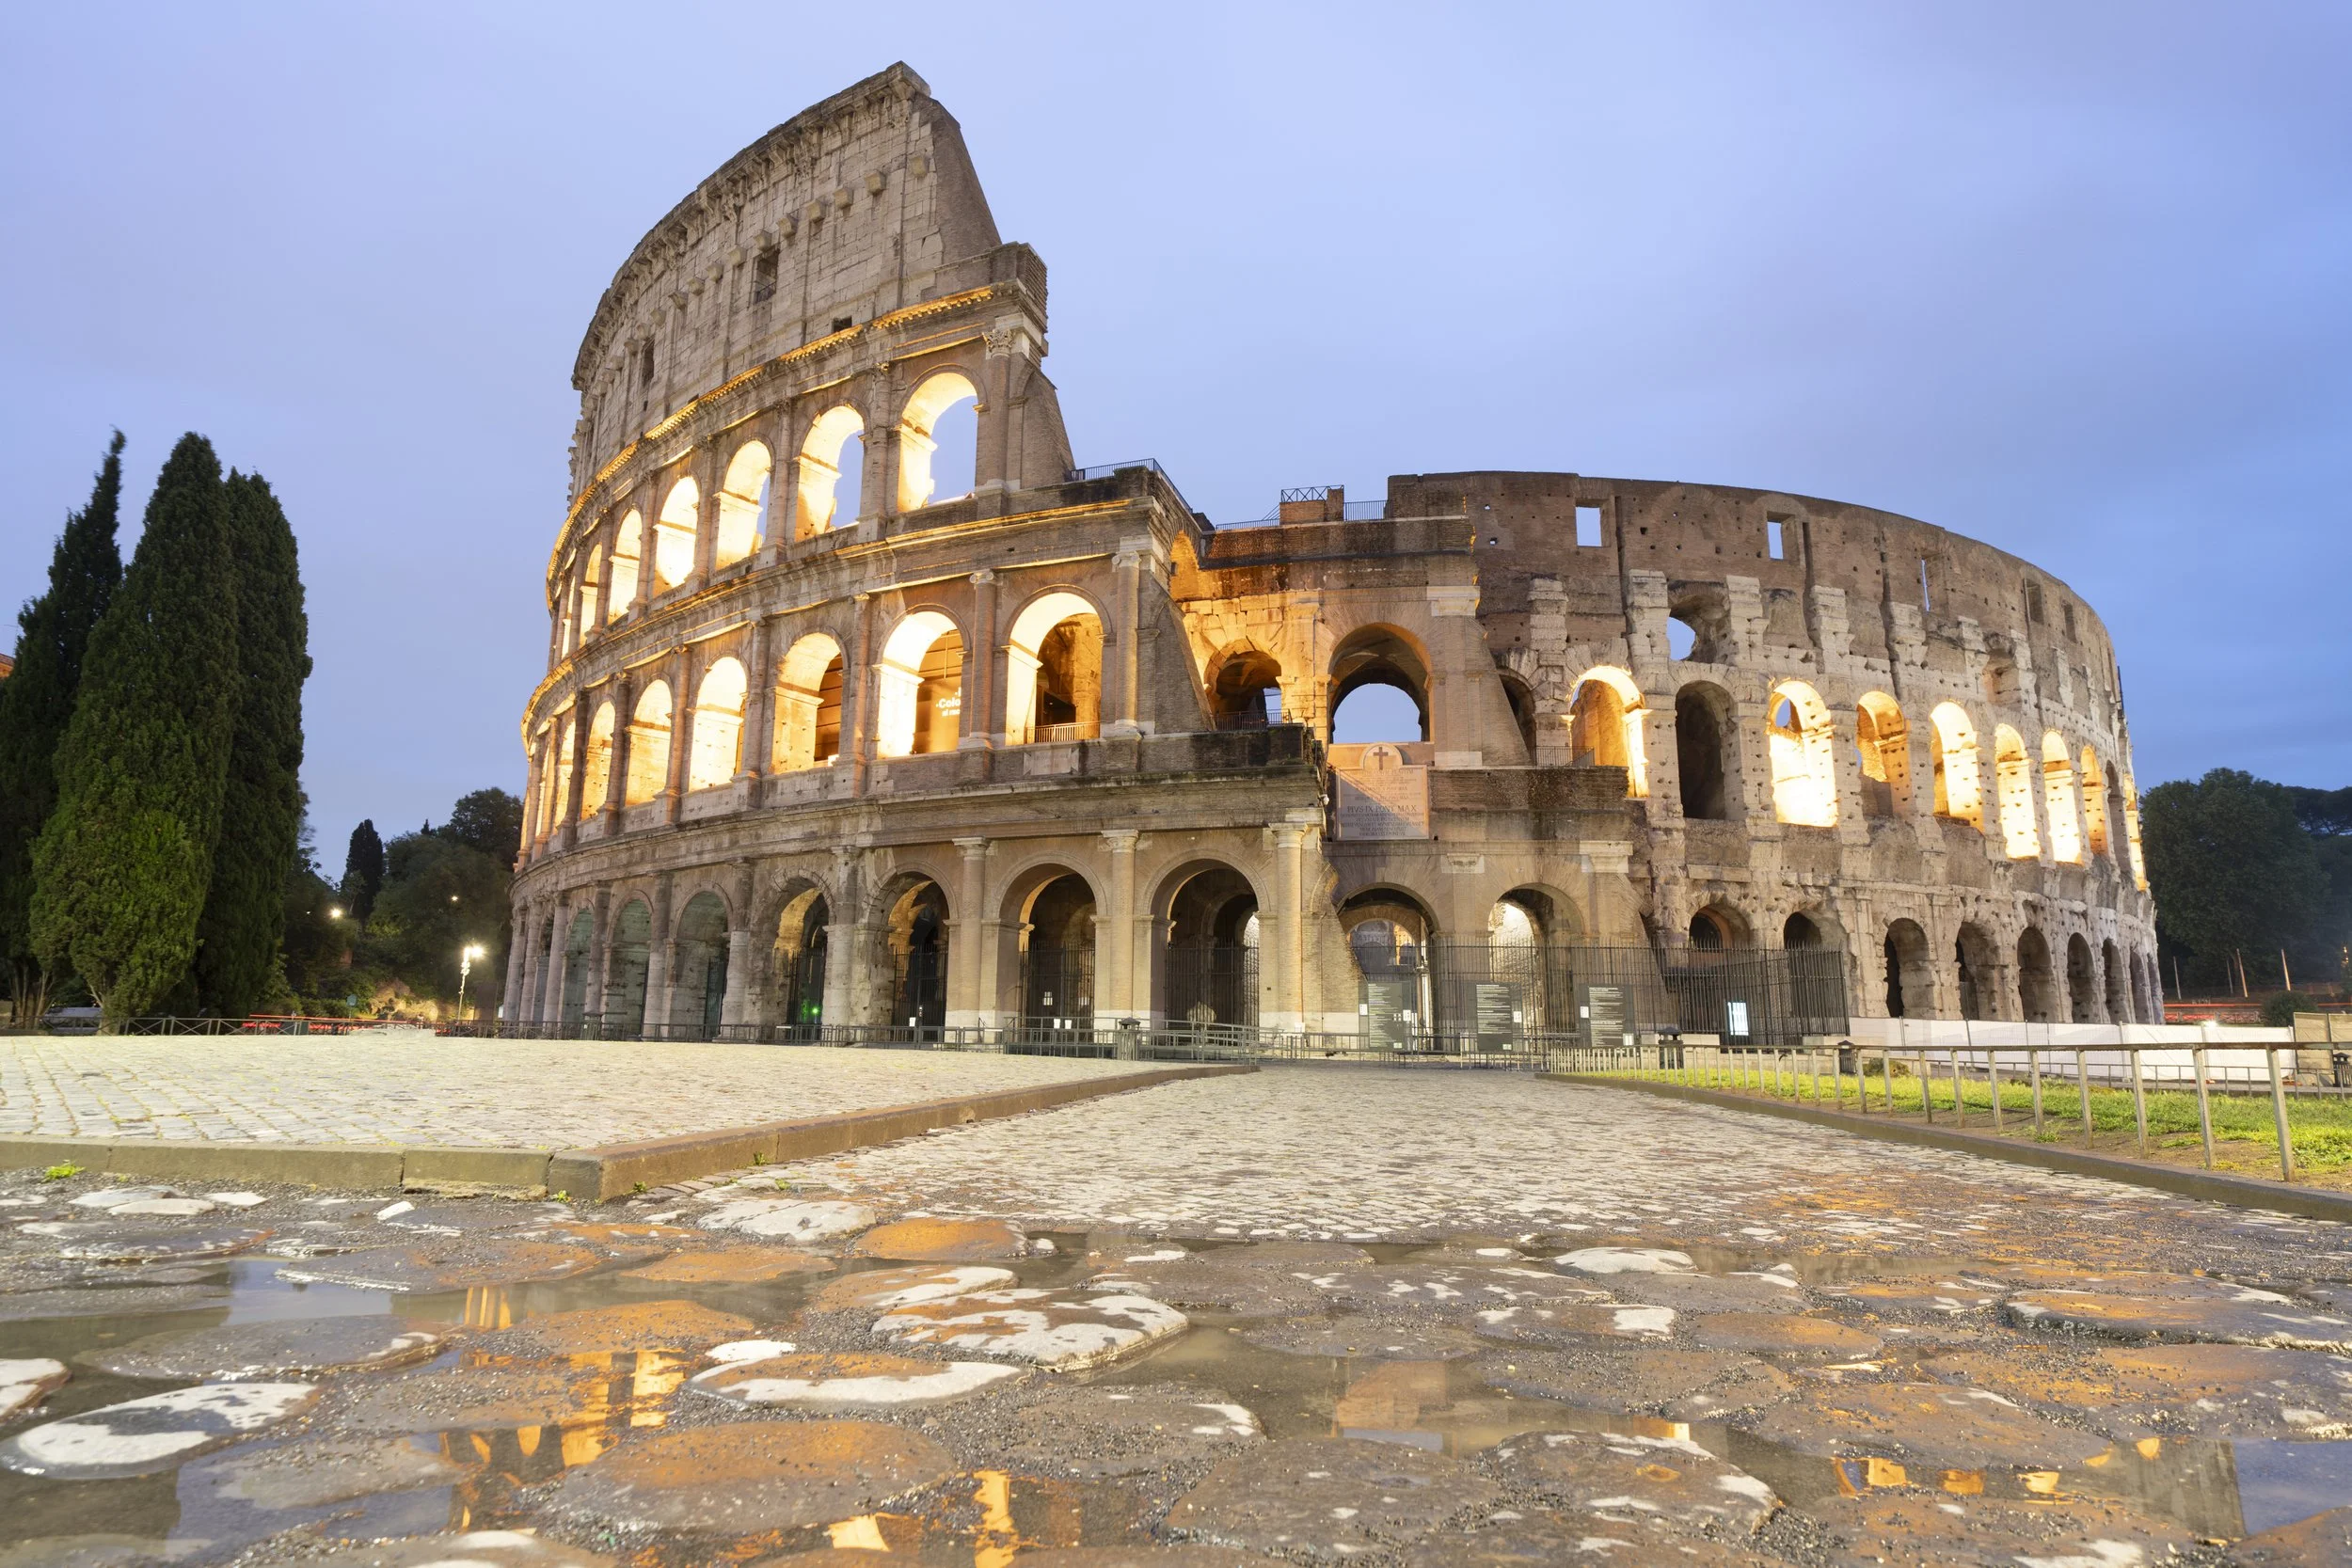
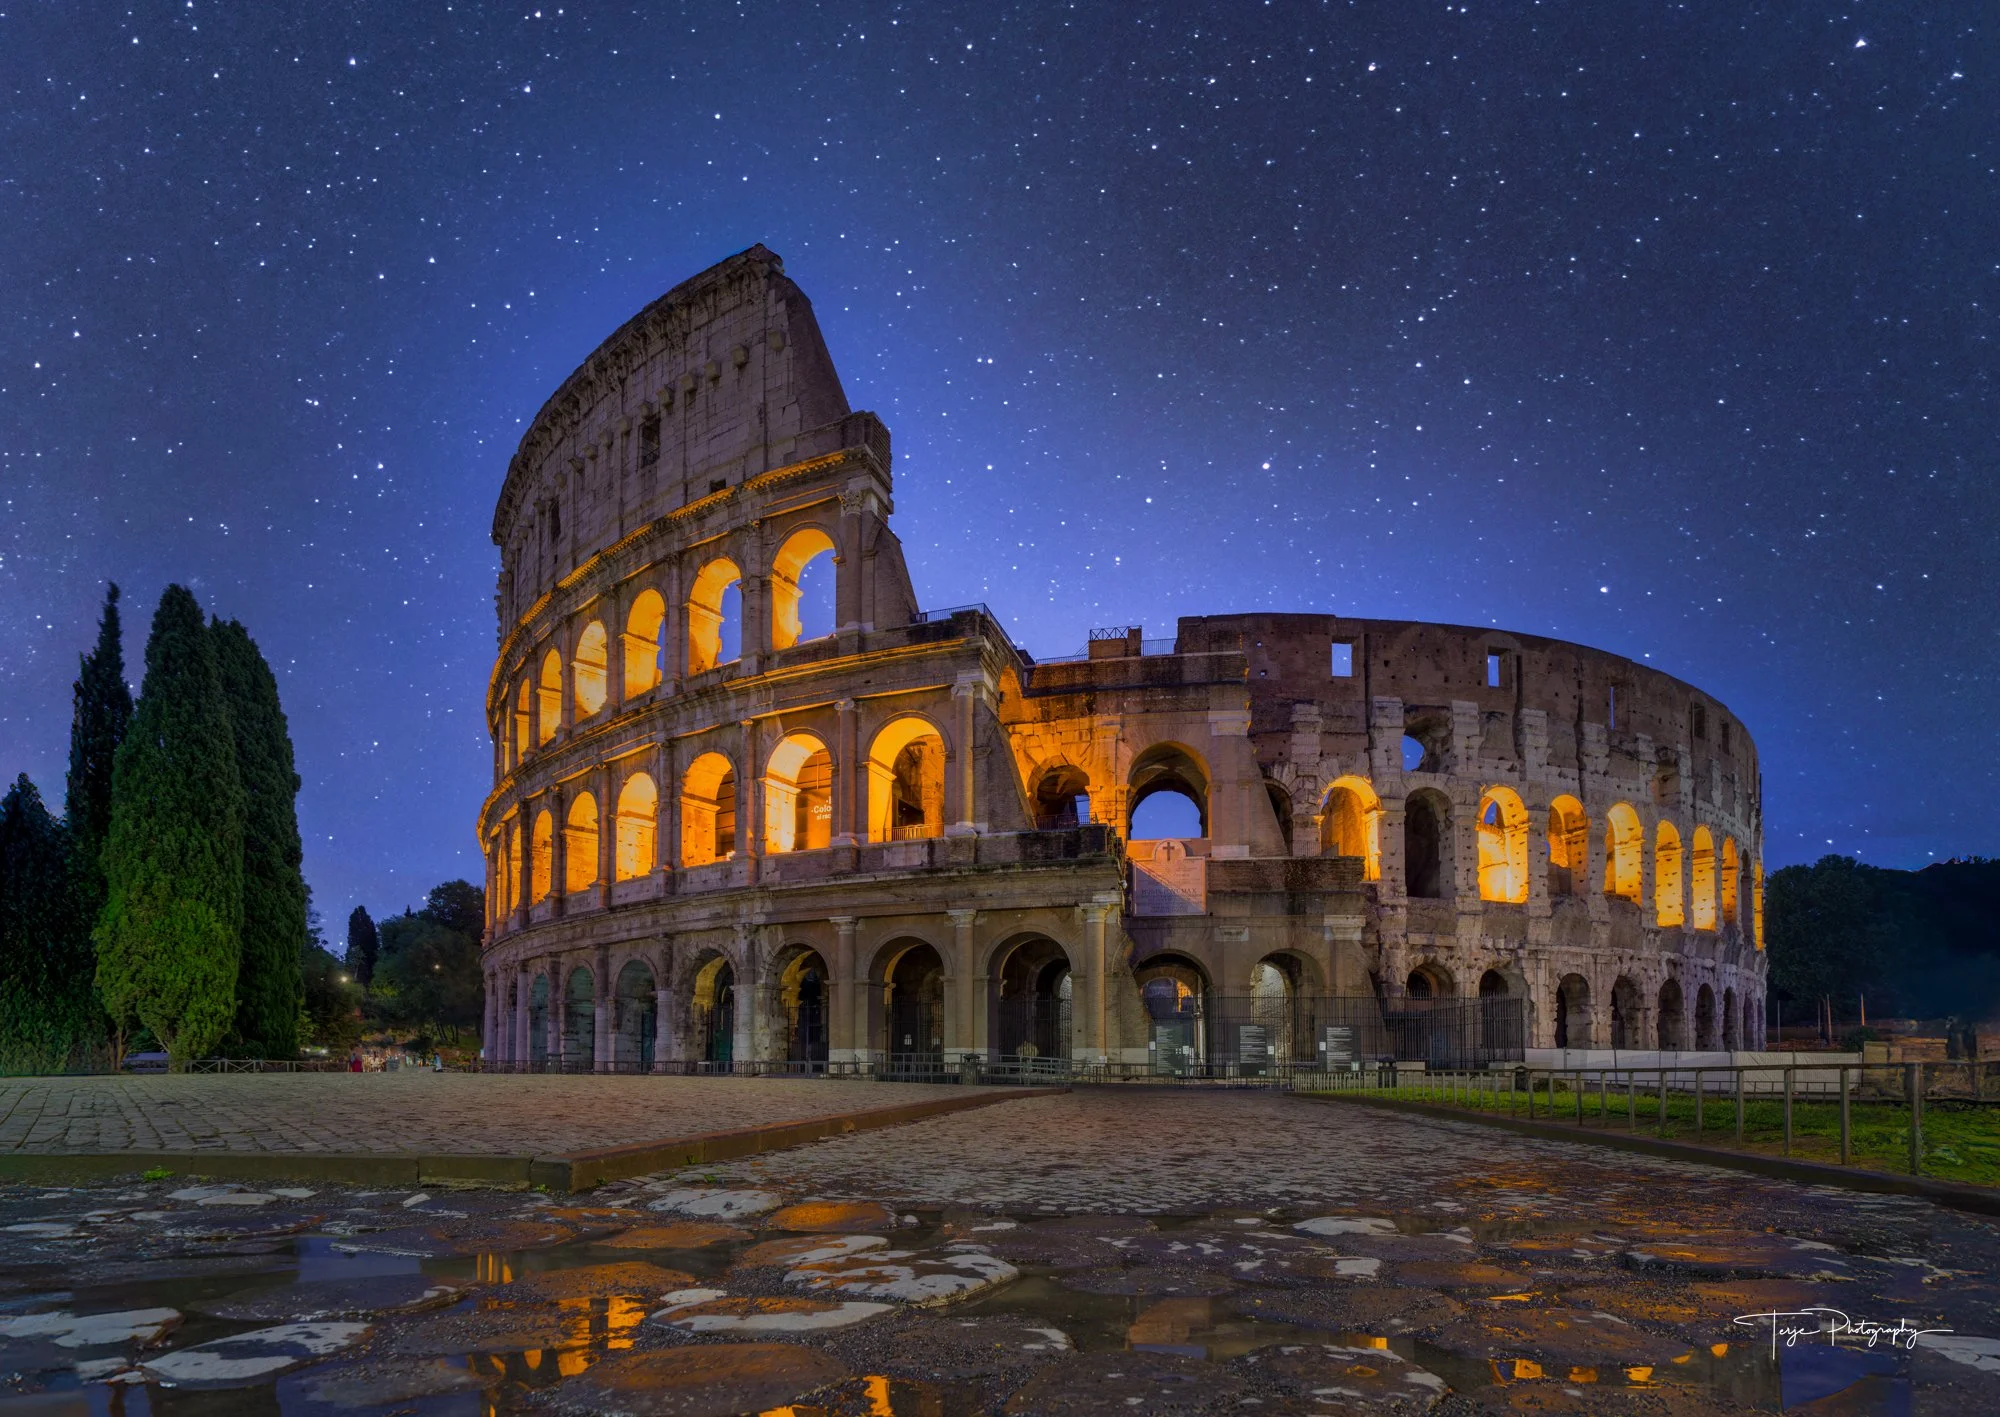
Final blended frame: bracketed exposures for the Colosseum, finished with a sky captured an hour earlier.
Long exposure is one of the easiest ways to add polish. Traffic becomes elegant lines. People soften into motion. Water and clouds calm down. Use it when it supports the mood.
Long exposure turns movement into design.
And sometimes you’ll shoot handheld in low light. That’s fine. Prioritize sharpness and timing. A little extra ISO is usually better than a soft image.
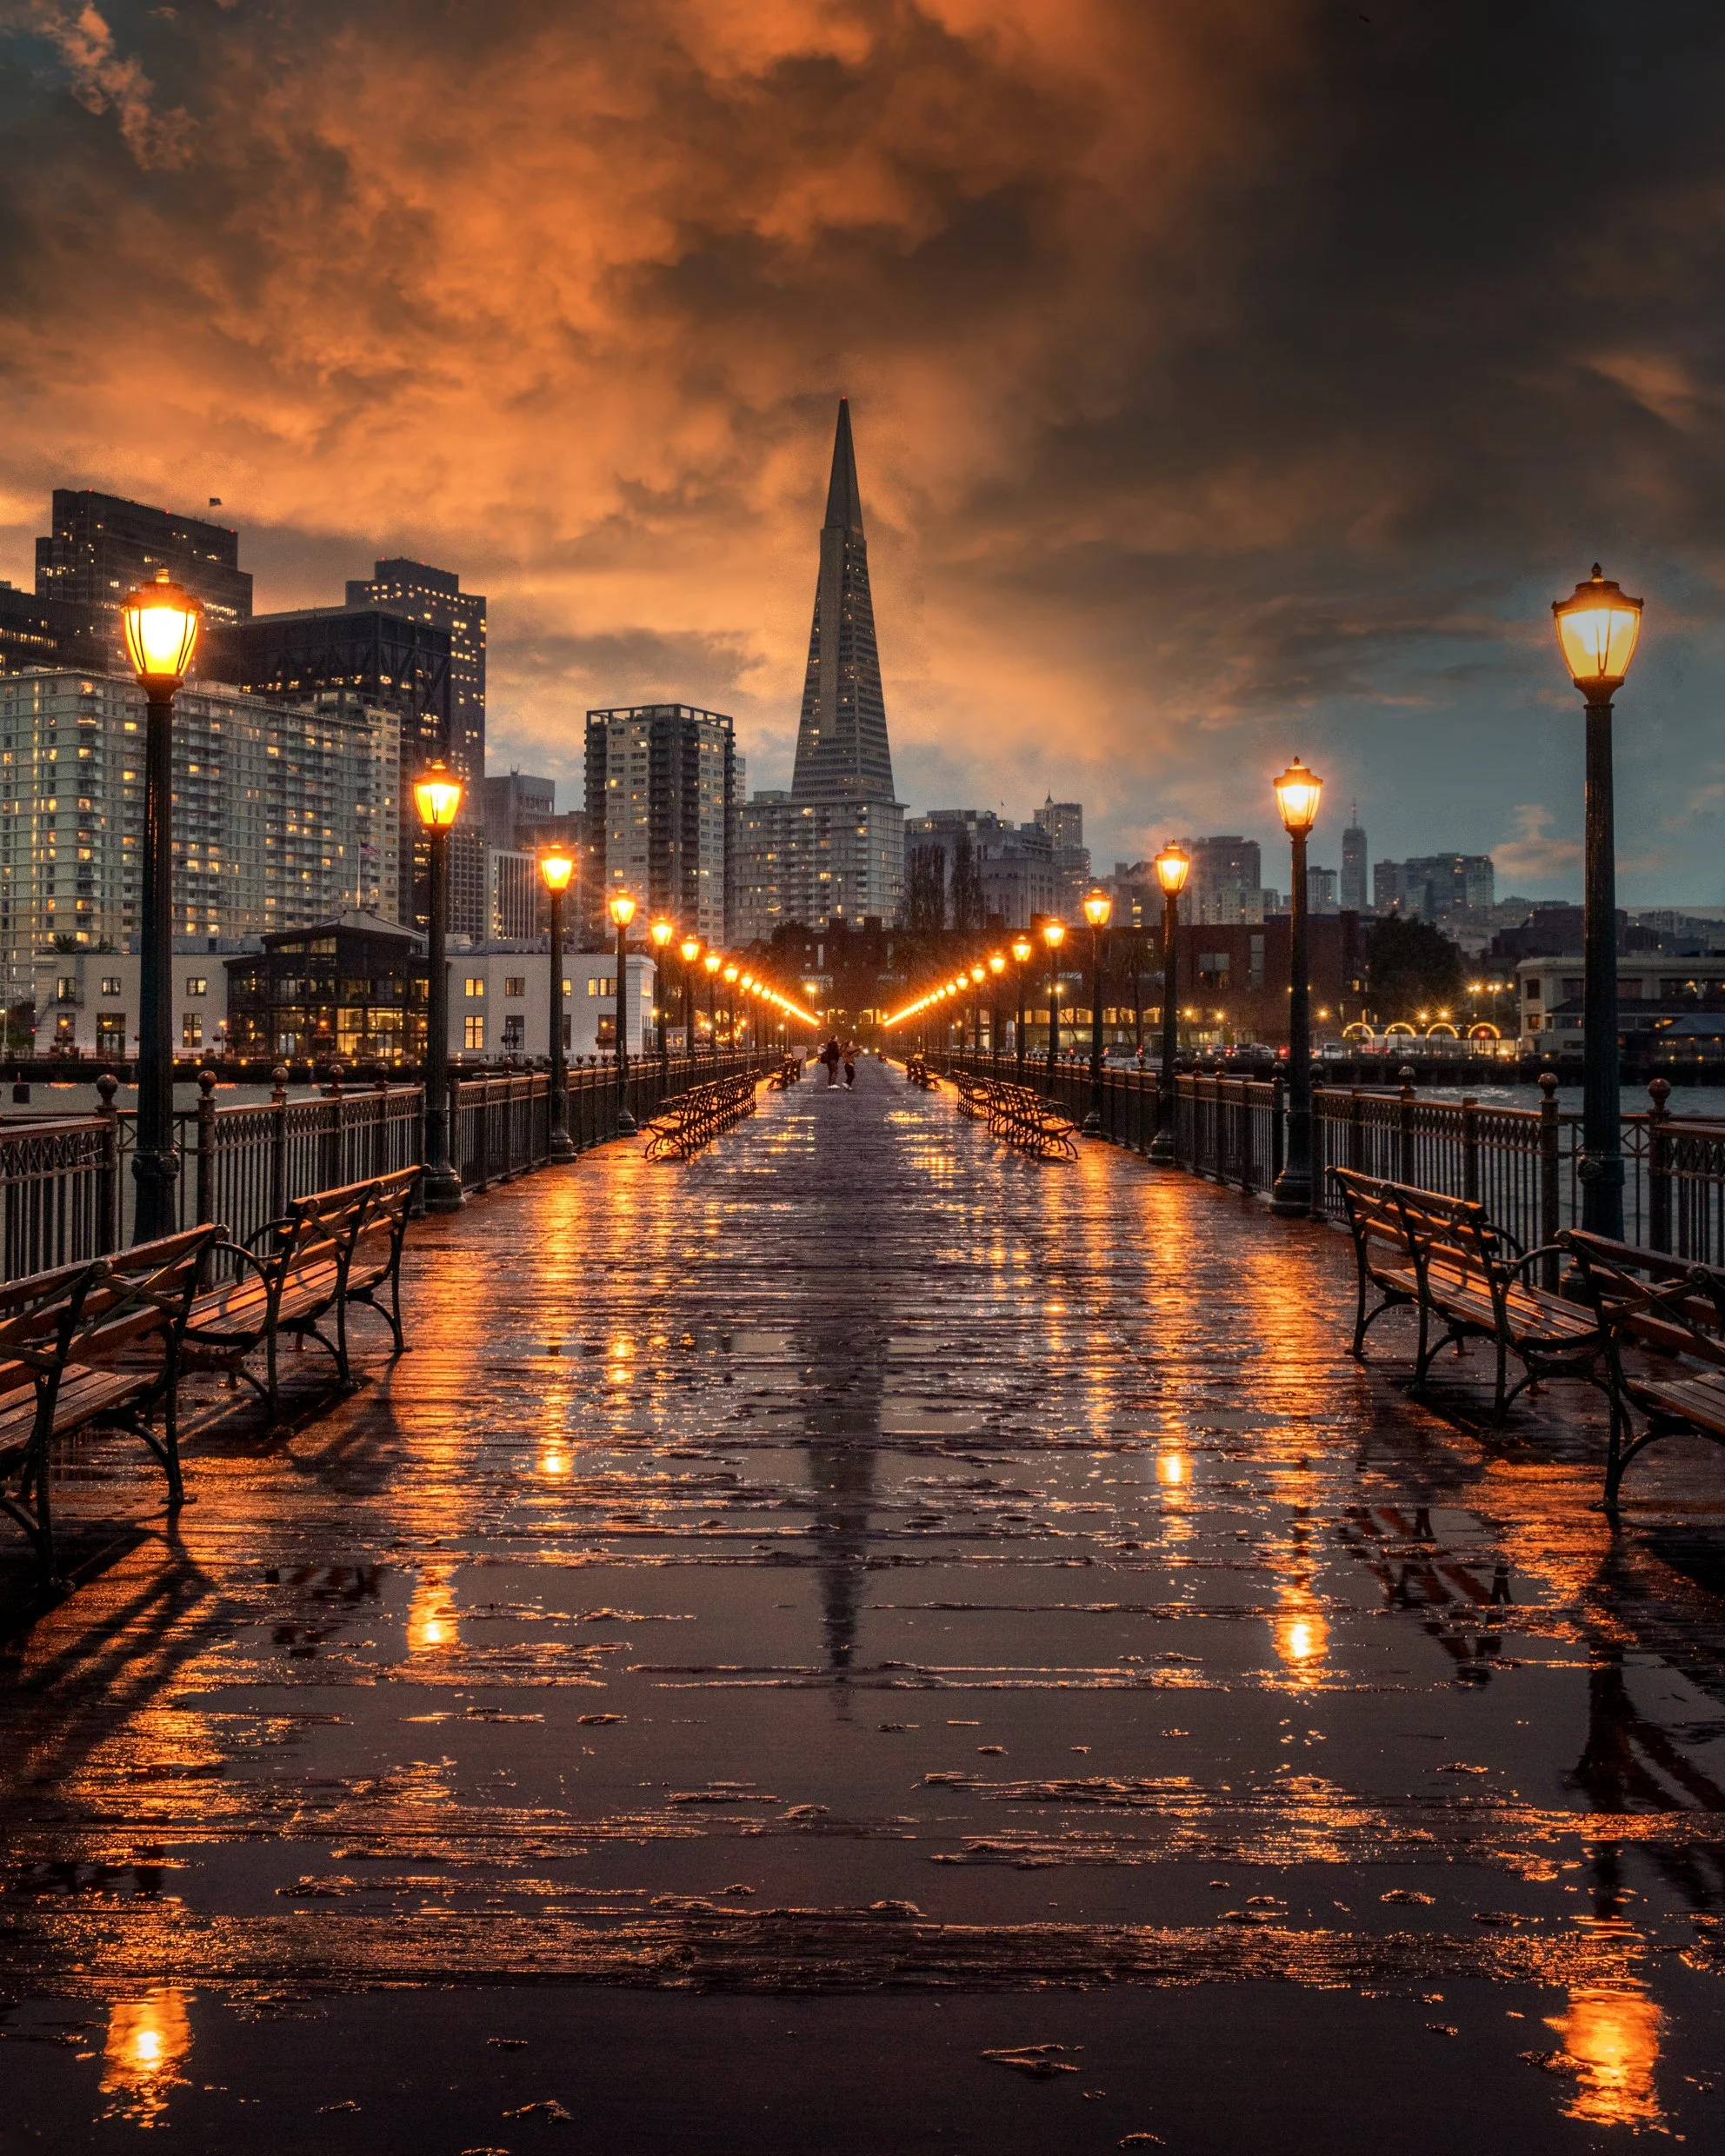
In low light: sharp beats perfect ISO. Handheld at 1/13 sec at ISO 800.
Scouting: the difference between luck and repeatable results
Scouting is where cityscapes become repeatable. It’s also where you stop relying on the “default viewpoint” and start building images that feel intentional.
Start with the big decisions first: elevation and orientation. Bridges, rooftops, hills, viewpoints — even a simple set of steps — can change the entire structure of a cityscape. Then think about where the sun rises and sets relative to your skyline. A viewpoint can be spectacular in one season and completely flat in another purely because the light direction changes.
Once you’ve found a promising spot, scout with your feet. Most locations have one obvious angle that everyone shoots. It’s usually fine, but it’s also why so many photos from the same place feel similar. Move left and right to change how lines stack and separate. Step forward and back to control foreground size and perspective. Go lower to strengthen leading lines, or find a slightly higher position to simplify the background. Often the best frame isn’t “found” — it’s refined.
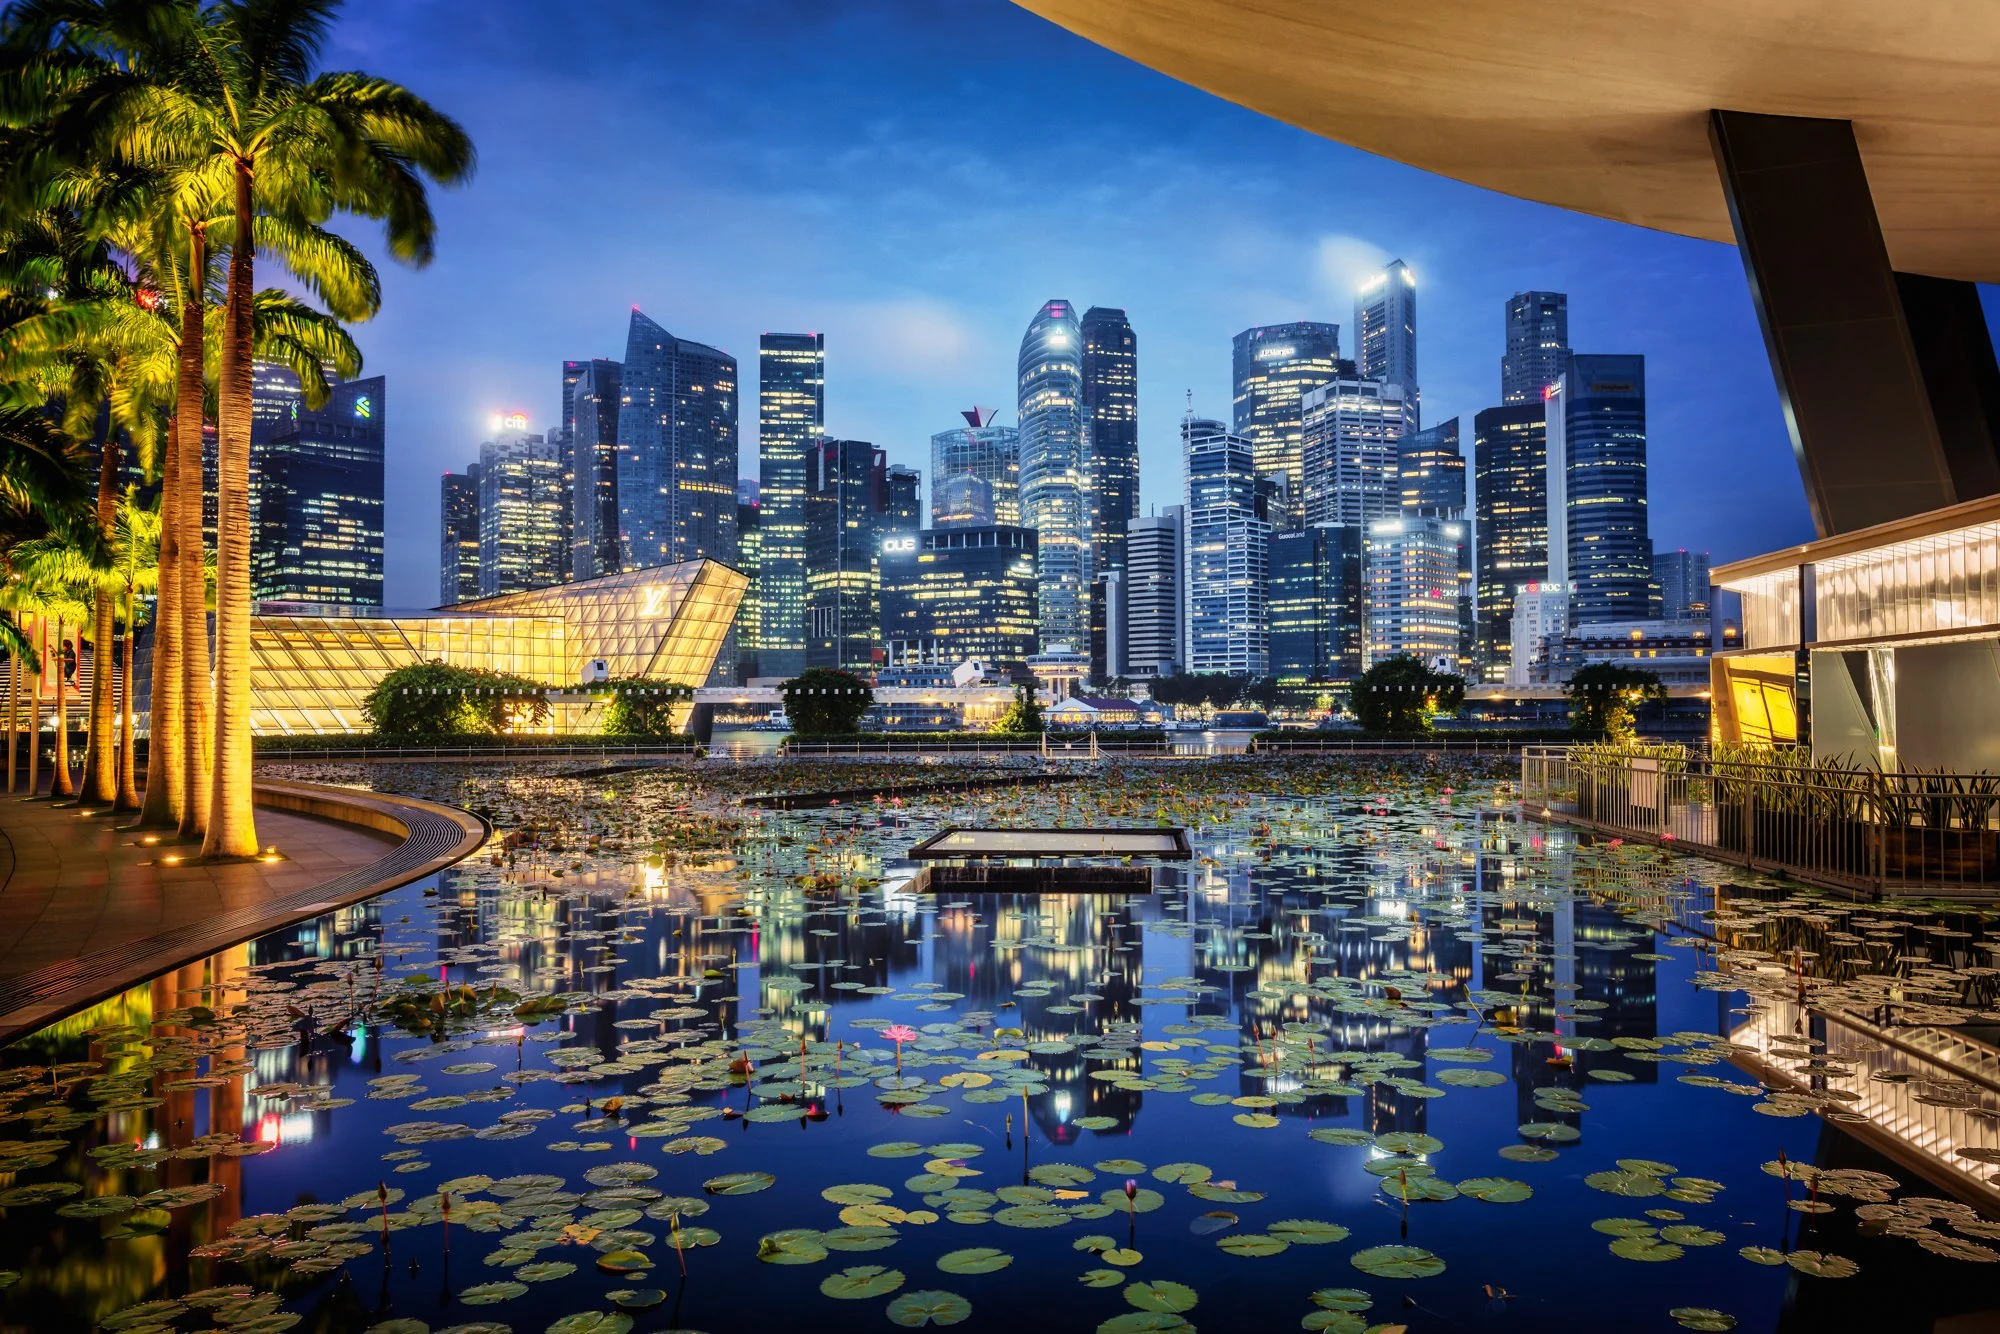
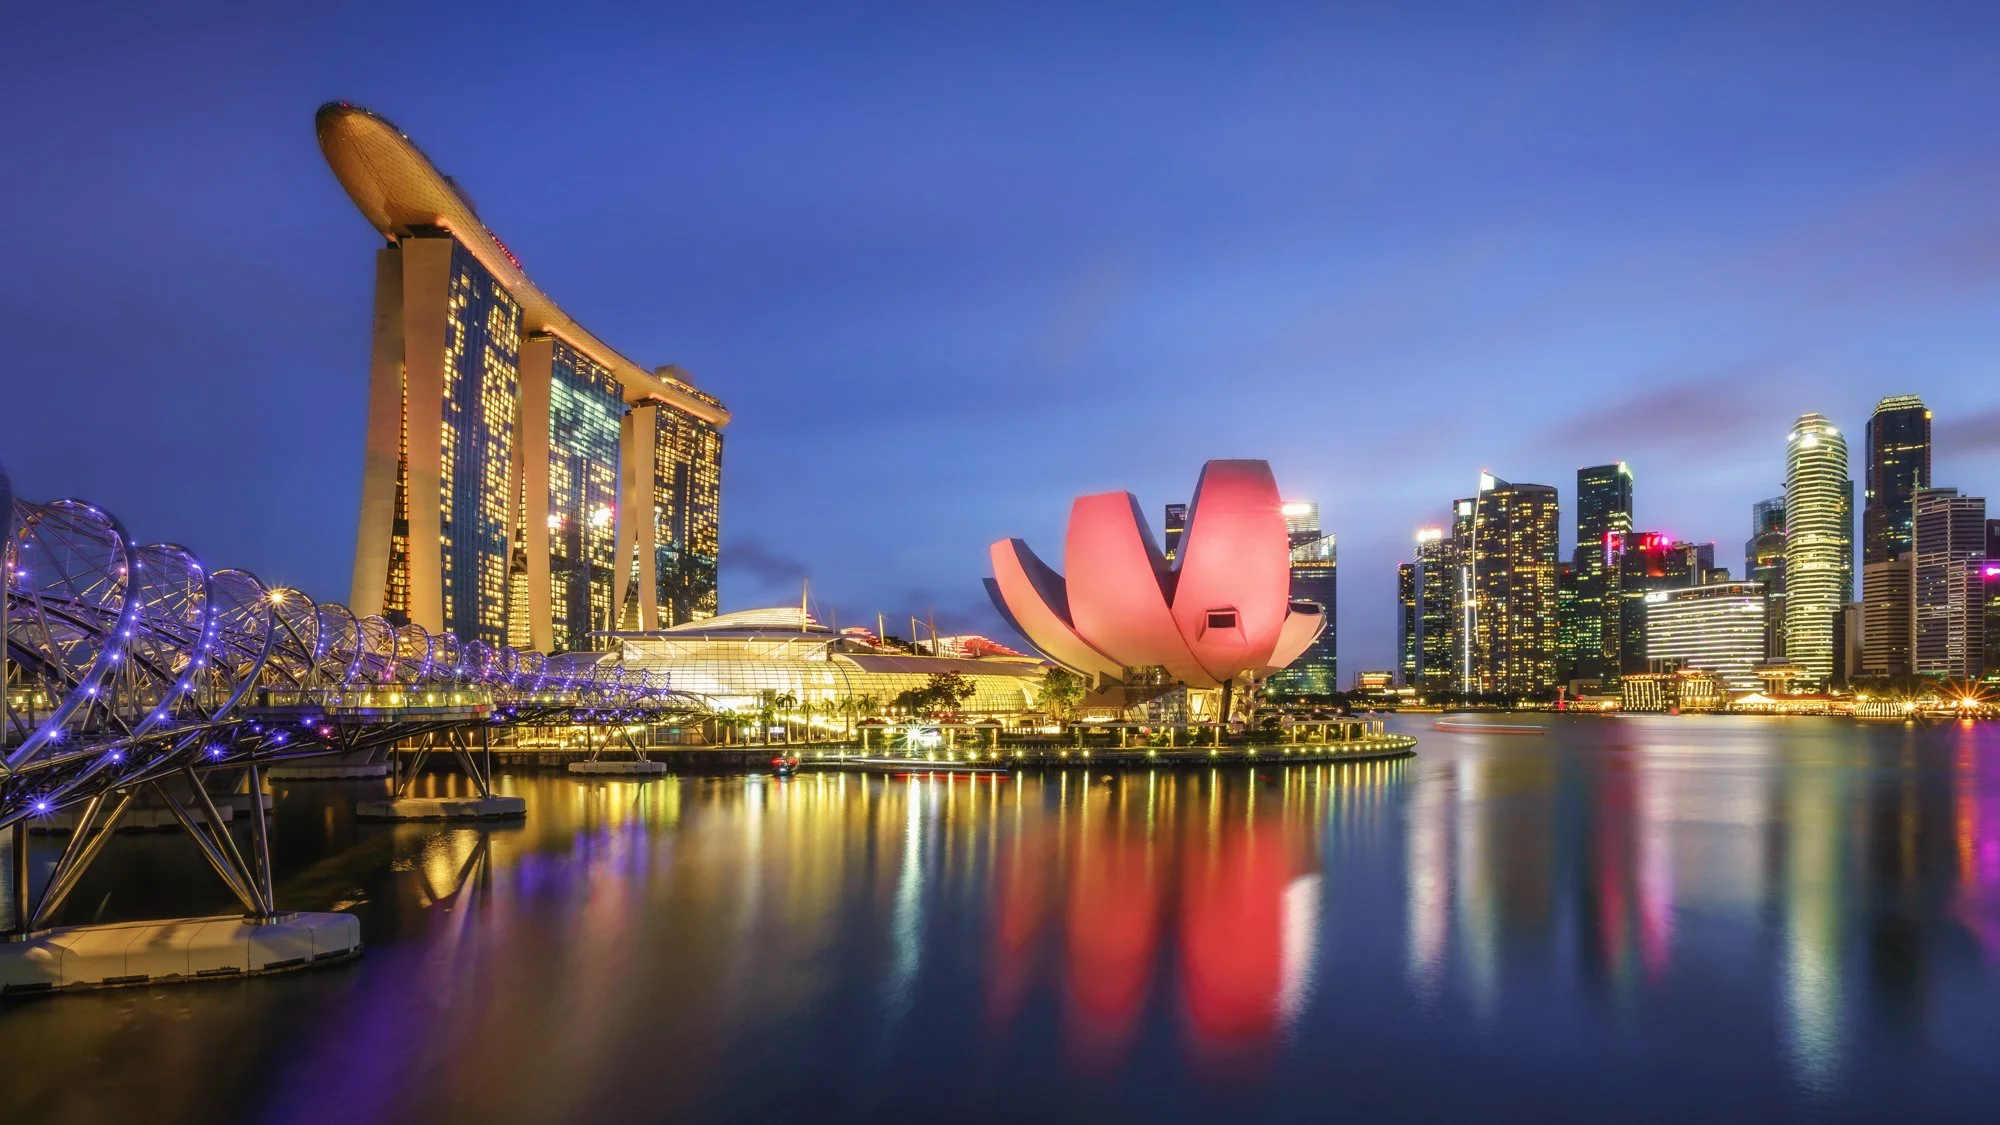
Scouting pays off: I returned to this spot in Singapore several times, at different hours, until the light and perspective finally aligned.
After that, look for anchors that help the frame hold together: leading lines, water for reflections, repeating lights, a clean foreground, or a strong shape that can become your subject. Then scout for flow: can you shoot through golden hour into blue hour without rushing? Do you have a Plan B if access is blocked or the weather shifts?
One of the simplest travel habits that improves results fast is to dedicate one evening to walking without pressure — camera optional. You’re collecting frames for tomorrow. It’s not glamorous, but it’s how you stop relying on luck.
This is also how we design our workshops. We plan around light direction, crowd patterns, weather options, and backup plans — so when the best five minutes arrive, you’re ready.
A simple practice plan
Pick one location and photograph it three times: sunrise or golden hour, blue hour, and night. Try to keep the subject consistent so you can clearly see how light changes structure, color, and mood.
But don’t just stand in the same spot out of habit. Each time you return, spend a few minutes working the scene: move left and right to separate shapes, step forward and back to control foreground size, drop lower to strengthen leading lines, or find a slightly higher position to simplify the background. Zoom in and out to decide whether the strongest story is the full setting or a tighter, more designed detail.
You’ll learn faster than by chasing ten random locations — and you’ll come away with both a deeper understanding of light and a better instinct for perspective.
Closing thoughts
Strong cityscapes are built through small, deliberate choices: show up in the right light, simplify the frame, use lines and layers, and edit with taste. It’s not about doing more. It’s about doing the right small things consistently.
If you’d like to learn this faster, this is exactly what we do in our workshops: small groups, hands-on guidance in the field, and a focus on making cityscapes that feel intentional and finished — in cities like Paris, Venice, and Florence, where the light truly rewards you.
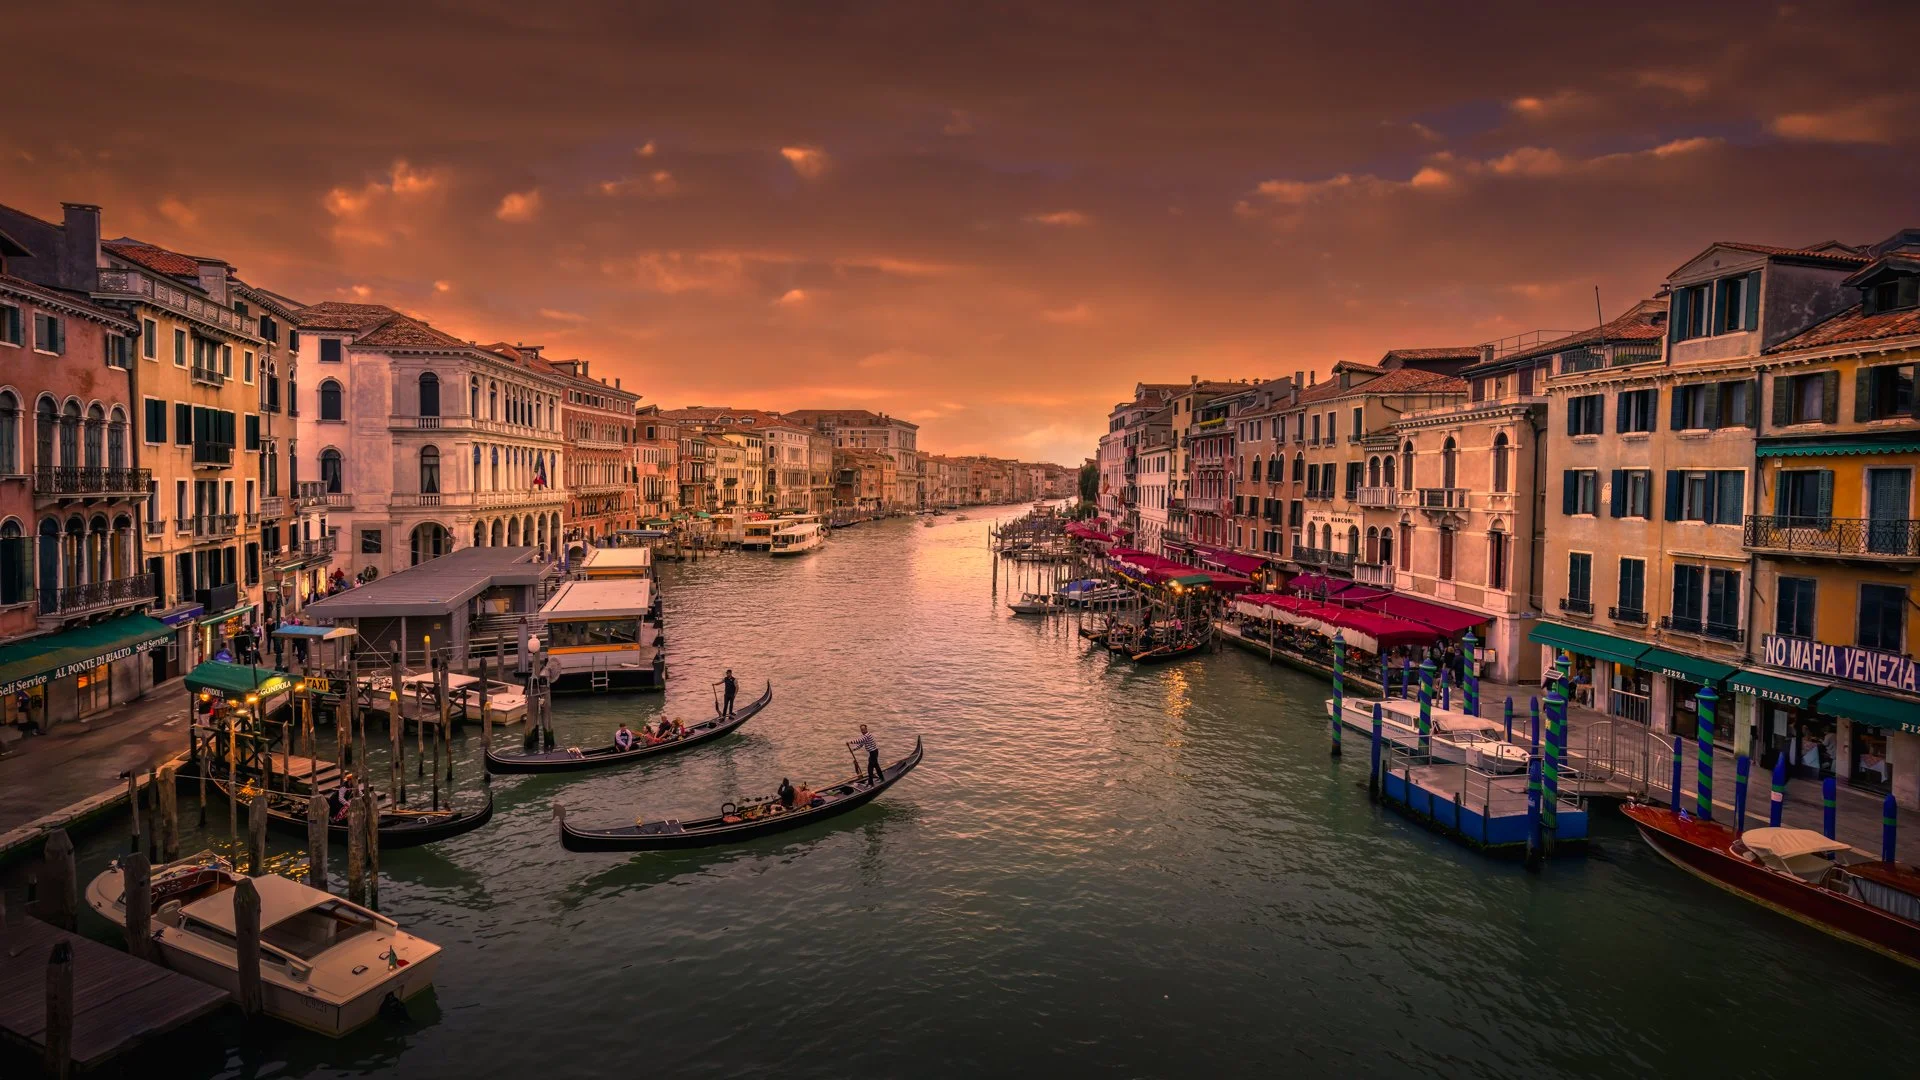
Cityscapes are built — with timing, intention, and restraint.
All photos © Terje Svendsen / Lanterna Magica Photography.
Join us in Paris, Venice, or Florence
If you’d like to take your cityscape photography further, Paris, Venice, and Florence are three of the most rewarding cities we know. Each one offers a different kind of challenge — from Paris’ graphic boulevards and classic façades, to Venice’s reflections and shifting atmosphere, to Florence’s layered viewpoints and blue-hour glow.
In our workshops we keep the groups small and the approach practical: we shoot in the best light, work with strong locations, and focus on making repeatable decisions in the field — timing, composition, and technique — so you leave with stronger images and a clearer process.
Explore the upcoming workshops here:
If you have a question before booking, feel free to reach out — we’re happy to help you choose the workshop that fits your level and what you want to learn. You can contact us here.